Toilets usually give trouble when we’re least prepared. As a homeowner, it’s essential to maintain your health and hygiene, and having an old cistern or a broken toilet is a major hassle.
If you prefer not to tackle it yourself, hiring a professional plumber to replace or upgrade your toilet suite can take less than an hour. But for DIY enthusiasts looking to save money, replacing the toilet yourself is quite manageable.
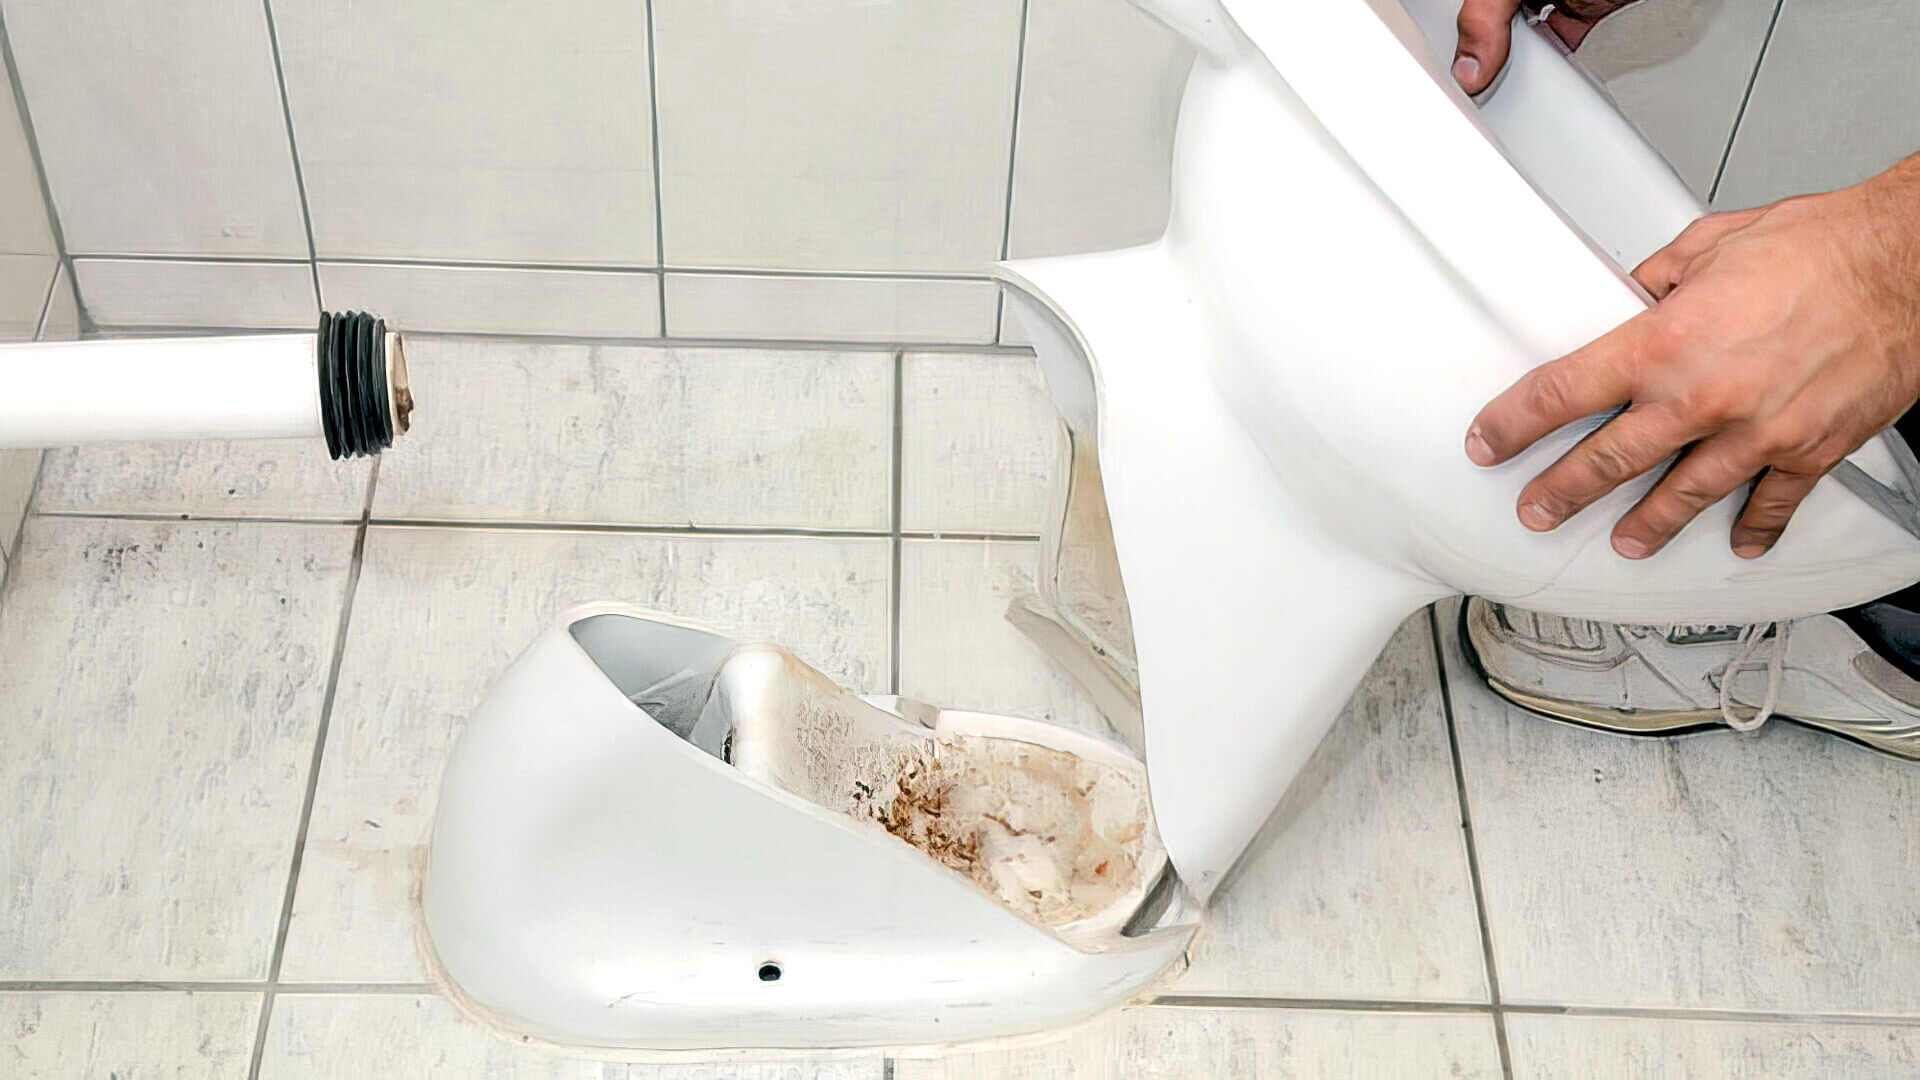
Replacing a toilet isn’t rocket science; you just need to gather the right tools and follow a step-by-step process. We’ll walk you through how to replace a toilet and install a new cistern in your bathroom.
Required Tools
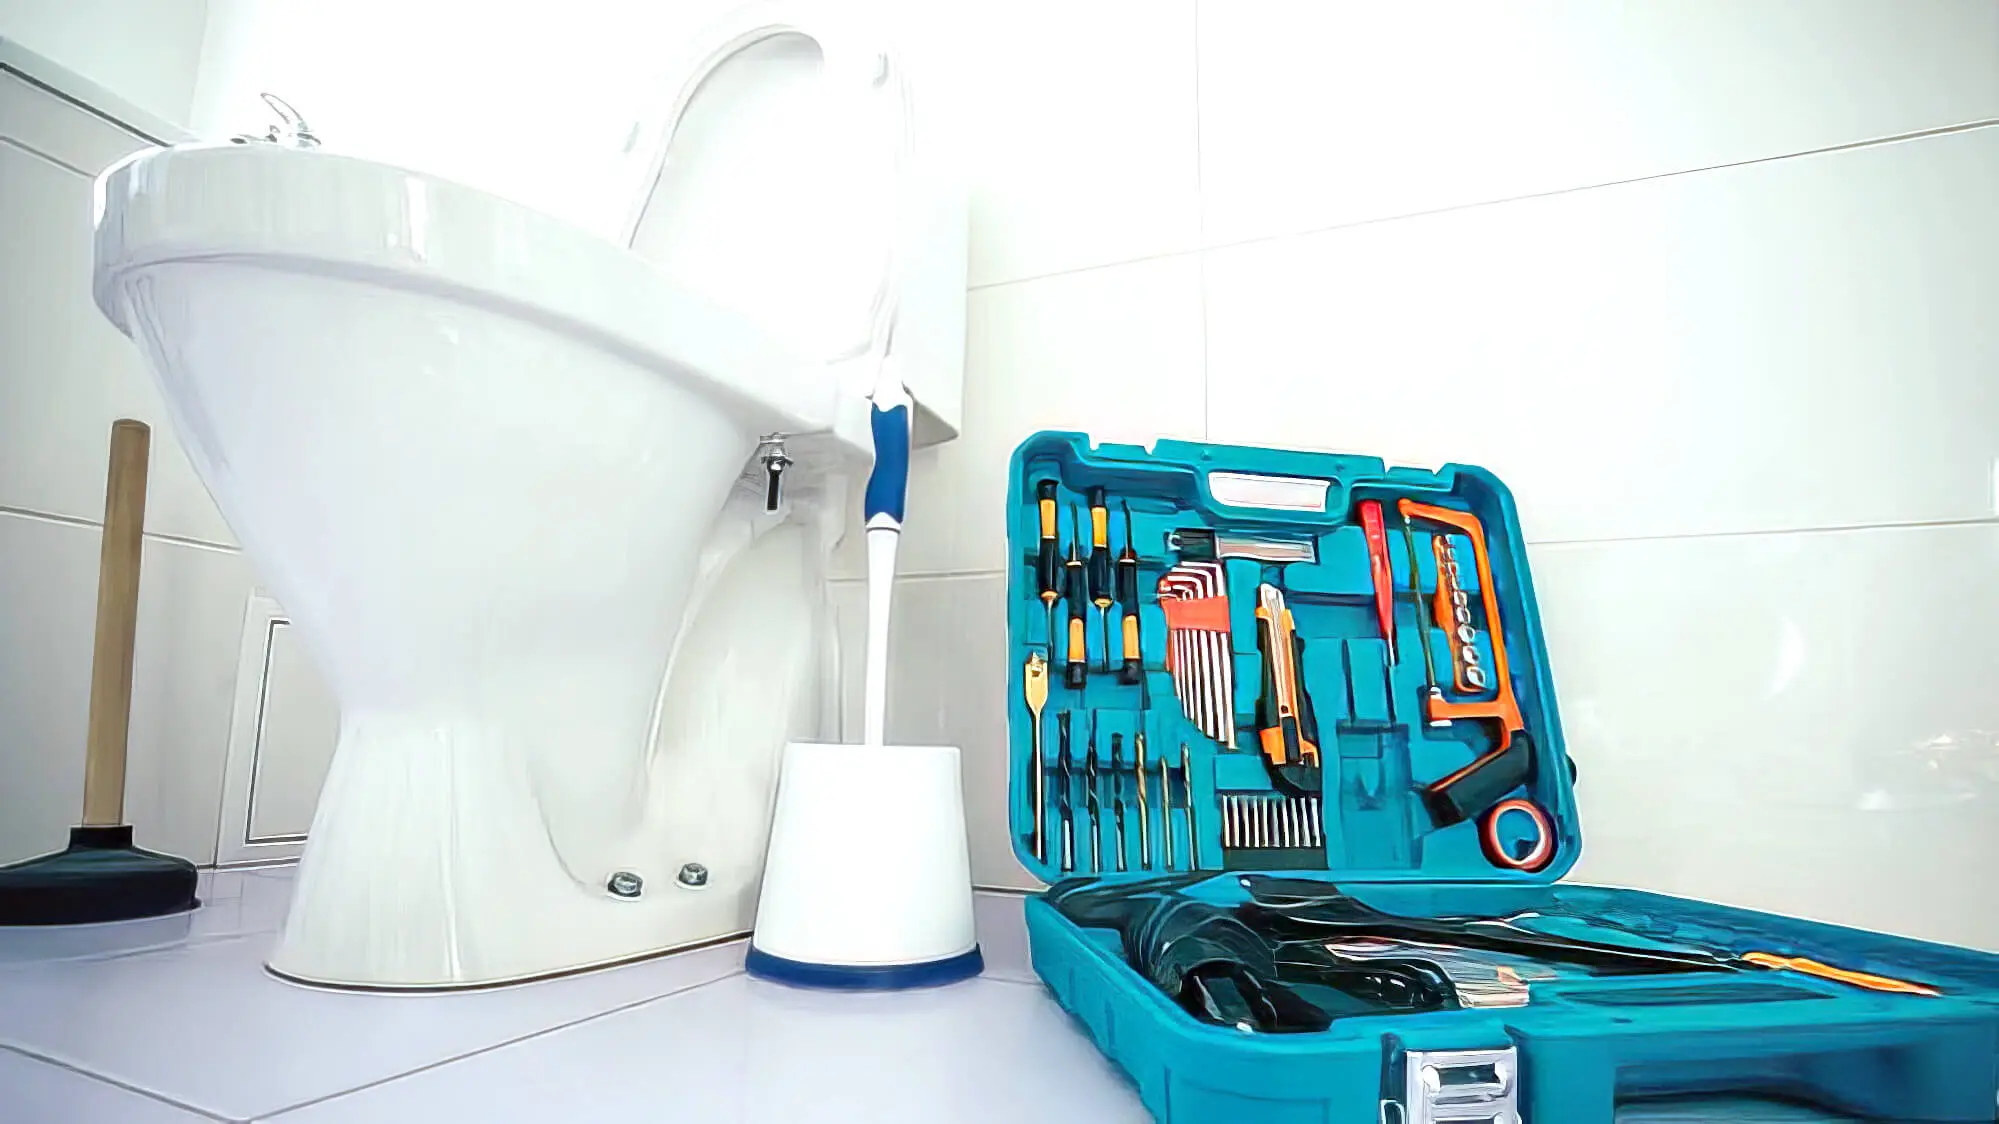
Before you replace an old toilet, ensure you have all the necessary tools and supplies for the project. If some tools are missing, you need to buy them before undertaking this plumbing project.
You’ll need to keep the following tools and supplies at hand:
- New toilet
- Wax ring (buying an extra wax ring never hurts!)
- Measuring tape
- Utility knife
- Pry bar
- Bucket
- Large sponge
- Water solidifier
- Putty knife
- Hacksaw
- Screwdriver
- Adjustable wrench
- Old rag
- Garbage bag
- Plumber’s tape
- Silicone caulk
- Gloves
How To Replace A Toilet?
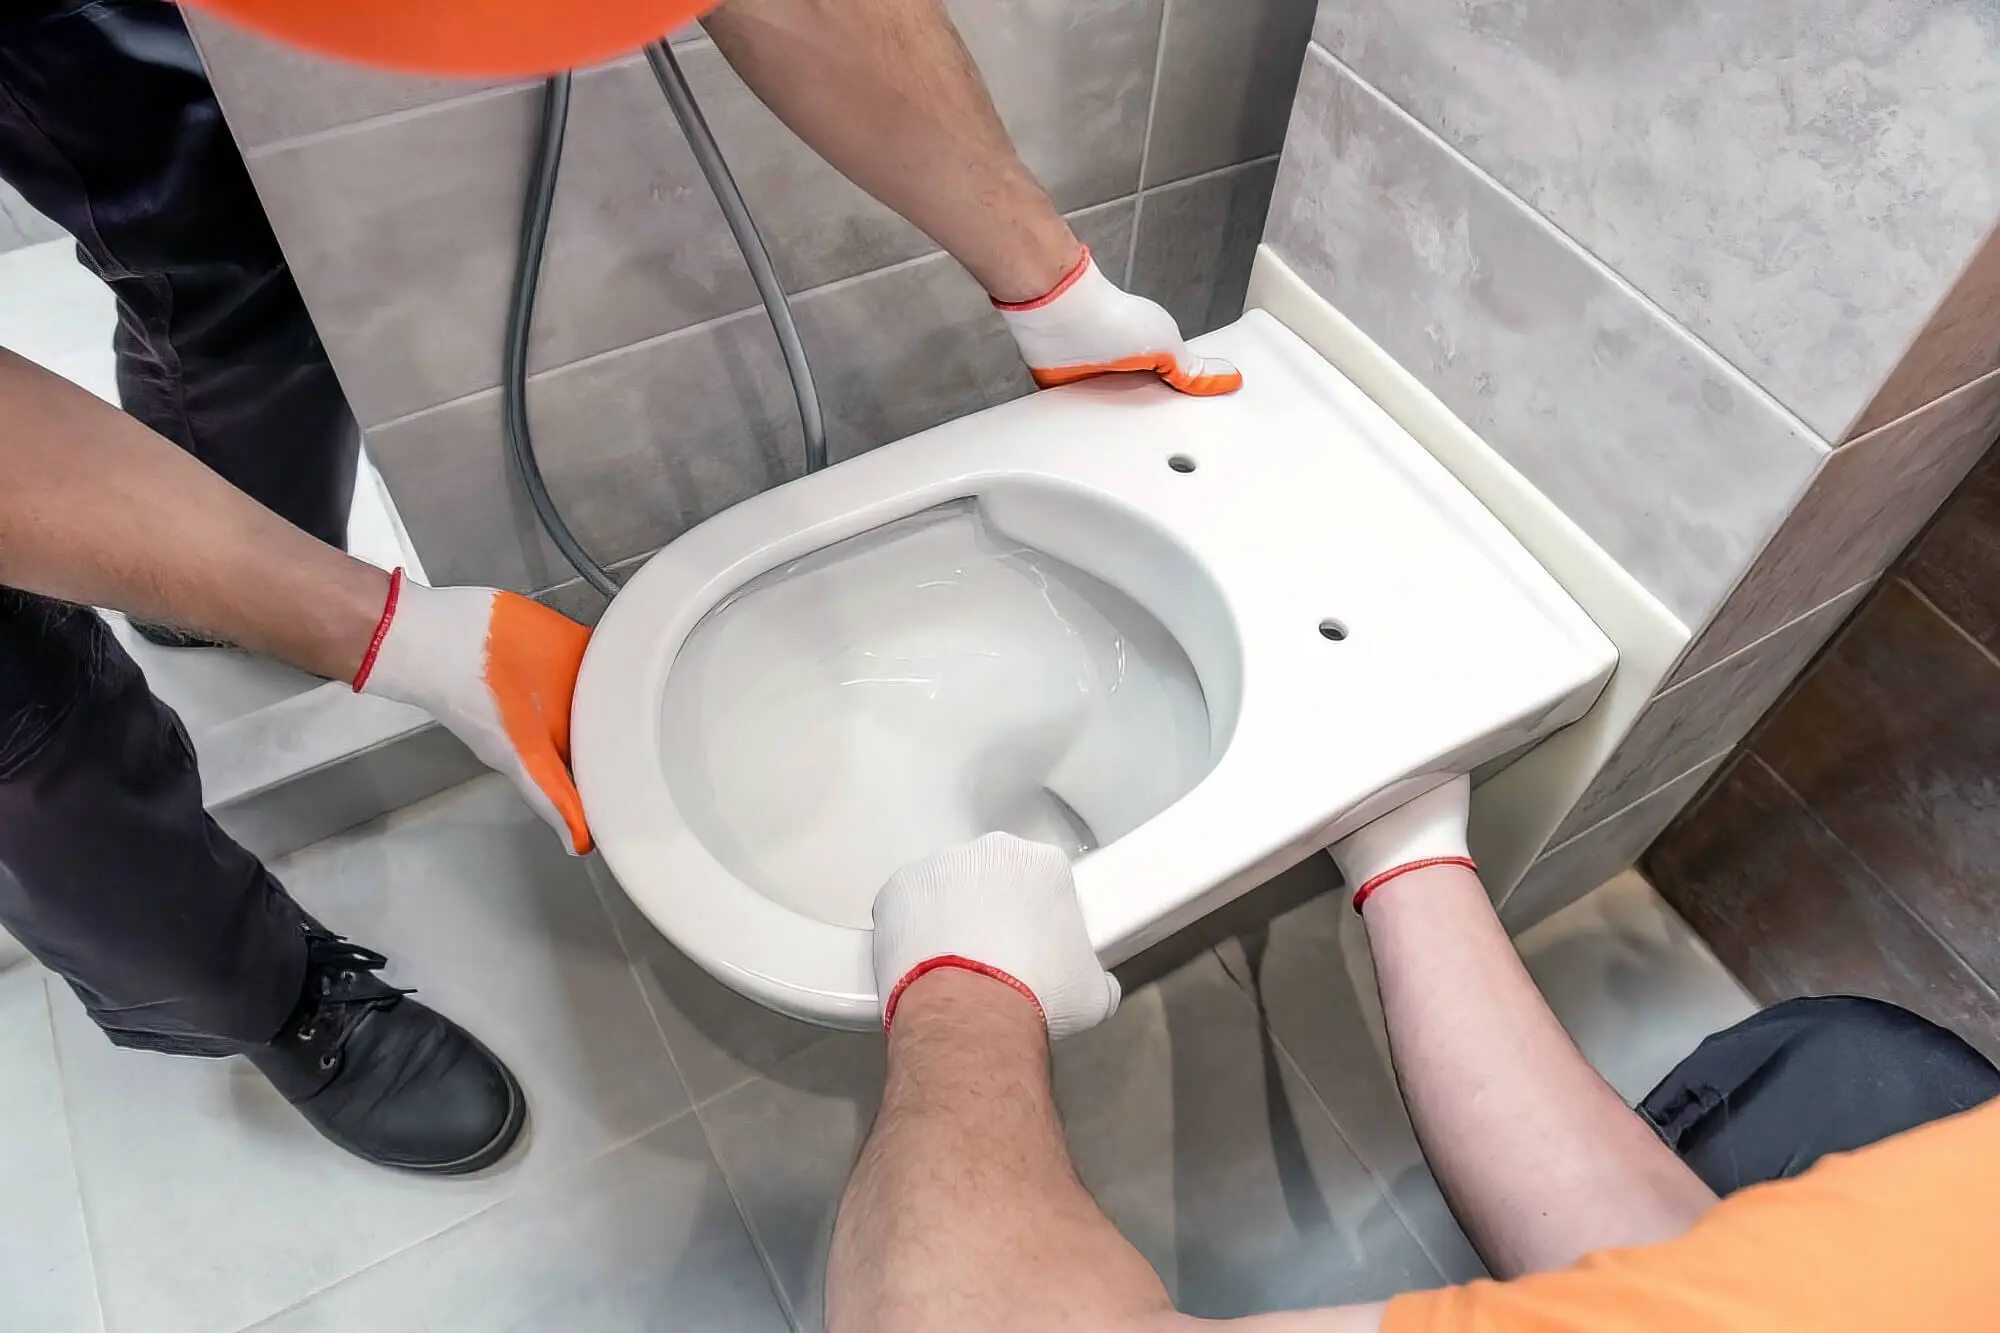
1. Select The Toilet
Any toilet suite has two installation parts - a toilet cistern or toilet tank and a toilet bowl. These parts also come with different components, which you must remember while replacing the toilet. Toilets are usually long (oval) or round and have different flushing systems. So, your measurements must be precise when upgrading your existing toilet.
First, measure the space between your finished wall and the closet bolts holding the toilet to your bathroom floor. Also, measure the distance between the wall and the waste pipe to choose the correct dimensions of the toilet cistern tanks and install a toilet that fits the space.
It’s crucial to purchase a system, a toilet tank, and a replacement cistern that fits into the existing space. You also need to leave enough bathroom space for other bathroom fittings, like the shower, bathtub, and vanity closet. It’s best to choose a toilet bowl the same shape and size as your current toilet.
2. Remove the Water
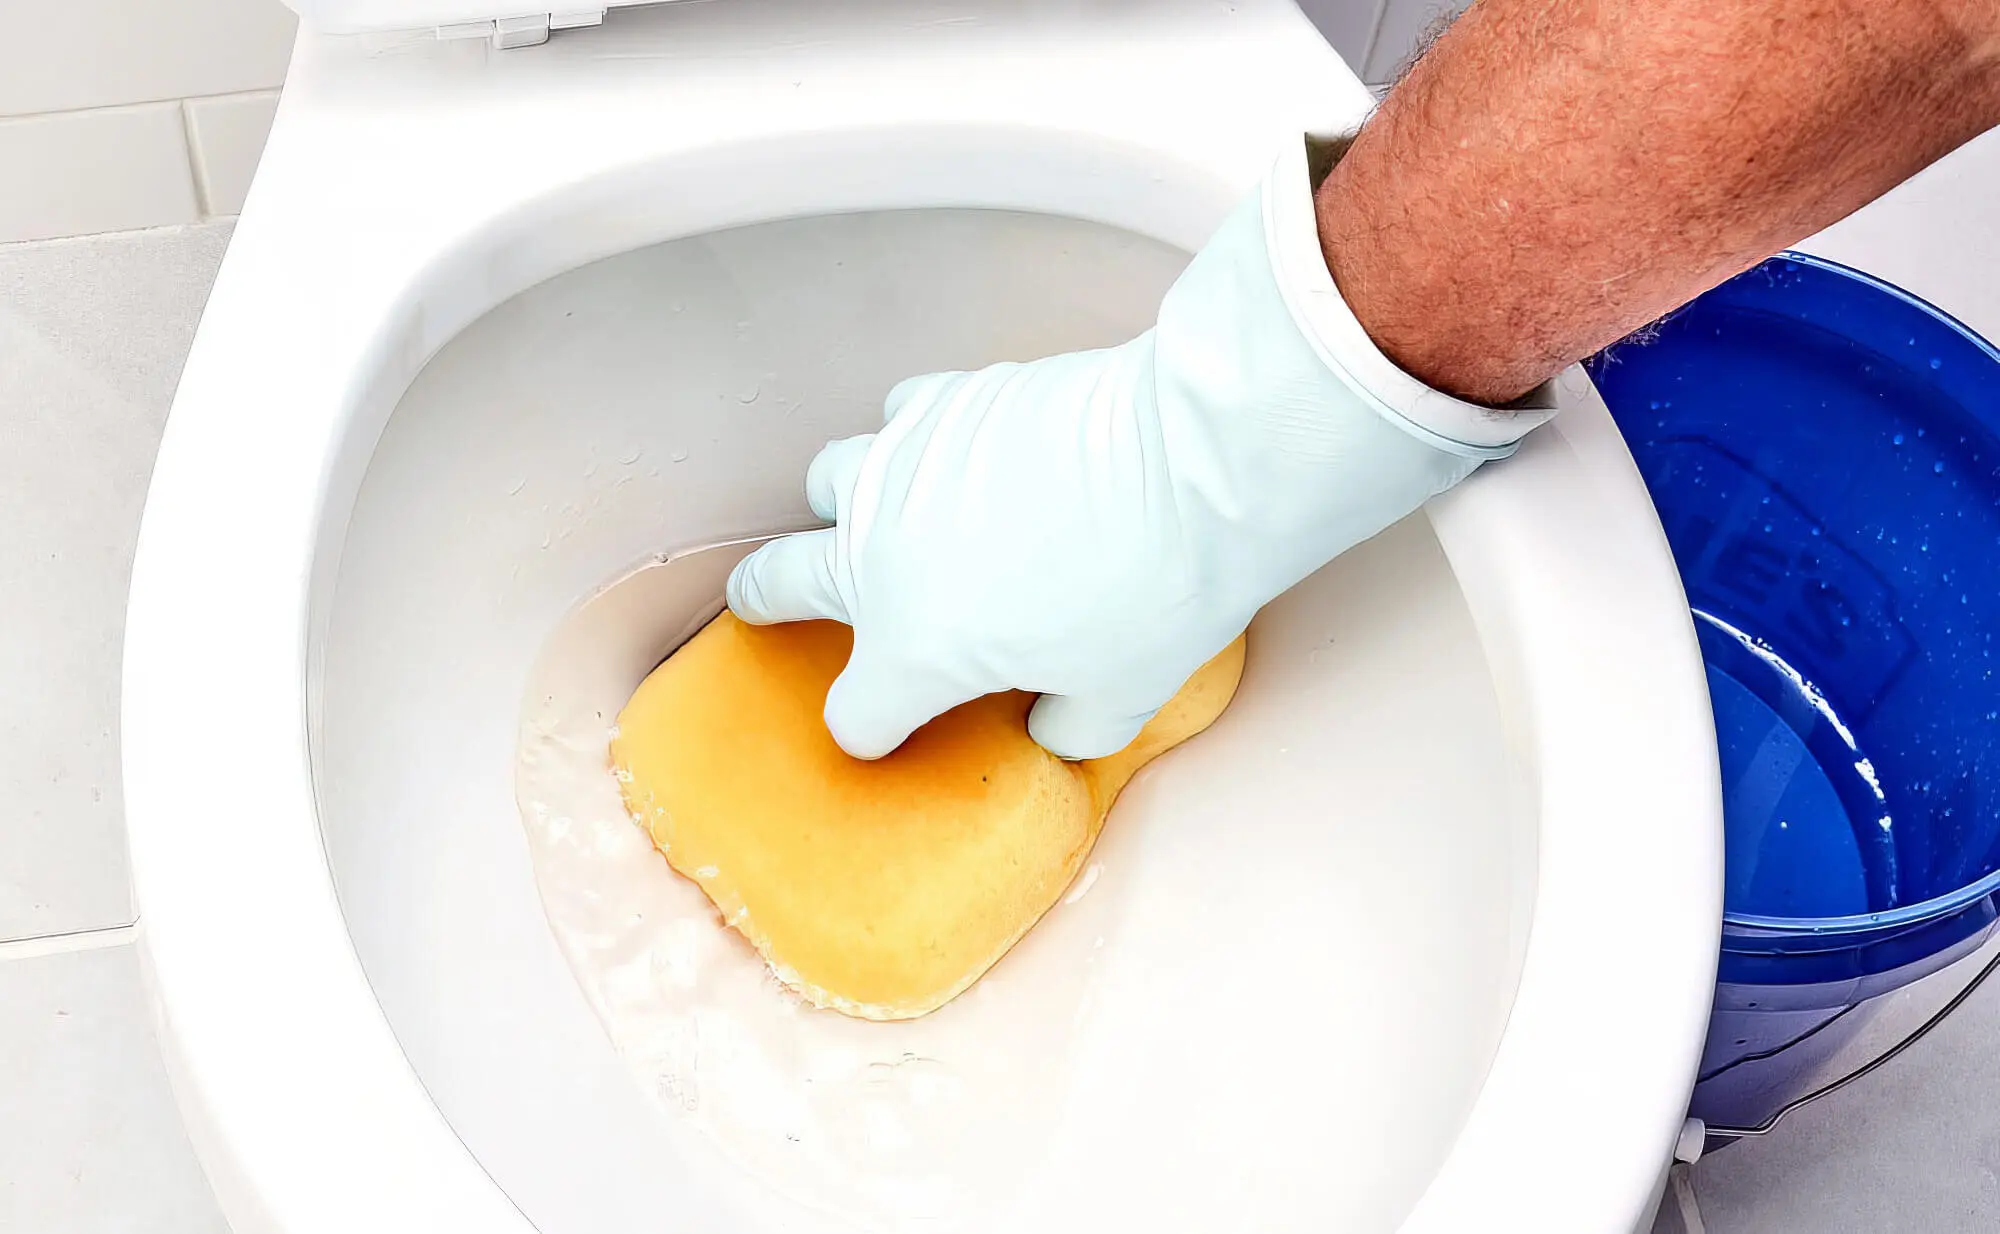
Turn off the water supply before replacing the toilet cistern or tank. The main water supply valve is located on the bathroom wall or finished floor near the toilet. Then, flush the toilet and hold down the handle to empty all the water. Next, use a bucket and a large sponge to remove any remaining water from the toilet bowl and the toilet tank.
3. Remove the old toilet and cistern
Use pliers (channel type) to remove the old coupling nut connecting the toilet to the water supply line. Next, the water inlet pipe at the bottom of the toilet cistern is unscrewed. Carefully remove the toilet bolts and replace the toilet cistern. Some older toilets have regular nuts or recessed ones, which are more difficult to remove than regular toilet bolts.
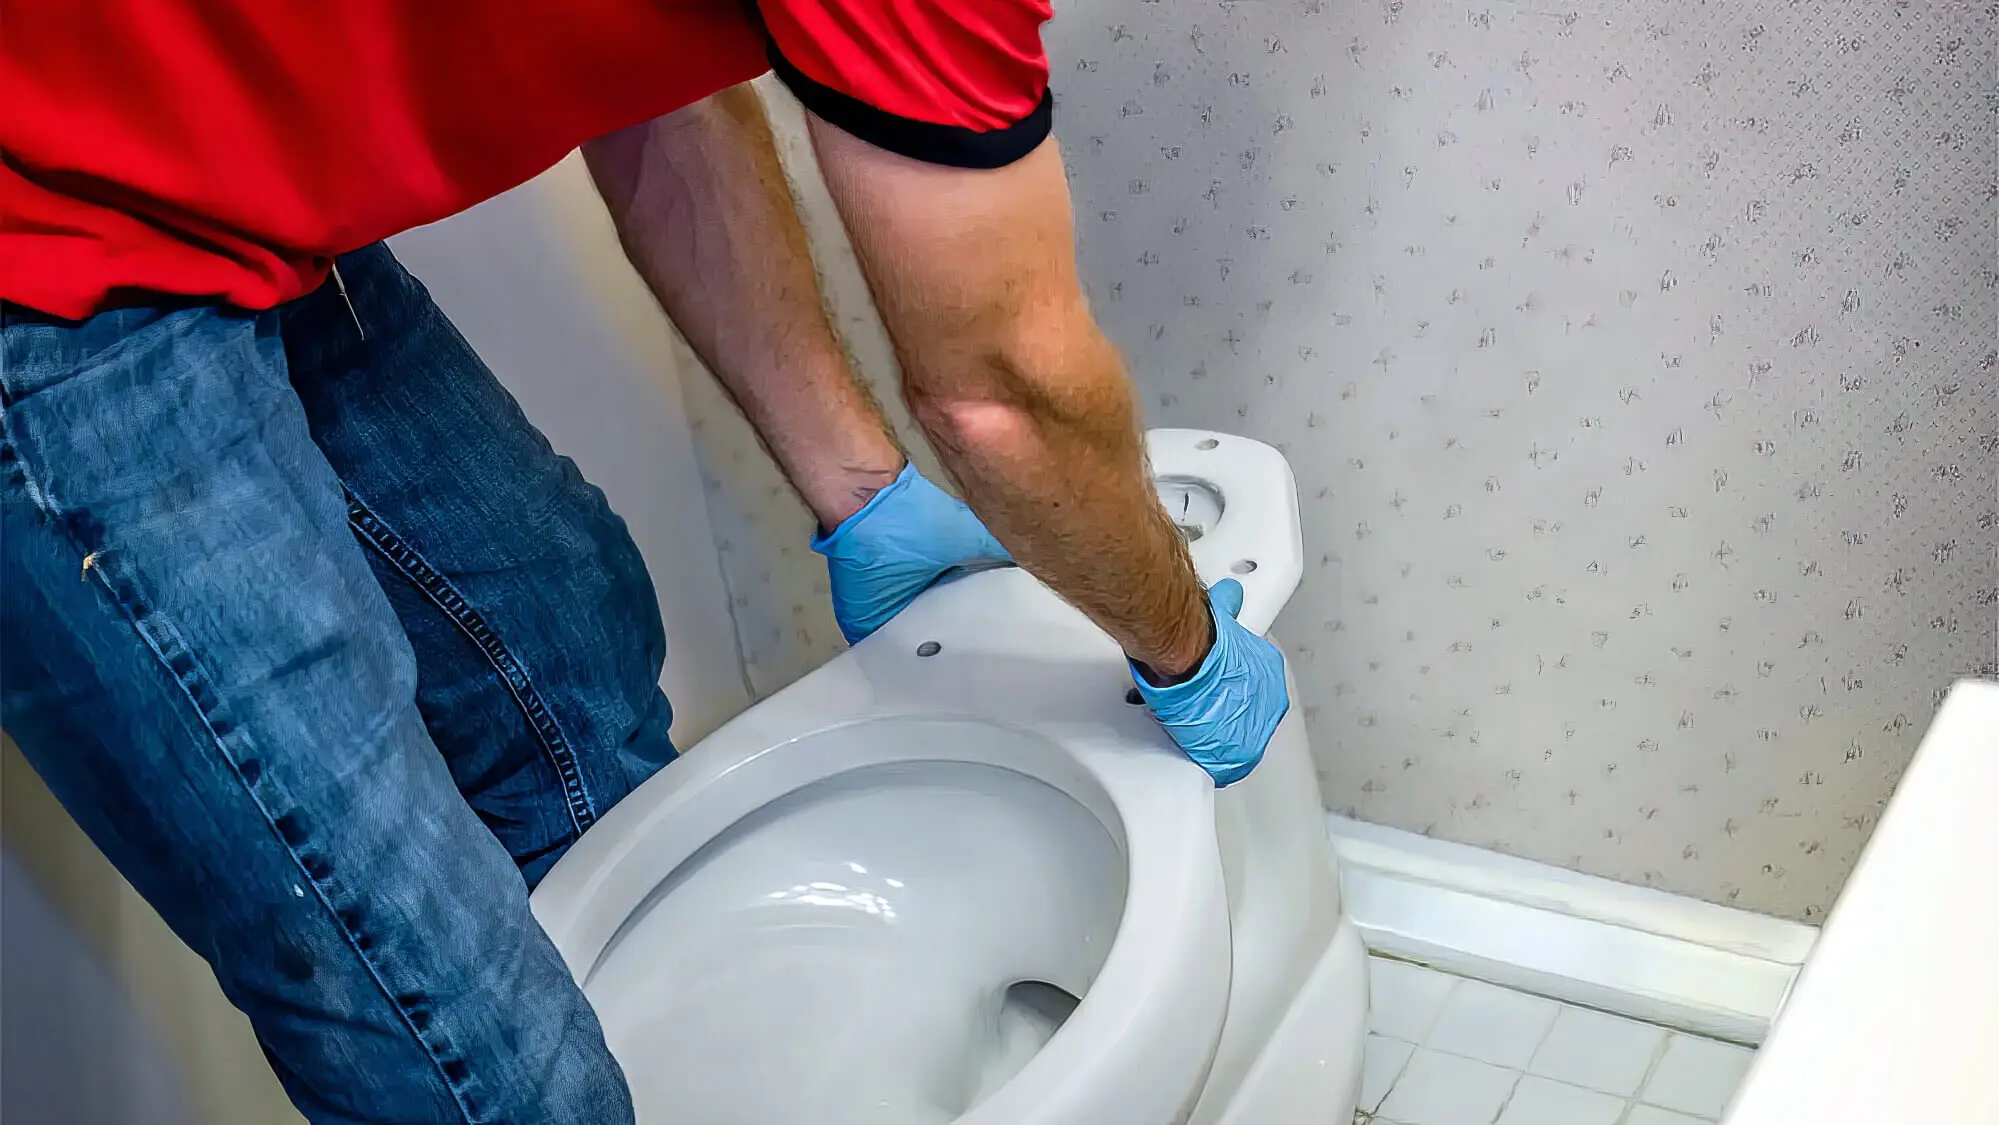
You can use a box wrench or pliers to grab each tank bolt while removing the old cistern tightly. Stabilising the tank bolts using a slotted screwdriver is best to make this step much more manageable.
To remove the toilet pan and bowl, you’ll need to pry off the bolt covers using a screwdriver. You can also use channels, locking pliers, or a socket wrench. If the toilet nuts are rusted and stuck, apply some oil to loosen them or use a hacksaw to cut them.
Once you remove the toilet bowl and install the toilet to the floor, replacing the toilet cistern units, you can see the closet flange or the drain opening leading to the main sewer pipe.
4. Prepare the Bathroom Floor
Next, you must remove the old wax ring, which can be messy. Use a putty knife to scrape the wax off the closet flange ring and remove it immediately because it can be dirty and sticky from gathering toilet waste.
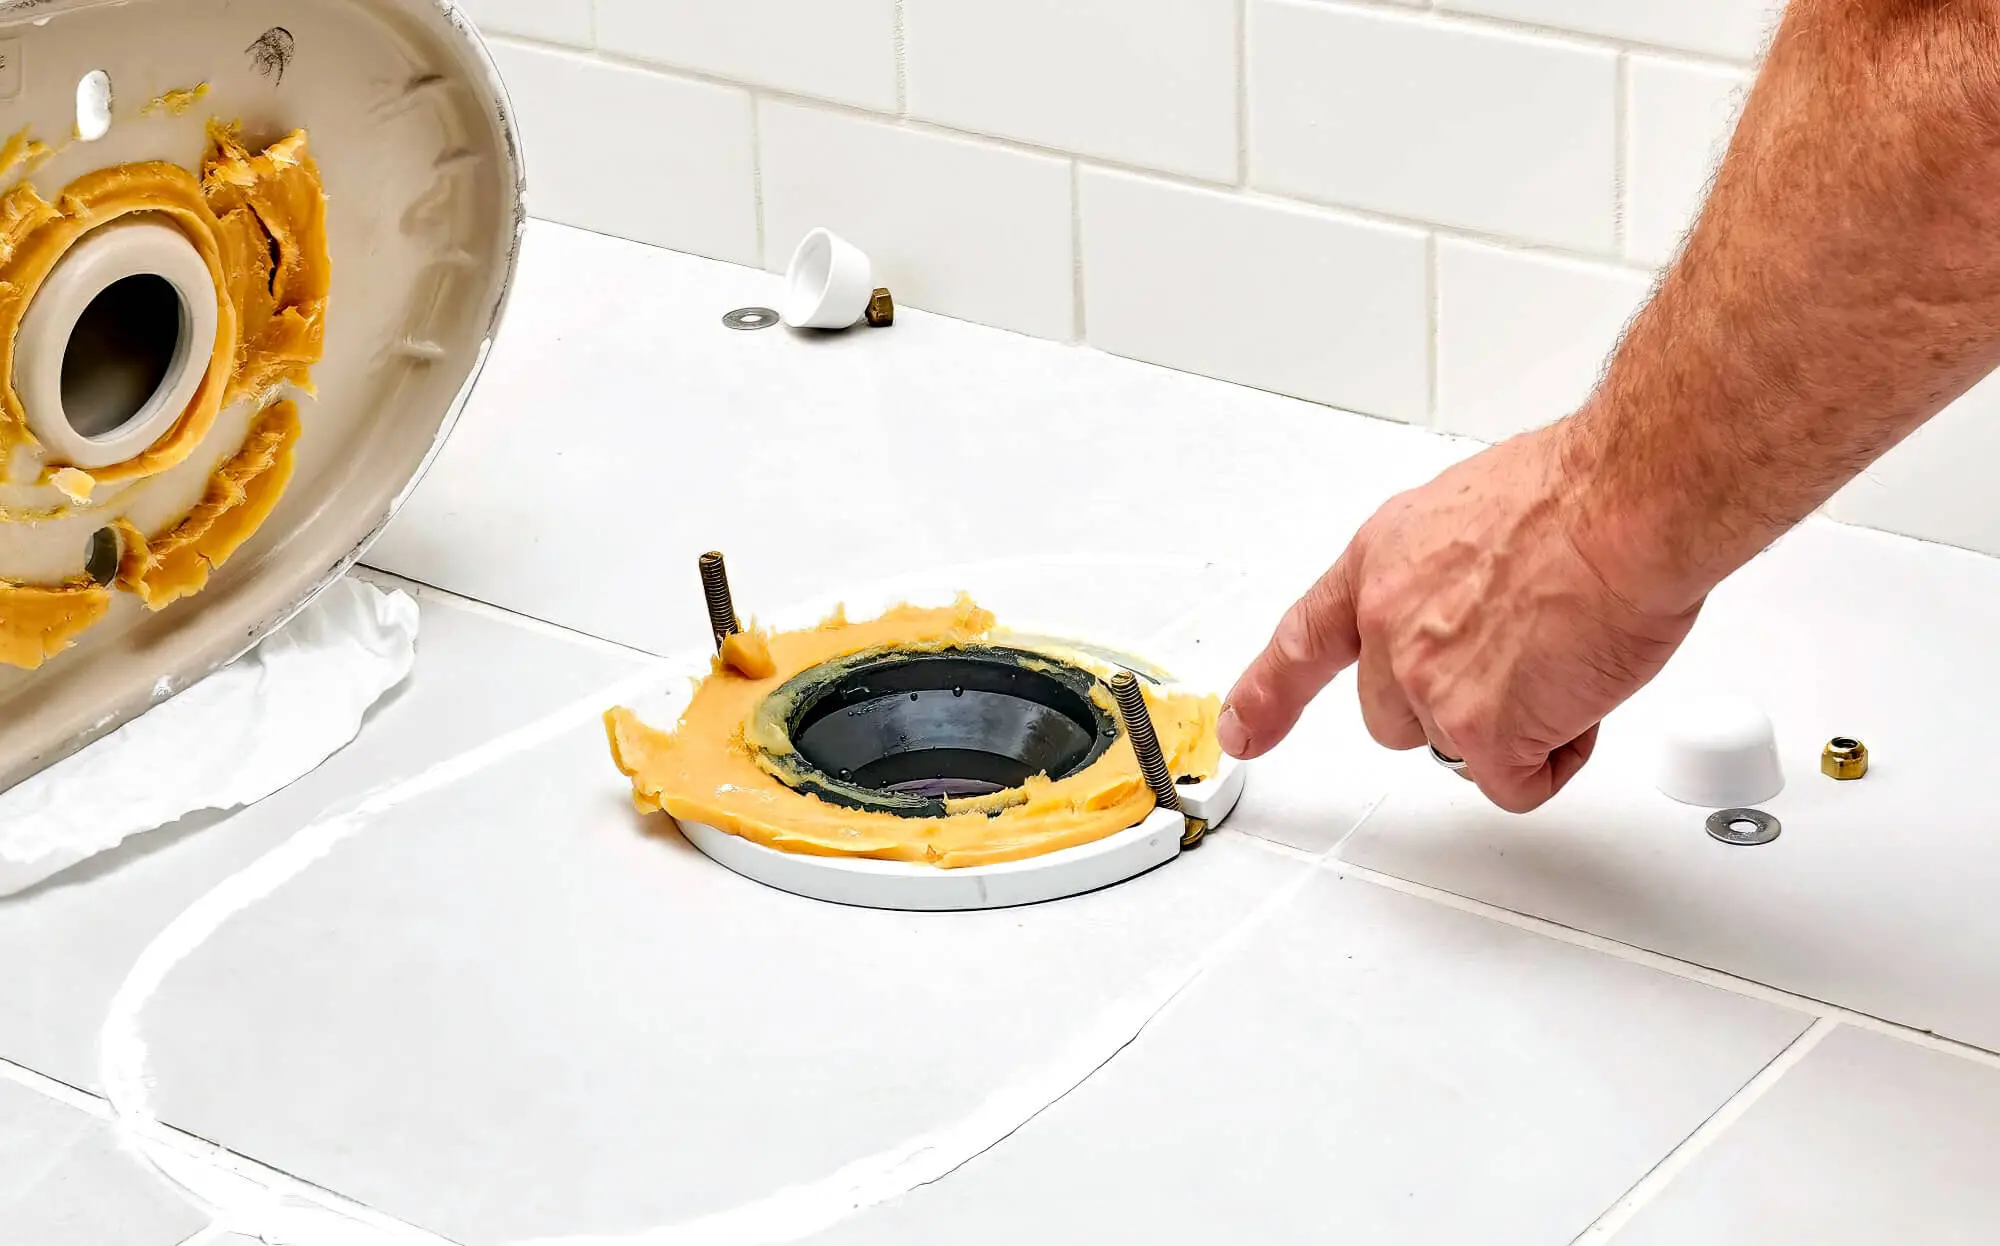
After removing the wax and cleaning the area, stuff an old rag to close the drain opening and prevent the spread of foul sewer odours. Be careful not to stop anything inside the open drain pipe. Remove the rag from the sewer opening to have the new wax seal in place. Install new floor bolts in the plastic flange holes at three and nine o’clock positions.
Give each bolt a quarter turn to ensure their heads won’t get withdrawn, and secure them with plastic keepers or washers. Then, place the nuts on the new bolts to safely reposition the floor flange and put the new toilet flange and wax ring in position.
5. Install New Bowl
Carefully set the toilet, placing the new bowl on the floor ring and ensuring that the new toilet bolts are placed inside the bolt holes of the toilet seat position. Then, secure the new toilet seat in the ring by pressing it. You can use a lever to lay it down straight. Also, be careful while handling the wax ring because it’s fragile, and you will get a leak if it’s crushed or cracked.
Thread the new nuts and washers on the newly installed floor bolts and tighten the bolts securely. Next, cap these bolts and remove any exposed parts with a saw. You’ll get brass or plastic bolts with the new toilet seat, so thread them through the rim holes. Attach the nuts and bolts and tighten them firmly to keep them secure.
6. Attach Water Tank
If not pre-installed, you might need to install the fill and flush valves in your new cistern through the toilet cistern opening. There are two parts here: the spud washer and the spud nut. After you attach the spud to the flush valve side, place the washer over this nut and adjust the toilet fill valve accordingly.
Next, install the toilet valve inside your tank, push the valve shank down from underneath and secure the locknut. Now, lay the tank on its back to place a rubber washer on each bolt inside the water tank. Then, install a brass washer below and put a hex nut on the tank bolt.
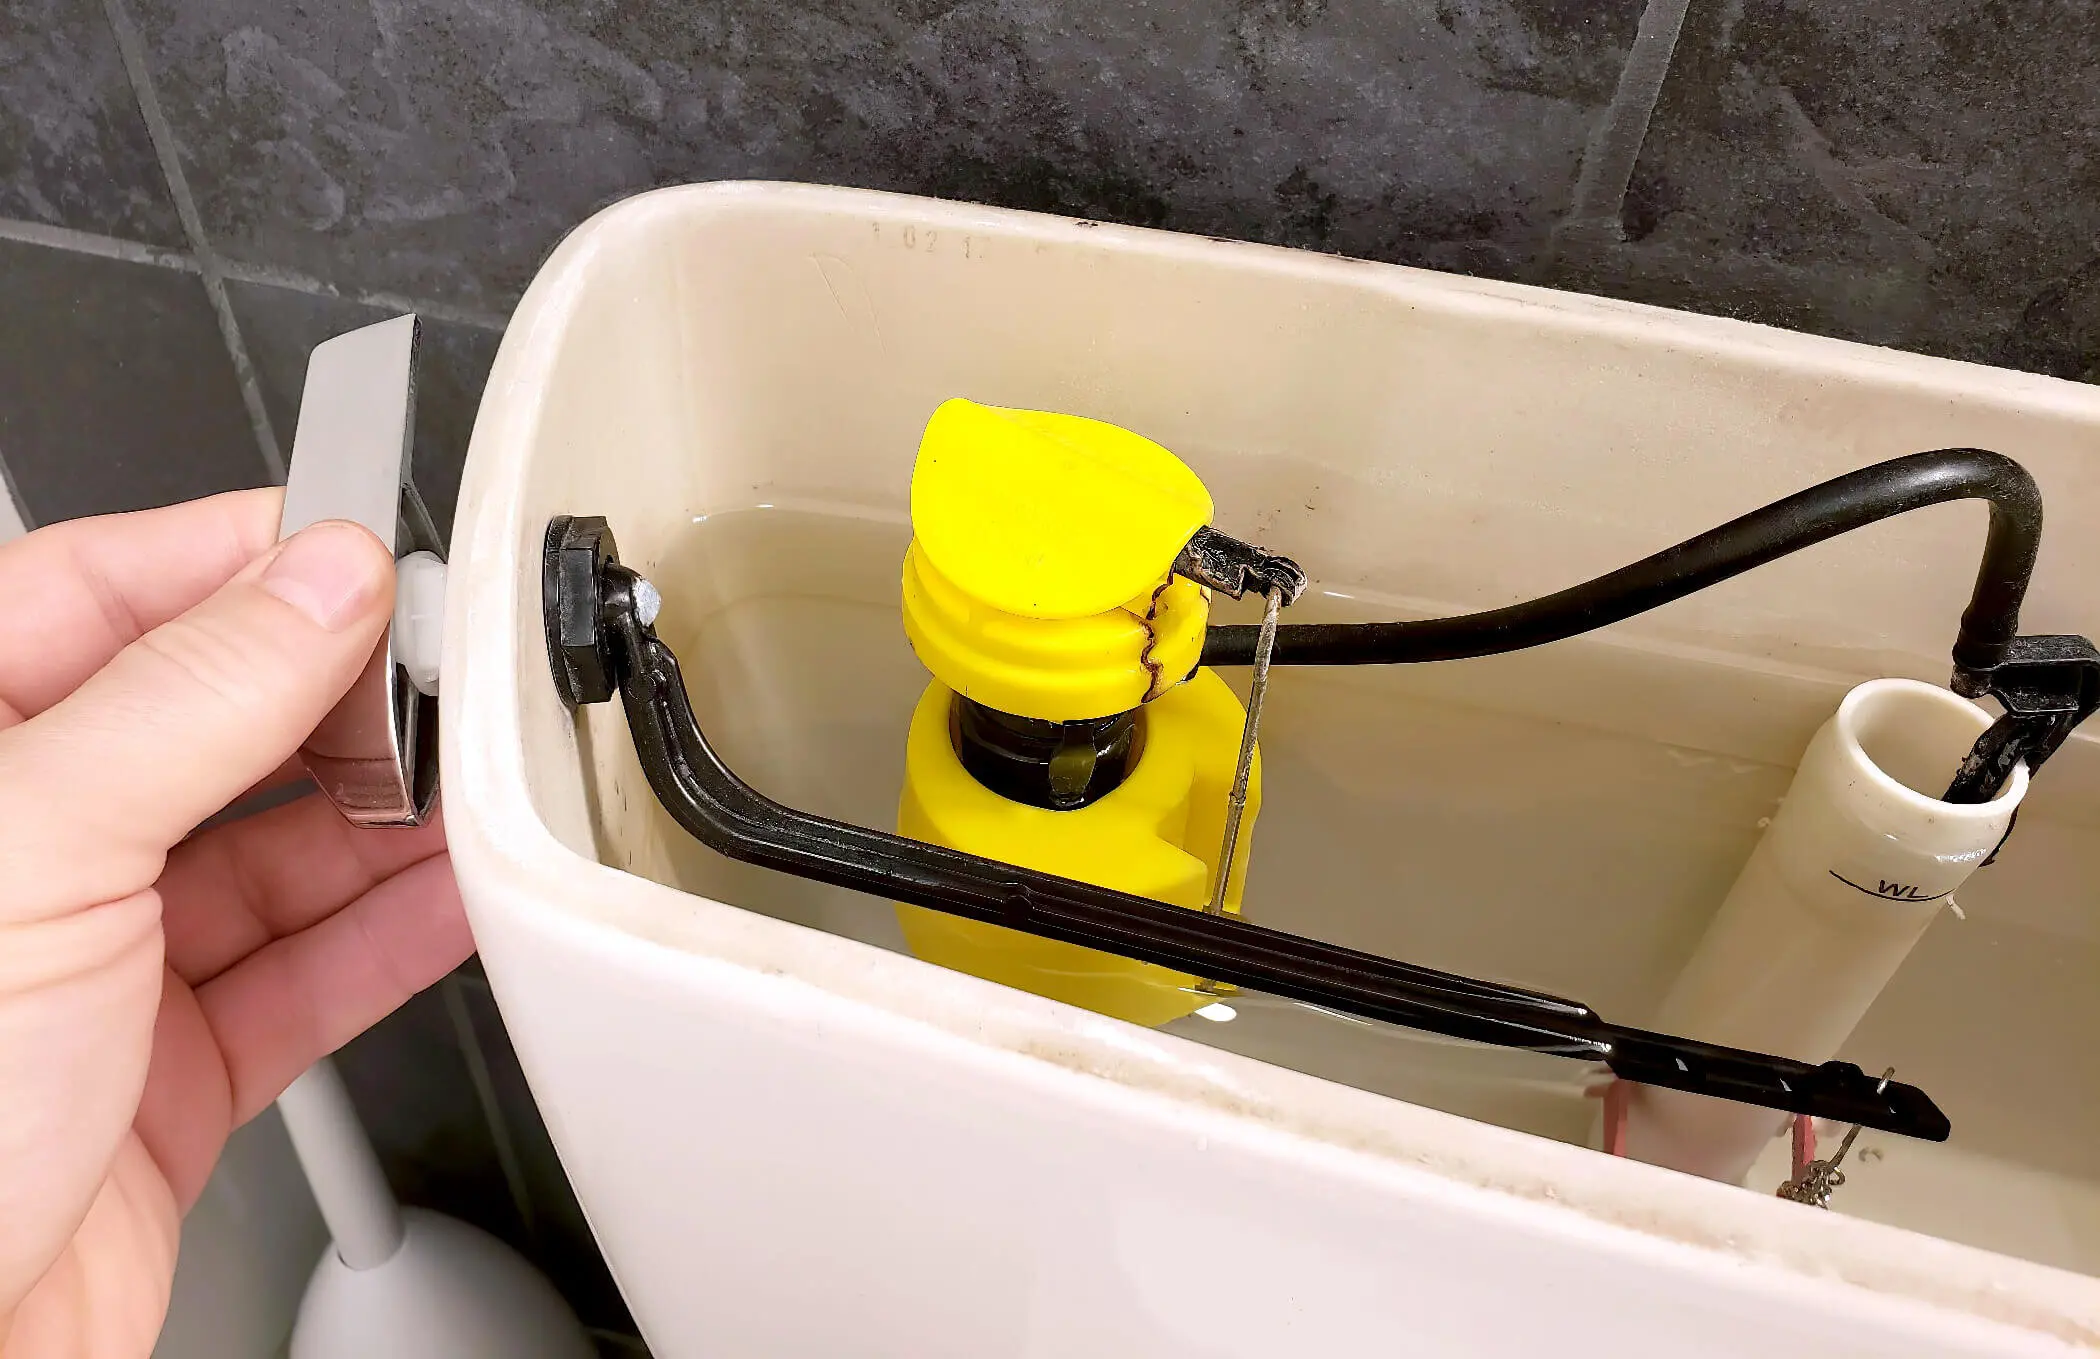
Position the rubber gasket between the bowl and the tank to attach the water tank. Attach the bowl using two bolts and tighten them securely. You can also use an adjustable wrench to tighten the nuts further, but don’t over-tighten them because it can crack the porcelain.
7. Reconnect Water Supply
Once you’ve installed all the units and they fit perfectly, connect the water inlet pipe and main water supply to your new tank. Use the coupling nut to attach the new tubing to the toilet’s fill valve. Now, turn on the water supply to check for leaks or puddles. Also, flush the newly installed toilet several times to ensure everything works properly.
8. Seal The Toilet Base
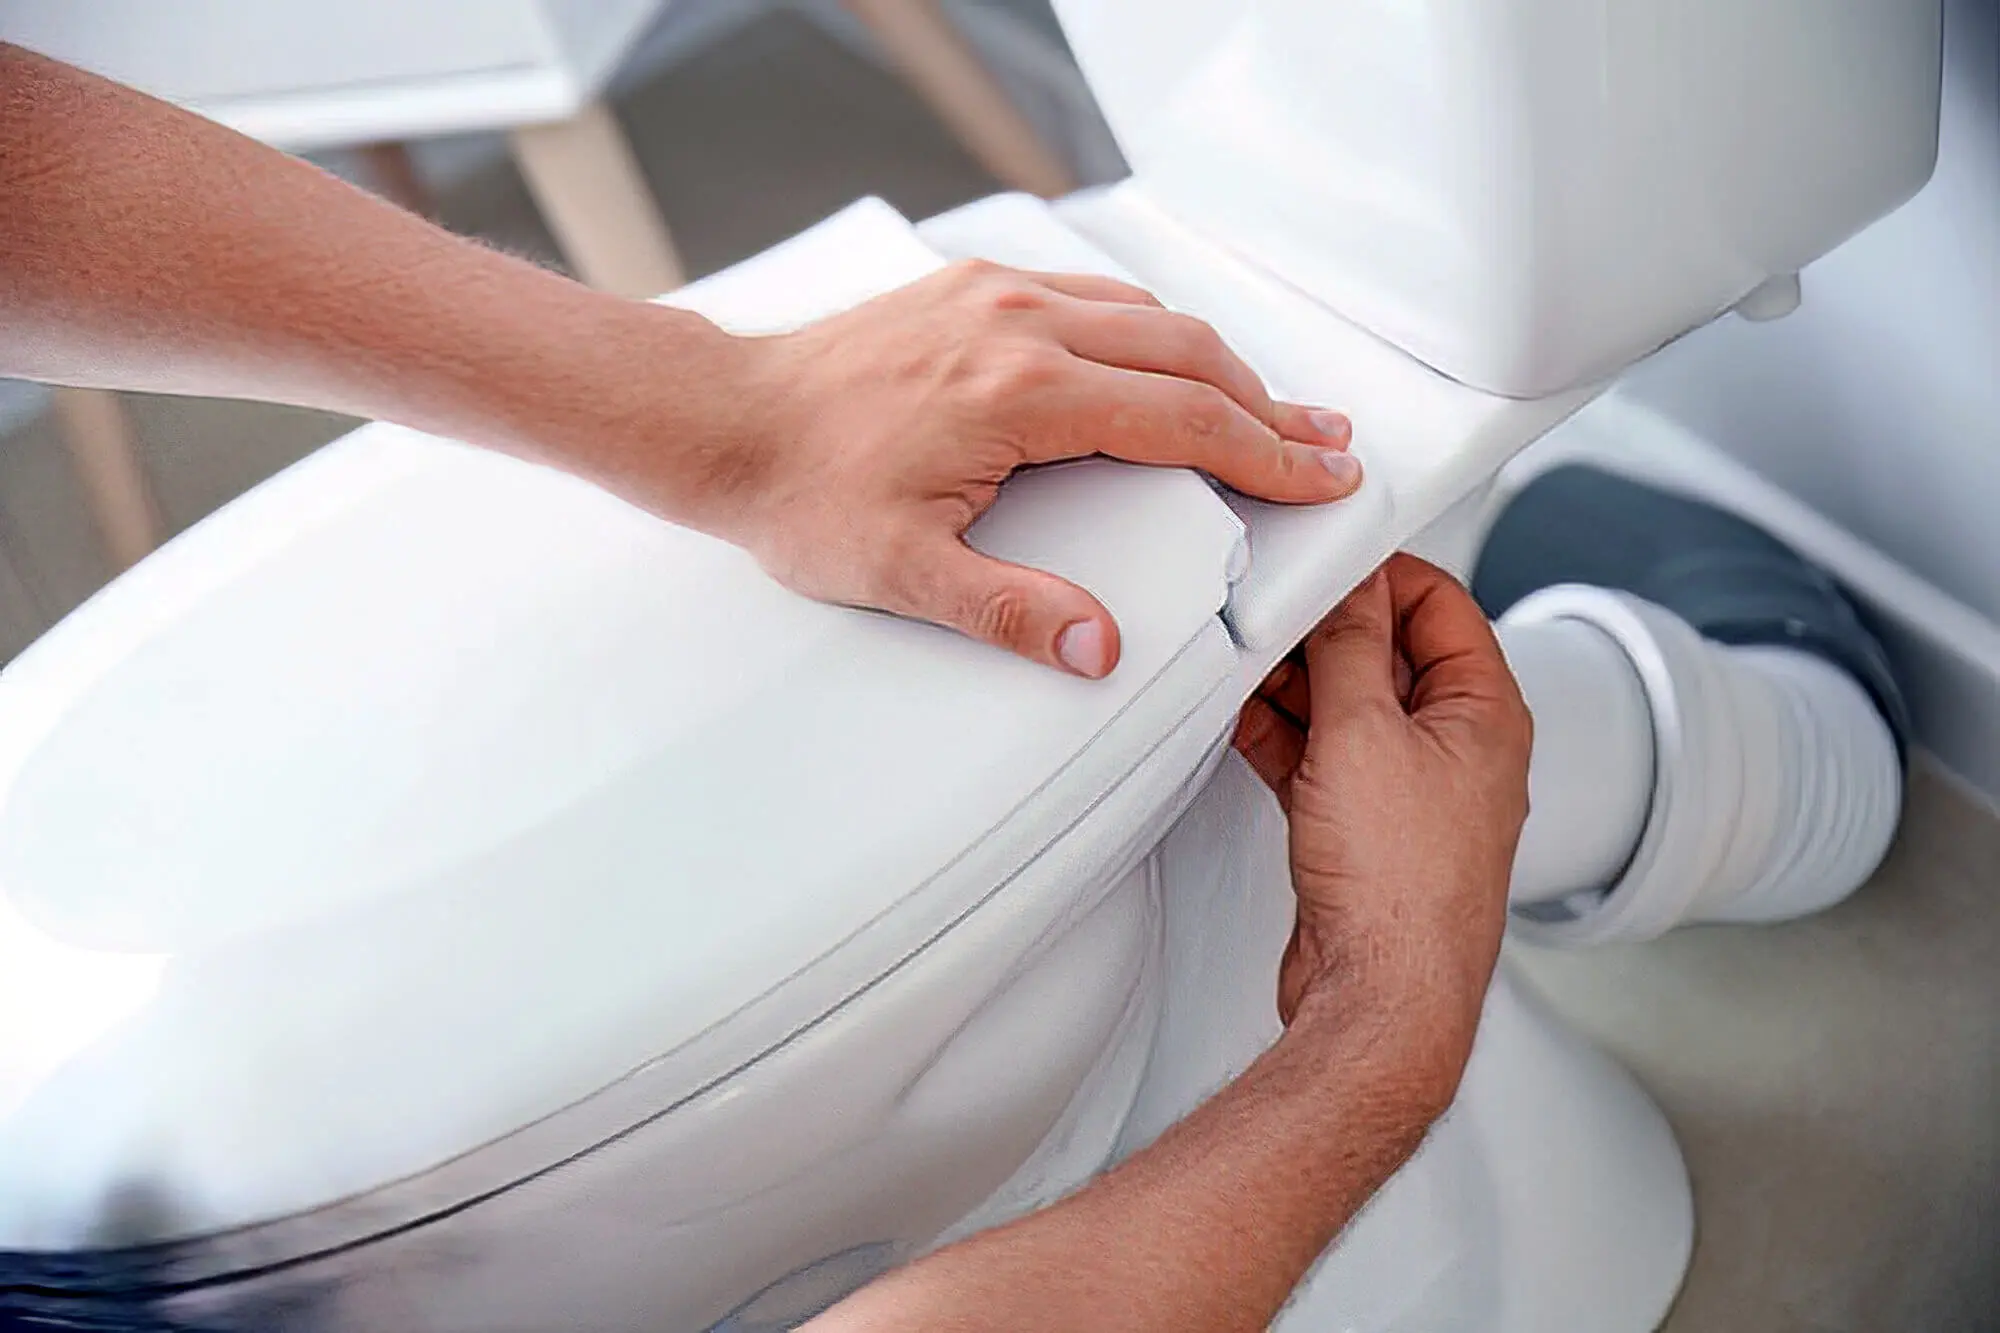
Lastly, you have to seal the toilet base to avoid leakage, so apply tile caulk around the base while leaving space behind the toilet to let the water escape.
Use the toilet for some days before applying the caulk, and ensure the base has no leaks. After you’re sure everything is in place, apply a bead of silicone caulk around the toilet base and let it dry to set the base.
You Can Install A New Toilet On Your Own!
Going through our guide, you may have noticed that replacing a toilet involves intricate and heavy-duty plumbing work. While it’s straightforward, one small mistake can cause significant issues or long-lasting plumbing damage.
Hiring experienced professionals ensures you get a top-notch toilet replacement that lasts, even if you’re a DIY expert. You can sit back and relax while they handle the job. Plus, hiring professionals saves time and gives you peace of mind.
So, if you’re looking to install new toilets, contact the licensed plumbers at Big Blue Plumbing Currimundi, who’ll take care of the entire toilet replacement. Whether the job is a bathroom or kitchen renovation, unblocking clogged toilets, or installing a new suite, there is no better team to work with!
We hope you enjoyed our guide to successful toilet installation and replacement!


