Interesting fact: The bidet market is set to grow by about 6% annually in the coming years. This boost suggests more folks are catching on to the perks bidets offer for contemporary bathrooms, presenting a bright opportunity for makers and sellers.

This blog offers a simple guide to installing a bidet toilet seat. Whether you want to boost comfort or up the hygiene game in your bathroom, you’ll find that adding a bidet is an eco-friendly upgrade that’s surprisingly easy to install.
Installing a bidet improves personal hygiene and is an environmentally friendly choice that can reduce water and toilet paper usage.
This guide will walk you through each step, ensuring that even those with minimal plumbing experience can achieve a more luxurious and sustainable bathroom setup.

Step 1: Gather Your Tools and Materials
To install a bidet toilet seat, you’ll need a few basic tools and materials: a screwdriver, an adjustable wrench, Teflon tape, and your new bidet toilet seat.
Be sure to check the manufacturer’s instructions for any specific tools or materials needed for your bidet seat. Having everything laid out beforehand makes the installation process smoother.
Make sure everything is ready to go before you disconnect the water supply or remove your existing toilet seat.
Step 2: Shut Off the Water Supply
Locate the water supply valve behind your toilet and turn it off to prevent any leaks during the bidet installation. This step is crucial, as it will help you avoid potential water damage in your bathroom.
After shutting off the water supply, flush your toilet to drain the tank completely. This will make the bidet seat installation cleaner and easier.
If you’re working with a smart toilet or an electric bidet seat, turning off the water supply is essential to prevent any issues during the process. Make sure the main water supply is securely off before proceeding.
Step 3: Remove the Existing Toilet Seat
To remove your existing toilet seat, locate the bolts under the seat. Unscrew these bolts using a screwdriver or wrench, then lift the seat off your toilet bowl.
Applying penetrating oil can help loosen the bolts if rusted or stuck. Once you’ve removed your existing toilet seat, it’s a good idea to clean the area around the toilet rim before installing your new bidet seat.
Ensuring a clean surface will help with the secure placement of the bidet mounting bracket, which is critical for a stable installation.
Step 4: Install the Mounting Plate
- Align the Mounting Plate: Start by aligning the mounting plate with the bolt holes on your toilet bowl. This plate will serve as the base for your new bidet toilet seat, so proper alignment is crucial.
- Insert the Bolts: Insert the provided bolts through the mounting bracket and into the bolt holes. Use your screwdriver or wrench to tighten them securely. Ensuring the bolts are tight will help keep the bidet seat stable.
- Level the Mounting Plate: Ensure the mounting plate is level before fully securing the bolts. A level plate is essential for the proper function and stability of the bidet seat.
- Secure the Mounting Plate: Tighten the bolts completely once the plate is level. Some bidet toilet seats come with adjustable brackets, so check the manufacturer’s instructions to see if any adjustments are needed for your specific electronic bidet model.
- Consult a Licensed Plumber if Needed: If you’re unsure about any part of the process—especially when dealing with an electric bidet or if high-hazard backflow prevention is a concern—consult a licensed plumber.
- Prepare for Water Connection: With the mounting plate securely in place, you can connect the water supply hose and complete the installation of your new bidet toilet seat.
Step 5: Attach the Bidet Seat
- Slide the Bidet Seat Onto the Mounting Plate: Carefully slide your new bidet seat onto the mounting plate that you previously installed. Push the bidet seat forward until you hear a click, indicating that the seat has been securely locked into place.
- Check for a Snug Fit: Once the bidet seat is attached, check the alignment to ensure it’s sitting properly on your toilet bowl. If the seat feels loose or misaligned, you may need to make slight adjustments to the mounting plate or the seat itself. Follow the manufacturer’s instructions for any specific adjustments.
- Ensure Stability: Press down on the bidet seat to confirm that it feels stable and doesn’t wobble. An adequately installed bidet seat should feel secure and comfortable when in use.
- Quick-Release Feature: Many bidet seats come with a quick-release button that allows for easy removal when cleaning. Familiarise yourself with this feature for hassle-free maintenance in the future.
Step 6: Connect the Water Hose
To connect the water hose, attach one end to the inlet on your bidet seat. Hand-tighten it, then turn a quarter more with a wrench for security. If there’s a T-connector, fit it to the inlet first, then hook up the hose.
Next, connect the other end of the water supply hose to the water supply valve located behind your toilet. Before tightening, wrap Teflon tape around the threads of the valve to create a watertight seal. Screw the hose onto the valve and use a wrench to make sure it’s properly secured.
Carefully inspect the hose once both ends are connected to ensure it’s not kinked or twisted, as this could impede water flow. Finally, double-check that all connections are tight to prevent any potential leaks.
Step 7: Turn On the Water Supply and Check for Leaks
Slowly turn the water supply back on by rotating the valve behind the toilet. As the water begins to flow, listen closely for any signs of leaks around the connections you’ve just secured. To ensure everything is watertight, thoroughly inspect all connections, including those at the bidet seat and the water supply valve.
If you detect any leaks, tighten the connections or reapply Teflon tape as needed. Addressing any leaks immediately is important to avoid potential water damage. Make sure all leaks are resolved before proceeding with the next steps.
Step 8: Test the Bidet Functions
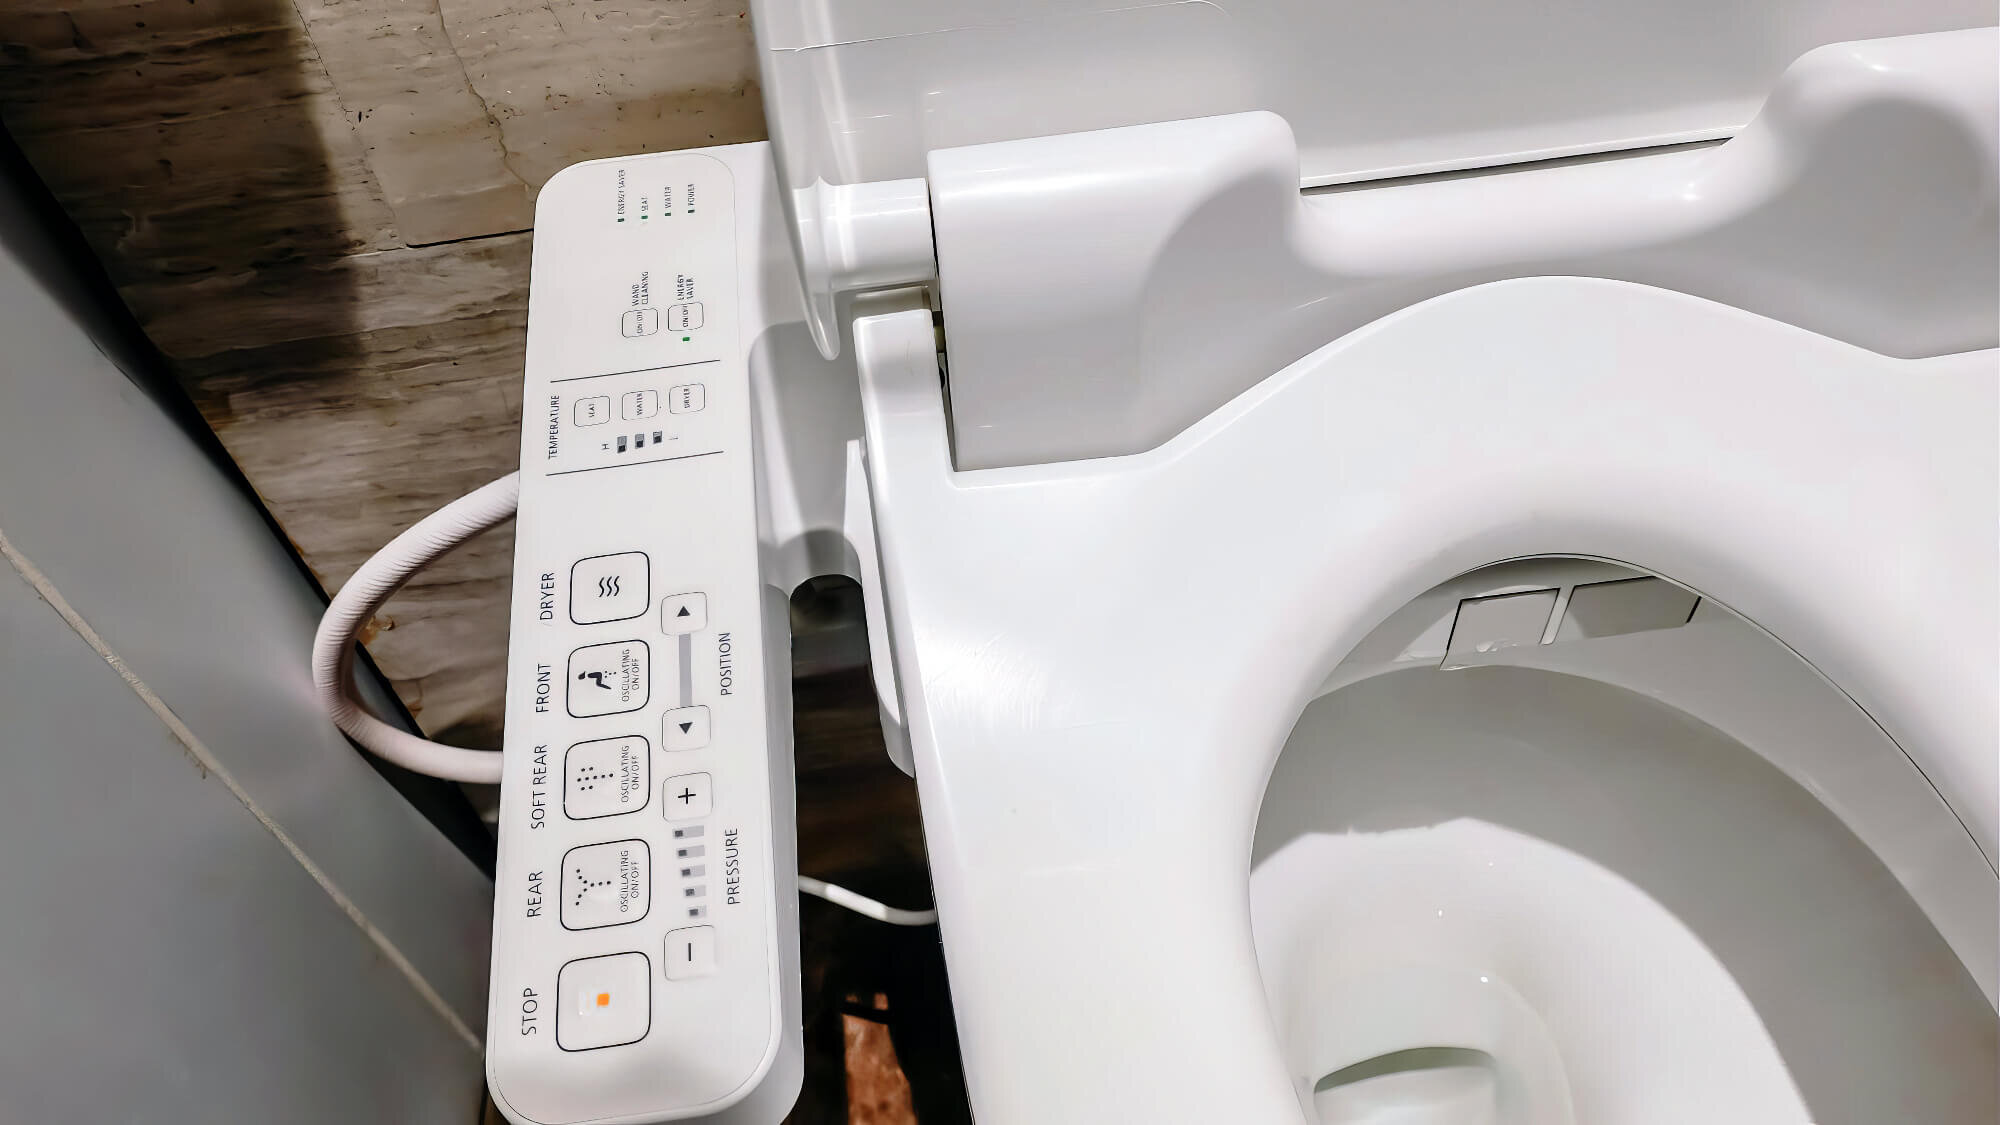
Now that the water supply is turned on, it’s time to test the various functions of your new bidet seat. Start by activating the bidet to check the water pressure and ensure the nozzle is functioning correctly.
Adjust the nozzle position to your preference, ensuring it reaches the desired areas. If your bidet seat has additional features like heated seats, adjustable water temperature, air dryers, or remote control, test each to confirm they’re operating smoothly.
Consult the manufacturer’s manual for specific instructions on adjusting settings or troubleshooting any issues. Testing all functions thoroughly is essential to ensure that your bidet operates as expected and provides the comfort and convenience you’re looking for. If you encounter any problems, refer to the manual or contact the manufacturer for support.

Step 9: Final Adjustments and Clean-Up
After testing, make any final adjustments to the bidet seat’s position for optimal comfort and aesthetics. If the seat feels slightly off-centre or misaligned, it is time to correct it.
Once you’re satisfied with the positioning, wipe down the entire area to remove fingerprints, dust, or water spots. Then, sit on the toilet to ensure the bidet seat is comfortable and properly aligned.
As a final step, check the bathroom for any leftover packaging, tools, or debris to maintain a clean and tidy space. Proper clean-up ensures your bathroom looks as good as your new bidet.
Enjoy the Comfort and Hygiene of Your New Bidet Toilet Seat
Installing a bidet toilet seat is a simple yet transformative upgrade that brings numerous benefits to your bathroom experience. With enhanced personal hygiene, increased comfort, and a touch of luxury, a bidet seat is more than just an accessory—it’s a smart investment in your well-being.
The installation process is straightforward, even for those with minimal plumbing experience. By following the steps outlined, you can easily integrate this modern convenience into your daily routine and enjoy the many advantages it offers, from adjustable water pressure to soothing heated seats.
If you have any questions or need professional assistance with your plumbing needs, don’t hesitate to contact Big Blue Plumbing. Whether you’re unsure about any step in the installation process or prefer to have a professional handle it, Big Blue Plumbing is here to help.
We offer expert toilet plumbing services in the area, ensuring a hassle-free experience for all homeowners. Our team is dedicated to providing top-notch service so you can sit back and enjoy your upgraded bathroom with peace of mind. Reach out to Big Blue Plumbing today, and let us help you make the most of your new bidet toilet seat.


