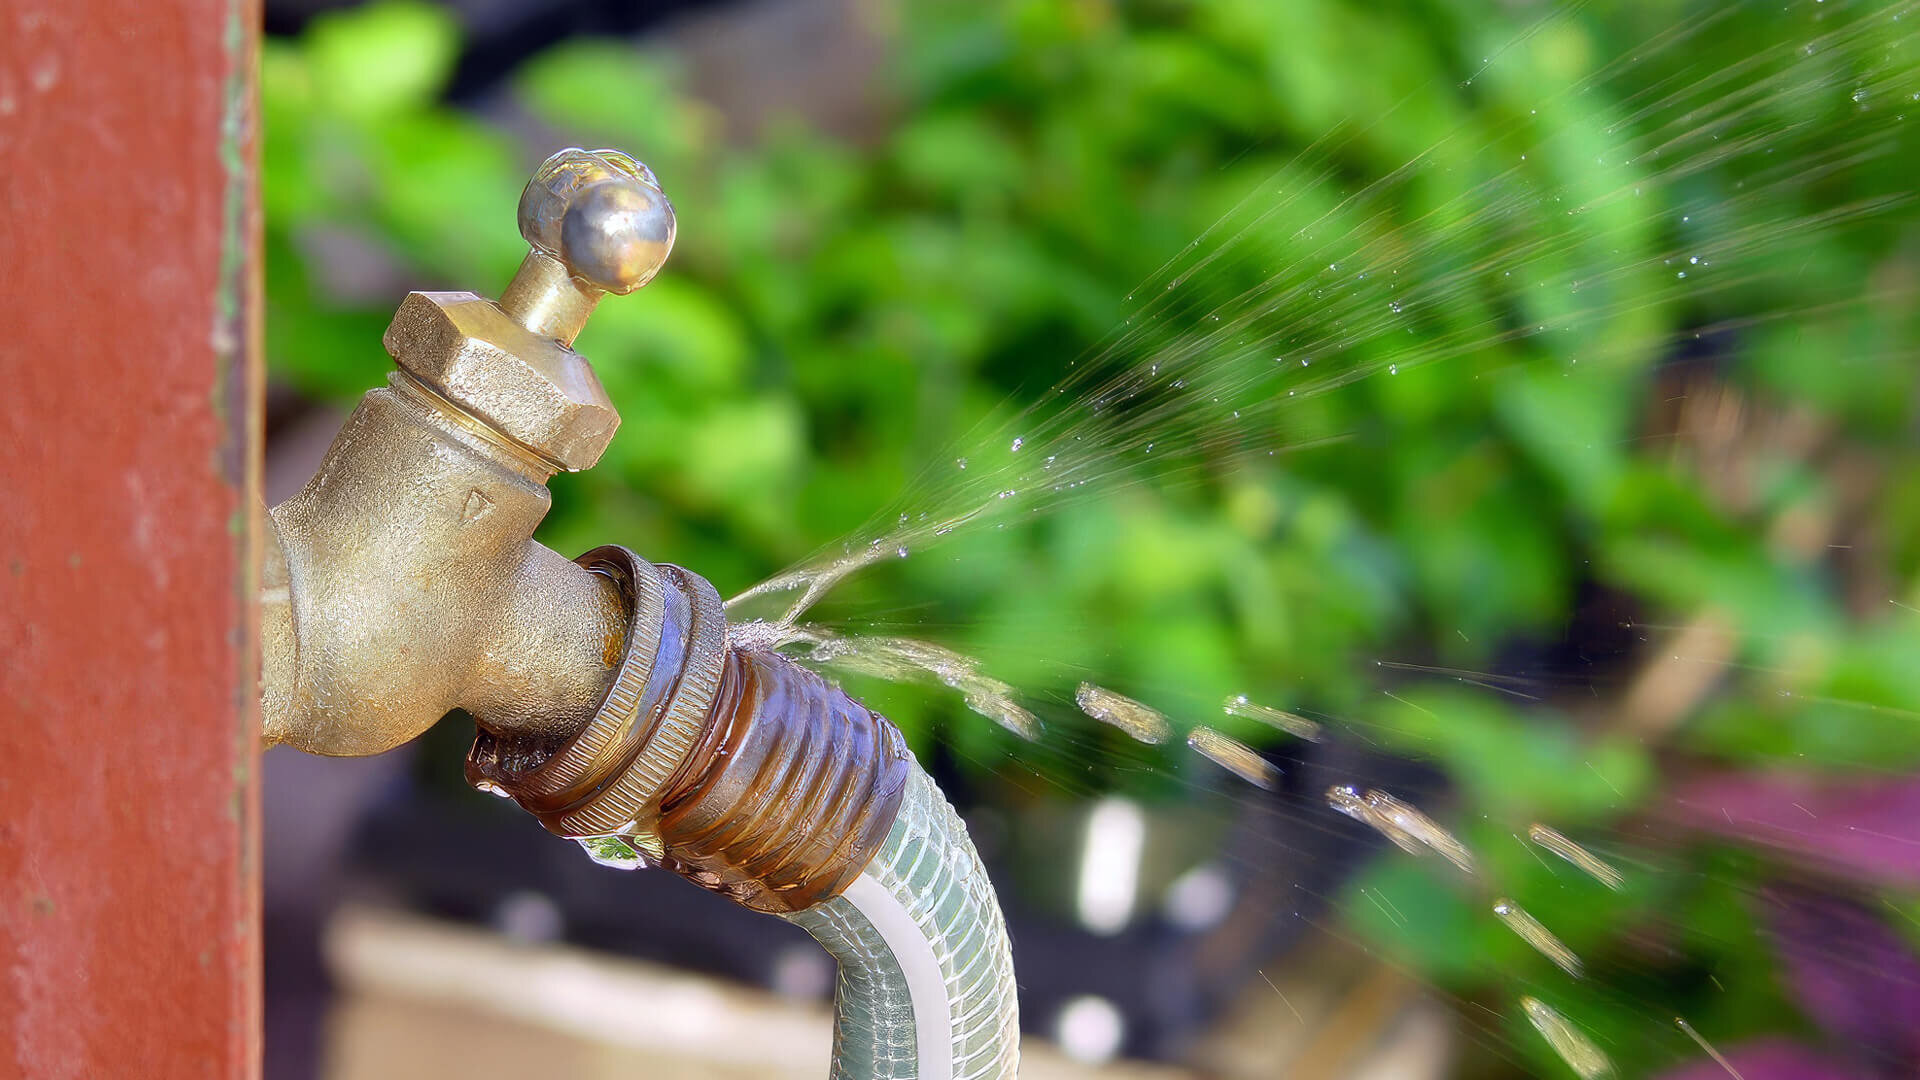
A leaking outdoor tap often flies under the radar, with many not giving it much thought.
People often postpone repairs until absolutely necessary, which can create bigger problems down the line. Dripping water can seep into your building’s foundations, potentially causing serious structural damage. Such water damage isn’t cheap to fix.

Moreover, constant water dripswill result in higher water bills. If the constantly dripping water reaches your garden, it can harm the plants there. Fortunately, dealing with a leaky tap quickly is possible without hiring a plumber.
This quick guide will show you how to diagnose and fix a leaky garden tap with DIY methods. Let’s dive in!
Common Causes Of Garden Tap Leaks

Before you can use DIY repair methods to fix a leaky outdoor water fixture, it is essential to learn about the causes of the problem. The most common causes of an outdoor leaking tap include:
- Loose packing nut
- Damaged or worn out washer
- Frost damage
Some issues, like a loose packing nut, are quick fixes. Others might require a spigot replacement. This step-by-step guide on fixing your leaking garden tap will walk you through what to do.
Fixing A Leaking Outdoor Faucet
As mentioned above, a leaky outdoor faucet is a common problem that must be dealt with quickly to prevent structural damage and keep your garden in proper shape. But before getting started, you must procure the necessary tools for the job. Most of these tools are easily available at home, and others can be purchased from a hardware store.
Tools Required
- Adjustable hand wrench
- Screwdriver
- Pliers
- Washer
Now, let’s look at how to repair outside taps and prevent them from leaking.
Step One
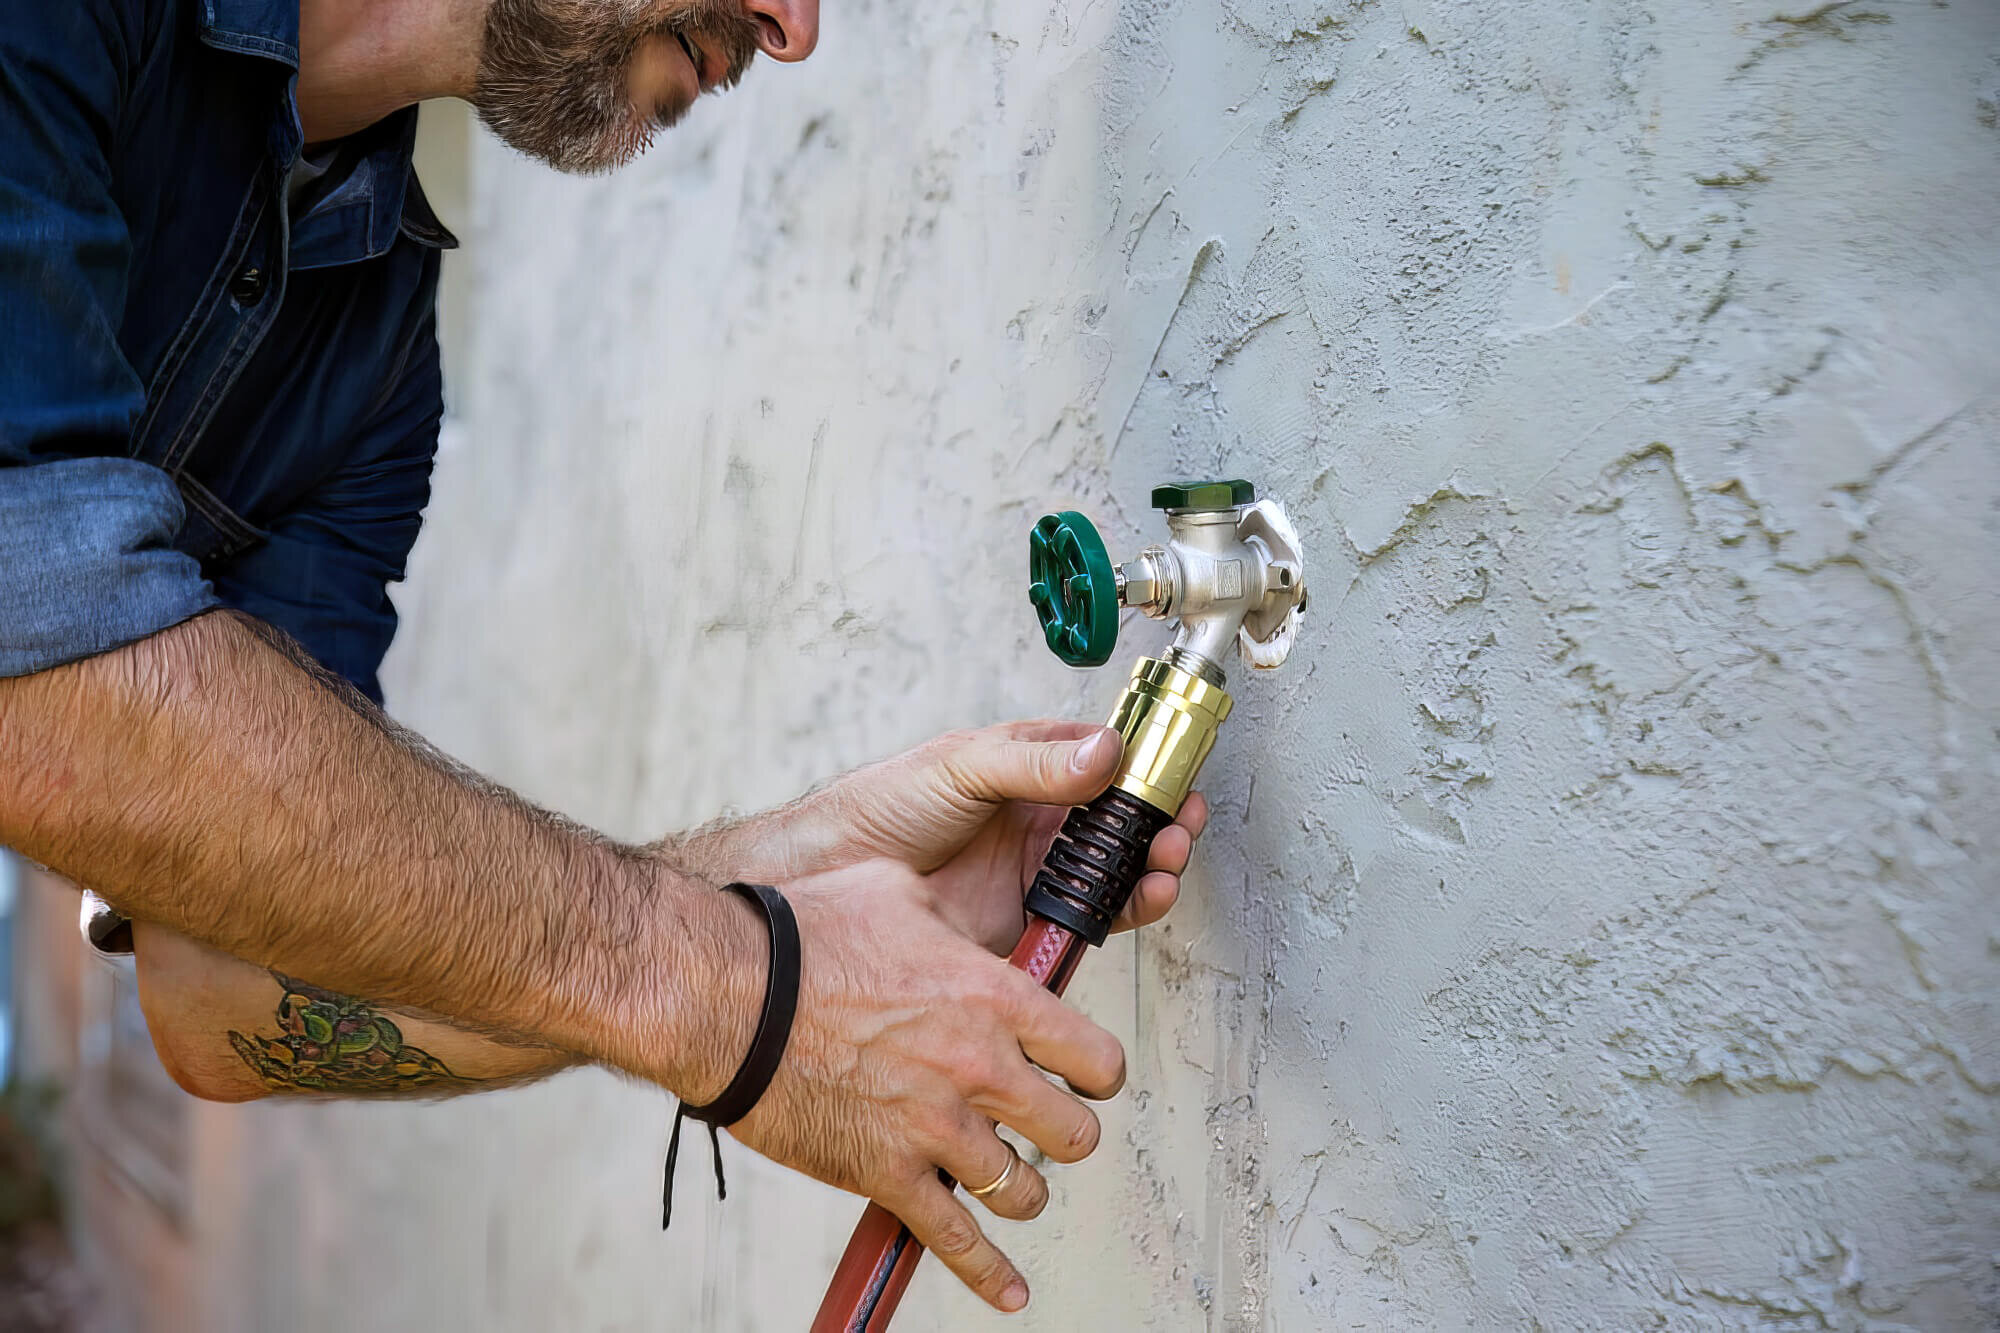
An outdoor tap (also called a hose bib or spigot) has a packing nut behind the handle. If it’s loose, leaks can occur. First, check the outside tap to see if the packing nut is secure. If it’s loose, tighten it by turning it half to an eighth of a turn.
In some cases, the handle has a screw in its centre, which must be tightened. However, if this still does not fix the problem of the tap leaking, the packing nut will need to be removed before you can check the hose system.
Step Two
If you need to repair the hose to prevent the tap from leaking water, the first thing to do is turn off the water supply. To do that, determine where the shut-off valve is installed, which can vary depending on the area. It may be located indoors in the garage, basement, or outside. Once you find it, turn it clockwise to turn off the water supply.
In some cases, there may be a knob that needs to be turned completely to turn off the water. After turning it off, turn on the garden tap to ensure the water is off and remove any water left in the pipes.
Step Three
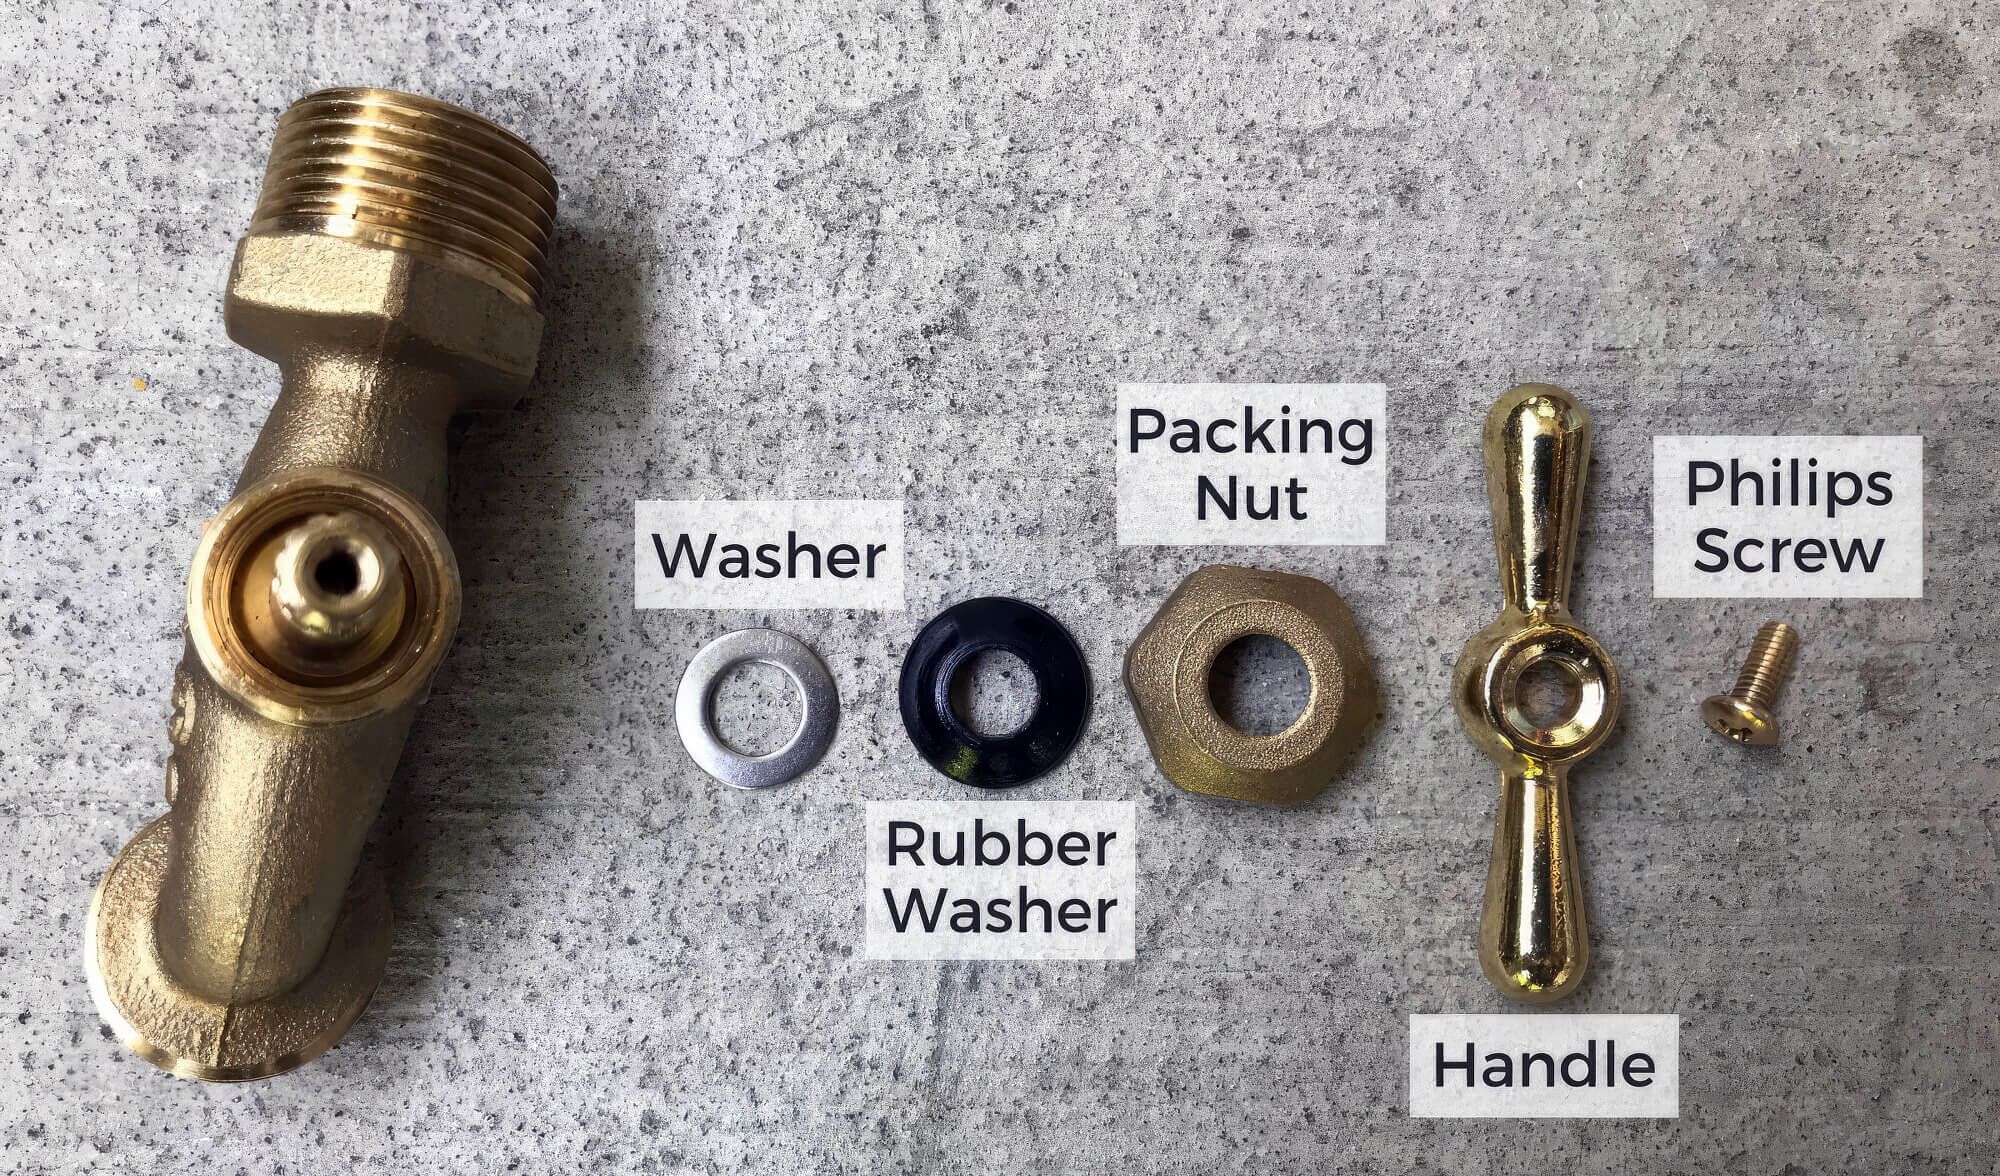
After turning off the water, grab an adjustable wrench to unscrew the packing nut behind the tap handle. Then, remove the handle to access the washer assembly, which needs replacing. The process may vary depending on whether your tap is frost-free or standard.

The washer assembly is located behind the handle on standard outdoor taps, while it is attached to a faucet stem on frost-free ones. The latter will need to be removed to access the damaged tap washer.
The washer assembly can be removed using a screwdriver. Once removed, you can get a new washer with the same thickness and size and replace it with the old one.
Step Four
After replacing the old washer with a new one, it is time to reassemble the faucet. Screw back the faucet handle or stem into place before tightening the packing nut.
Step Five
The process can be more complicated for a frost-free faucet since there are more places where these taps can leak. Sometimes, the valve on the vacuum breaker may break. In such instances, you will need a new vacuum breaker that fits the garden tap perfectly, which can be obtained from any hardware store.
So, first, remove the vacuum breaker cap from the top of the spigot, then remove the vacuum breaker by unscrewing it. You may need a pair of pliers to dislodge the connecting threads before pulling out the breaker. After getting a new vacuum breaker, follow the same process to install it in reverse.
How To Stop A Leaky Garden Faucet
Sometimes, replacing parts like the washer assembly may not be enough to stop the leaking, and you may need to replace the entire fixture. In such instances, these steps can help fix a leaking garden tap without calling a plumber.
Items Needed
- Pipe wrench
- Plumber’s tape
- Meter key or street key
- Tape measure
- Exterior caulk
- Replacement spigot
Step One
Before disconnecting the pipe to replace the faucet, turn the water off using the valve, which may be close to the water meter. You will need a street key or meter key to do so.
Step Two
Once the water has been turned off, turn on the tap to let the remaining water flow out so the tap can be removed easily. Garden taps or spigots usually have a pipe ranging from eight to 16 inches long and have a threaded or male connection at one end. To disconnect the faucet, use a pipe wrench and turn it counterclockwise.
After it is disconnected, remove the hose bib from the pipe so a new one can be installed.
Step Three
First, wrap the plumber’s tape around its threaded end clockwise to install the new faucet. Then, insert the faucet into the female or unthreaded pipe end and tighten it securely. Your pipe wrench can be used for this purpose. Once it is properly installed, apply exterior caulk to reinforce the installation.
Step Four
Wait until the caulk is dry before turning off the water supply at the meter. Then, turn on the outside tap to check whether the problem of a leaky garden tap has been solved. This easy fix for a leaking garden hose faucet will take a little time to complete and can help you save a lot on costly repairs.
Fixing A Leaking Garden Tap
DIY fixes for a leaky outdoor tap don’t take much time or effort and can save you money on costly repairs. However, it’s important to be careful while doing these repairs, as parts like washers can be quite delicate.
Also, sometimes, even after performing the repairs, the leakage may not stop. This can indicate other problems with the plumbing. If that is the case, hiring a professional plumber to inspect the site and identify the problem is best.
The plumber can then suggest the best way to deal with the problem and perform the necessary repairs to stop the water from leaking.


