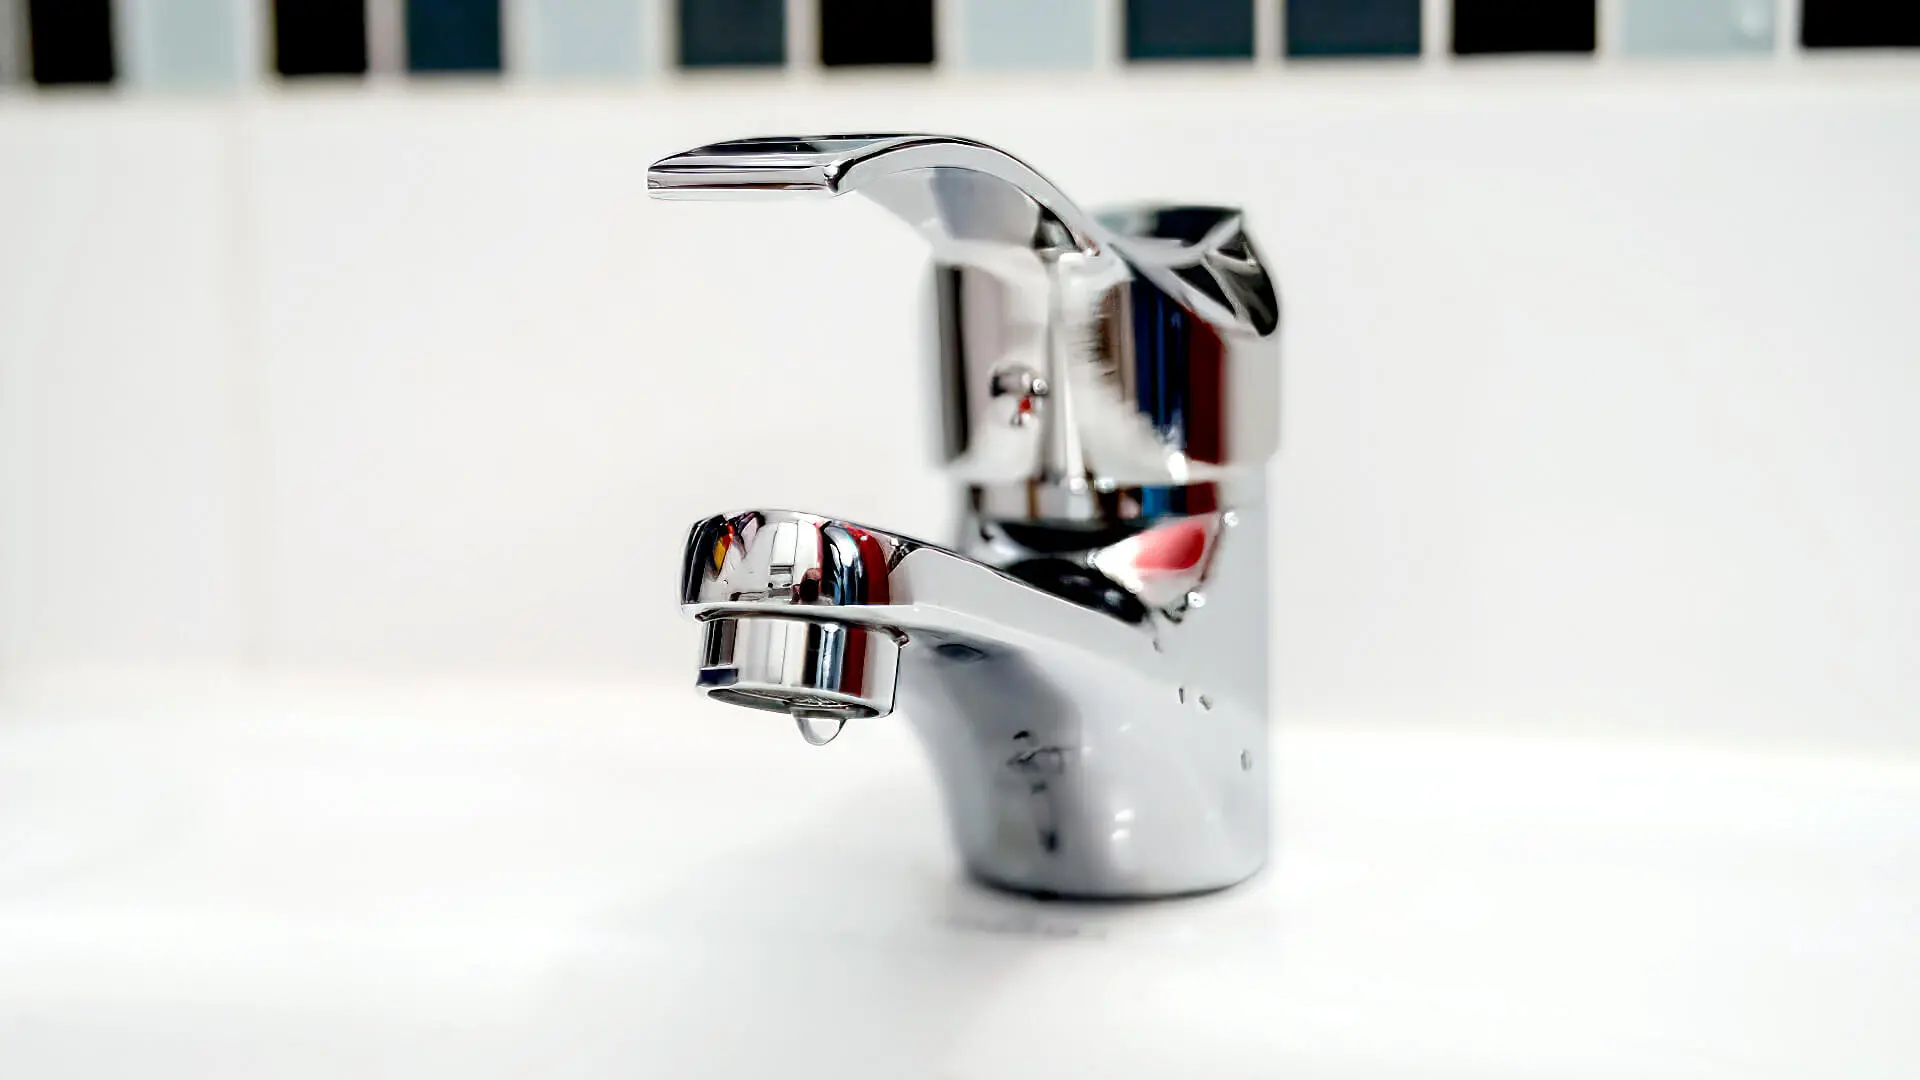
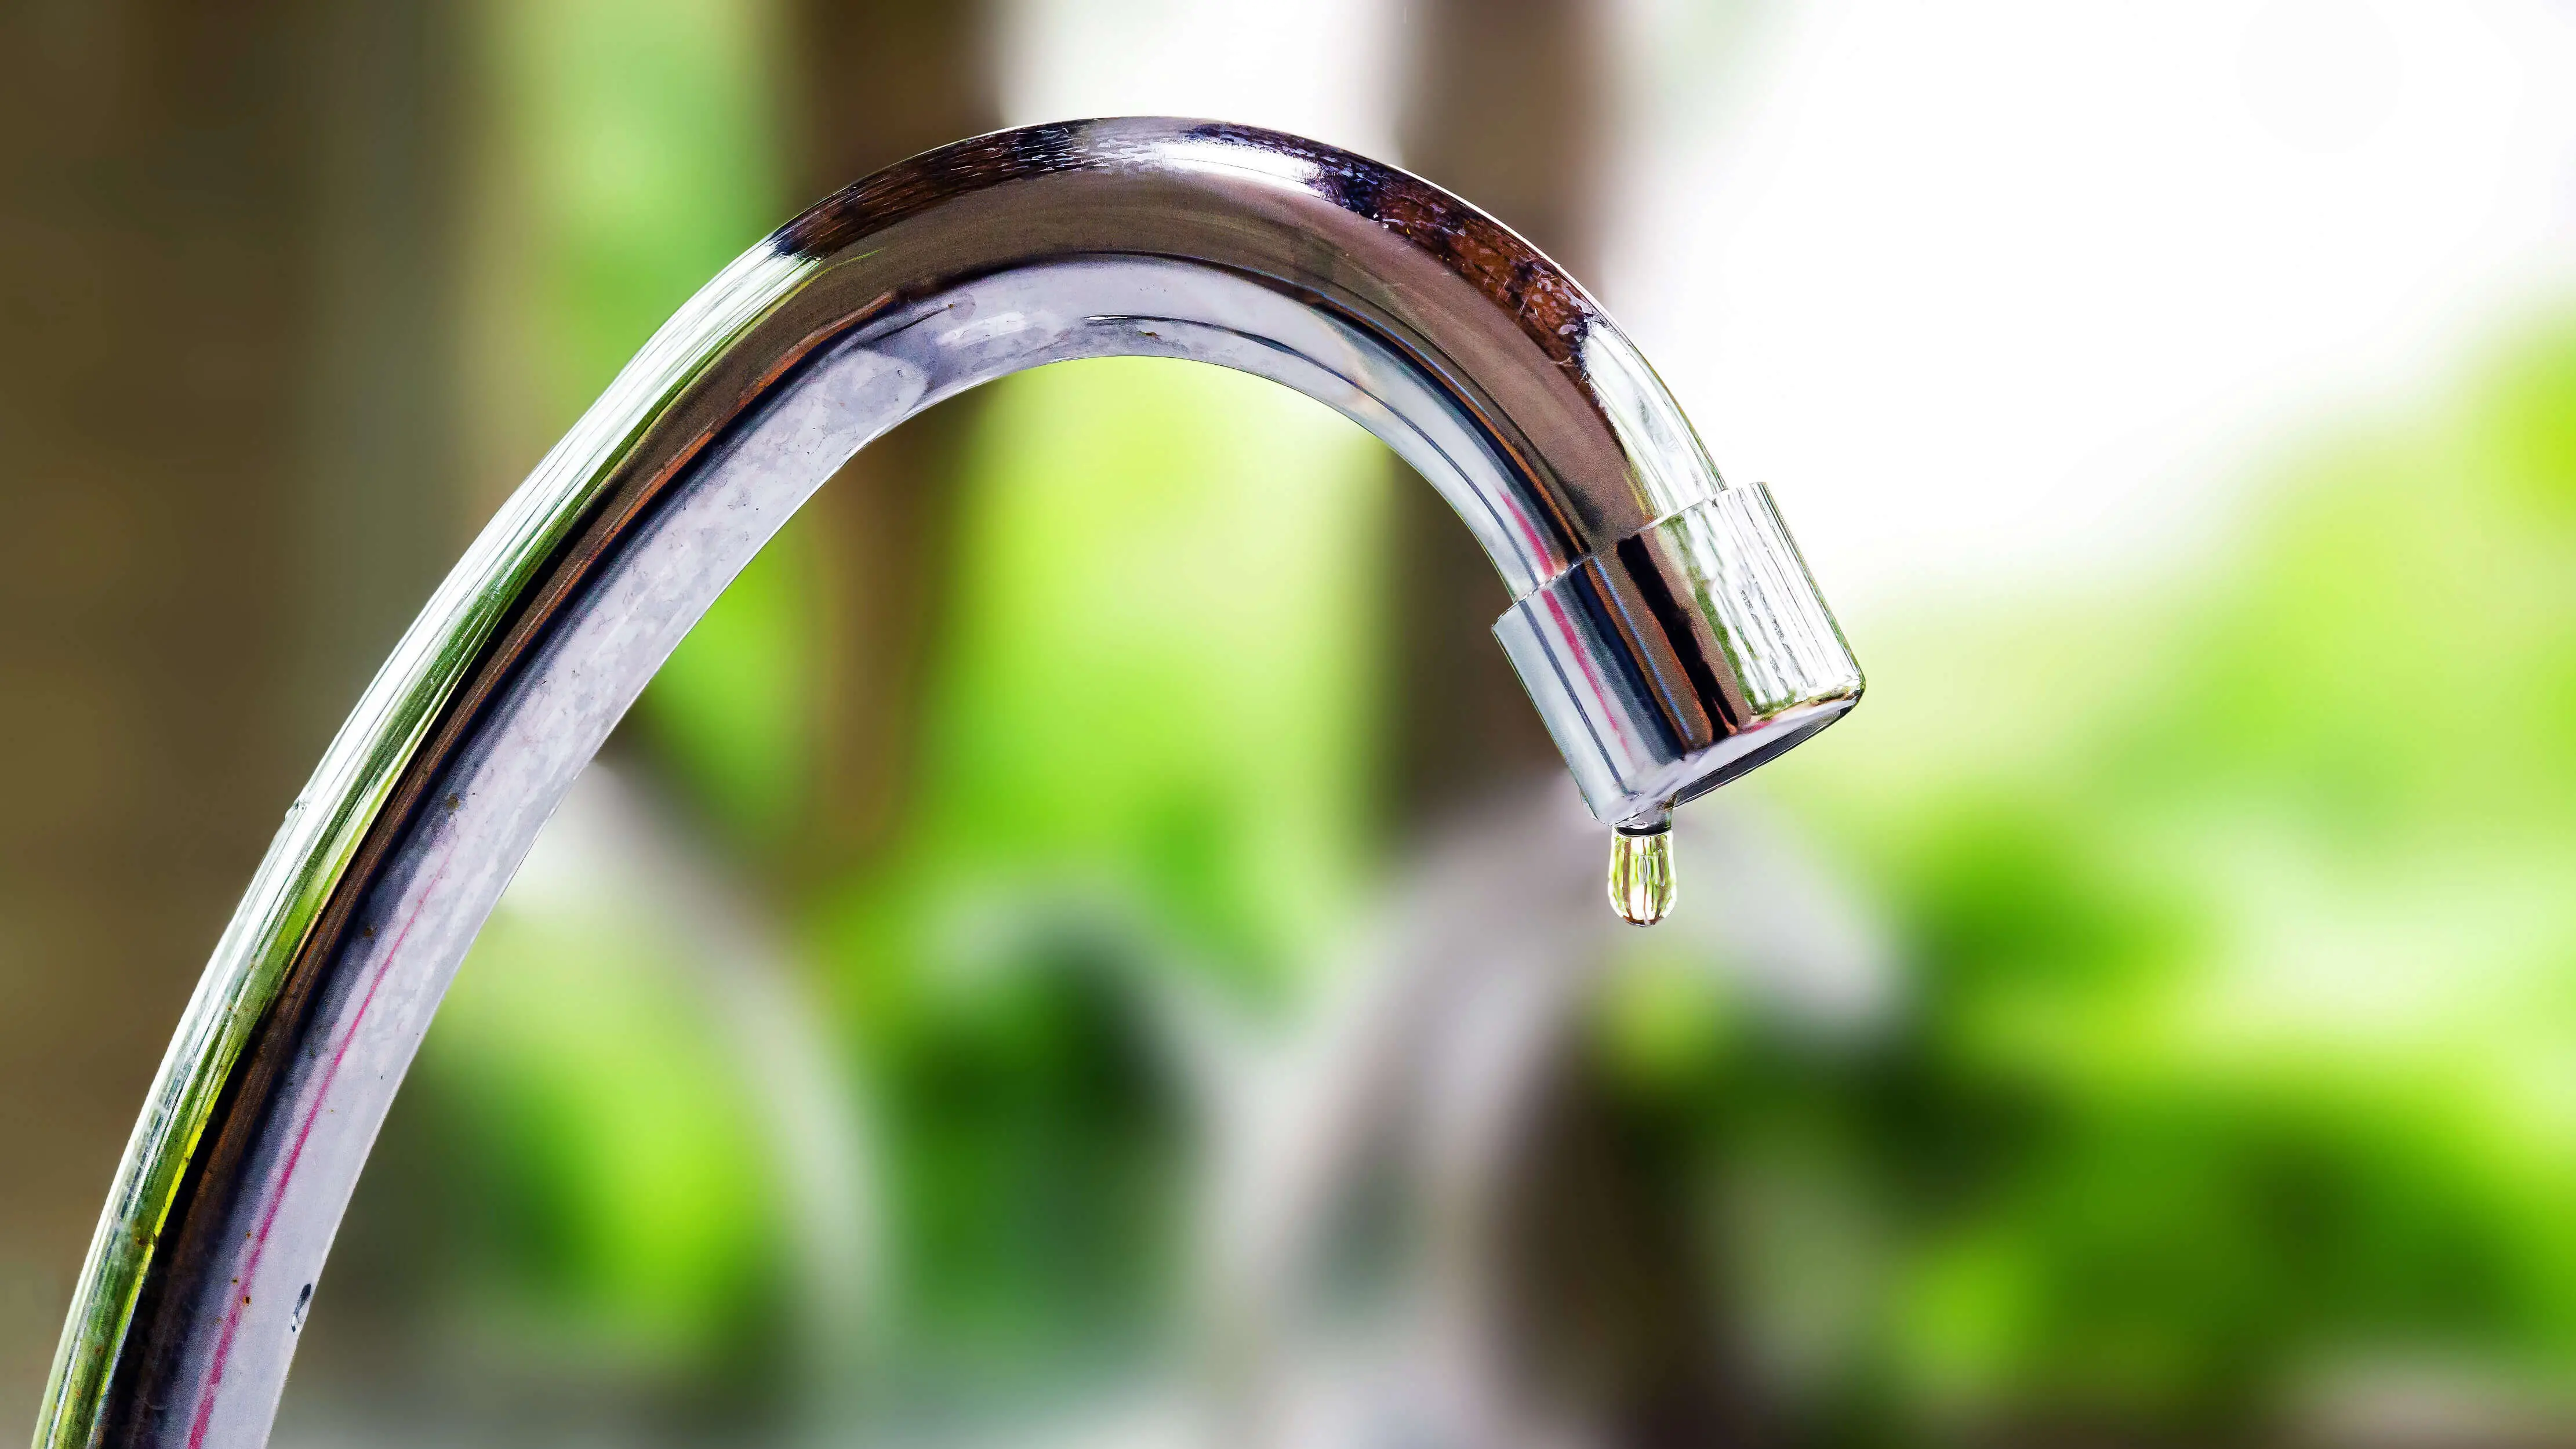
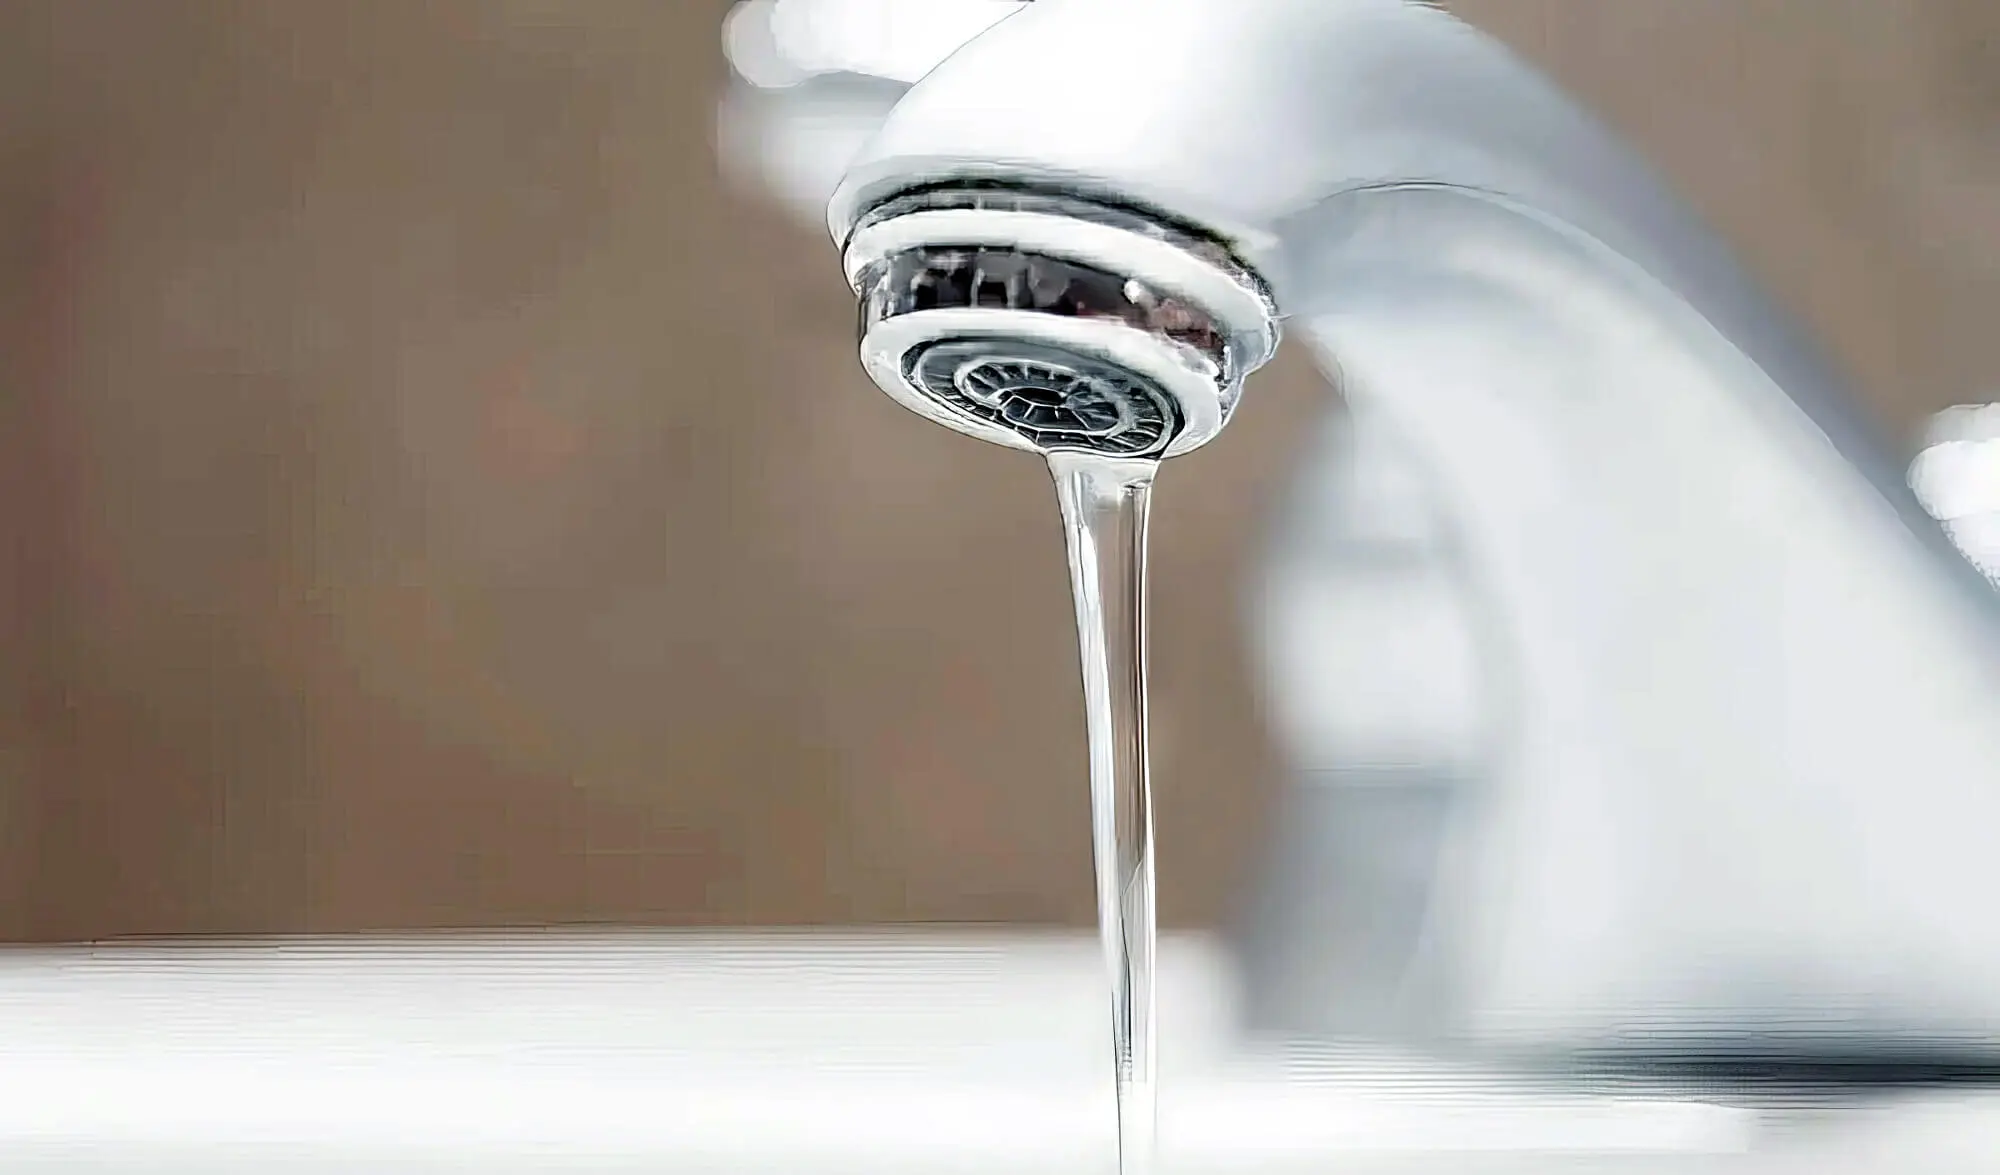
A dripping tap in your home or office is more than just an annoying noise; it can lead to water flooding and a hefty water bill. It’s hard not to want to fix it straight away.
It is quite simple to fix leaking taps if you can figure out what went wrong. Usually, taps leak due to a broken tap washer (a component attached to the jumper valve) or worn-out O-rings (rubber parts attached to the stem of the tap body).
The simplest way to determine what needs replacing is to observe the leak. If your tap drips, it’s likely a washer issue. If it leaks when it’s running, the O-ring is probably at fault.

And even though fixing dripping taps isn’t too complicated, it can get messy and dangerous if you don’t follow proper instructions.
Reasons Why You Have A Leaking Tap

Of course, the leading causes revolve around the washer and jumper valve or the O-ring; however, there are various ways these can cause problems. Here are a few of them:
- You have installed a tap washer with an incorrect size
- There’s a worn-out or broken washer
- The jumper valves are broken
- The tap seat or valve seat is corroded
- The O-ring has come loose or worn out
It is also vital to know the type and materials of the parts in your leaky tap – it can have rubber or ceramic parts. If your tap bonnet can be turned by ¼ or ½, it likely has a ceramic disc sealant. However, if you can turn the tap bonnet further than ½, it has a rubber disc.
How To Fix A Leaky Tap

Tools You Will Need
- Spanner or wrench
- Jumper valve
- Screwdriver
- Washers with the correct size
- Pliers
- Gaffer tape
- Tweezers
- A leaking tap repair kit
- Rags or a cloth
Step 1: Identify The Problem
As previously mentioned, identifying the problem is as important as fixing the tap mechanism. You must change the washer attached to the jumper valve. However, if there is leaking water around the base or stem of the tap spanner, then you have a case of a faulty O-ring.
But if you still find it challenging to identify the problem, you can address the washer and O-ring issues to fix a dripping tap.
Step 2: Prepare The Leaking Tap
Before starting any repairs, turn off the water supply to make the process smoother and avoid any unexpected surprises.
First, shut off the water supply so you don’t have to face a gushing shower when you take the body washer off. However, turning off the water supply in your sink or supply pipe won’t work; you need to turn it off from the mains. As a thumb rule, a house usually has water mains near the front yard, while apartments have their water metre in the laundry or bathroom.
Secondly, you must turn on the leaking tap after shutting off the water supply to drain the remaining water from the drain pipes. If you want to take extra precautions during the leakage repair and are worried about any hidden water flow, turn on a tap at a lower level to drain the entire supply.
Step 3: Plug Your Sink/Drain
Plugging your sink or bathroom drain while fixing a leaking tap is crucial, yet often overlooked. This step prevents components from falling into the drain and saves you the hassle of retrieving them. If something does slip through, you might need to plunge it out later.
Step 4: Remove The Tap Button
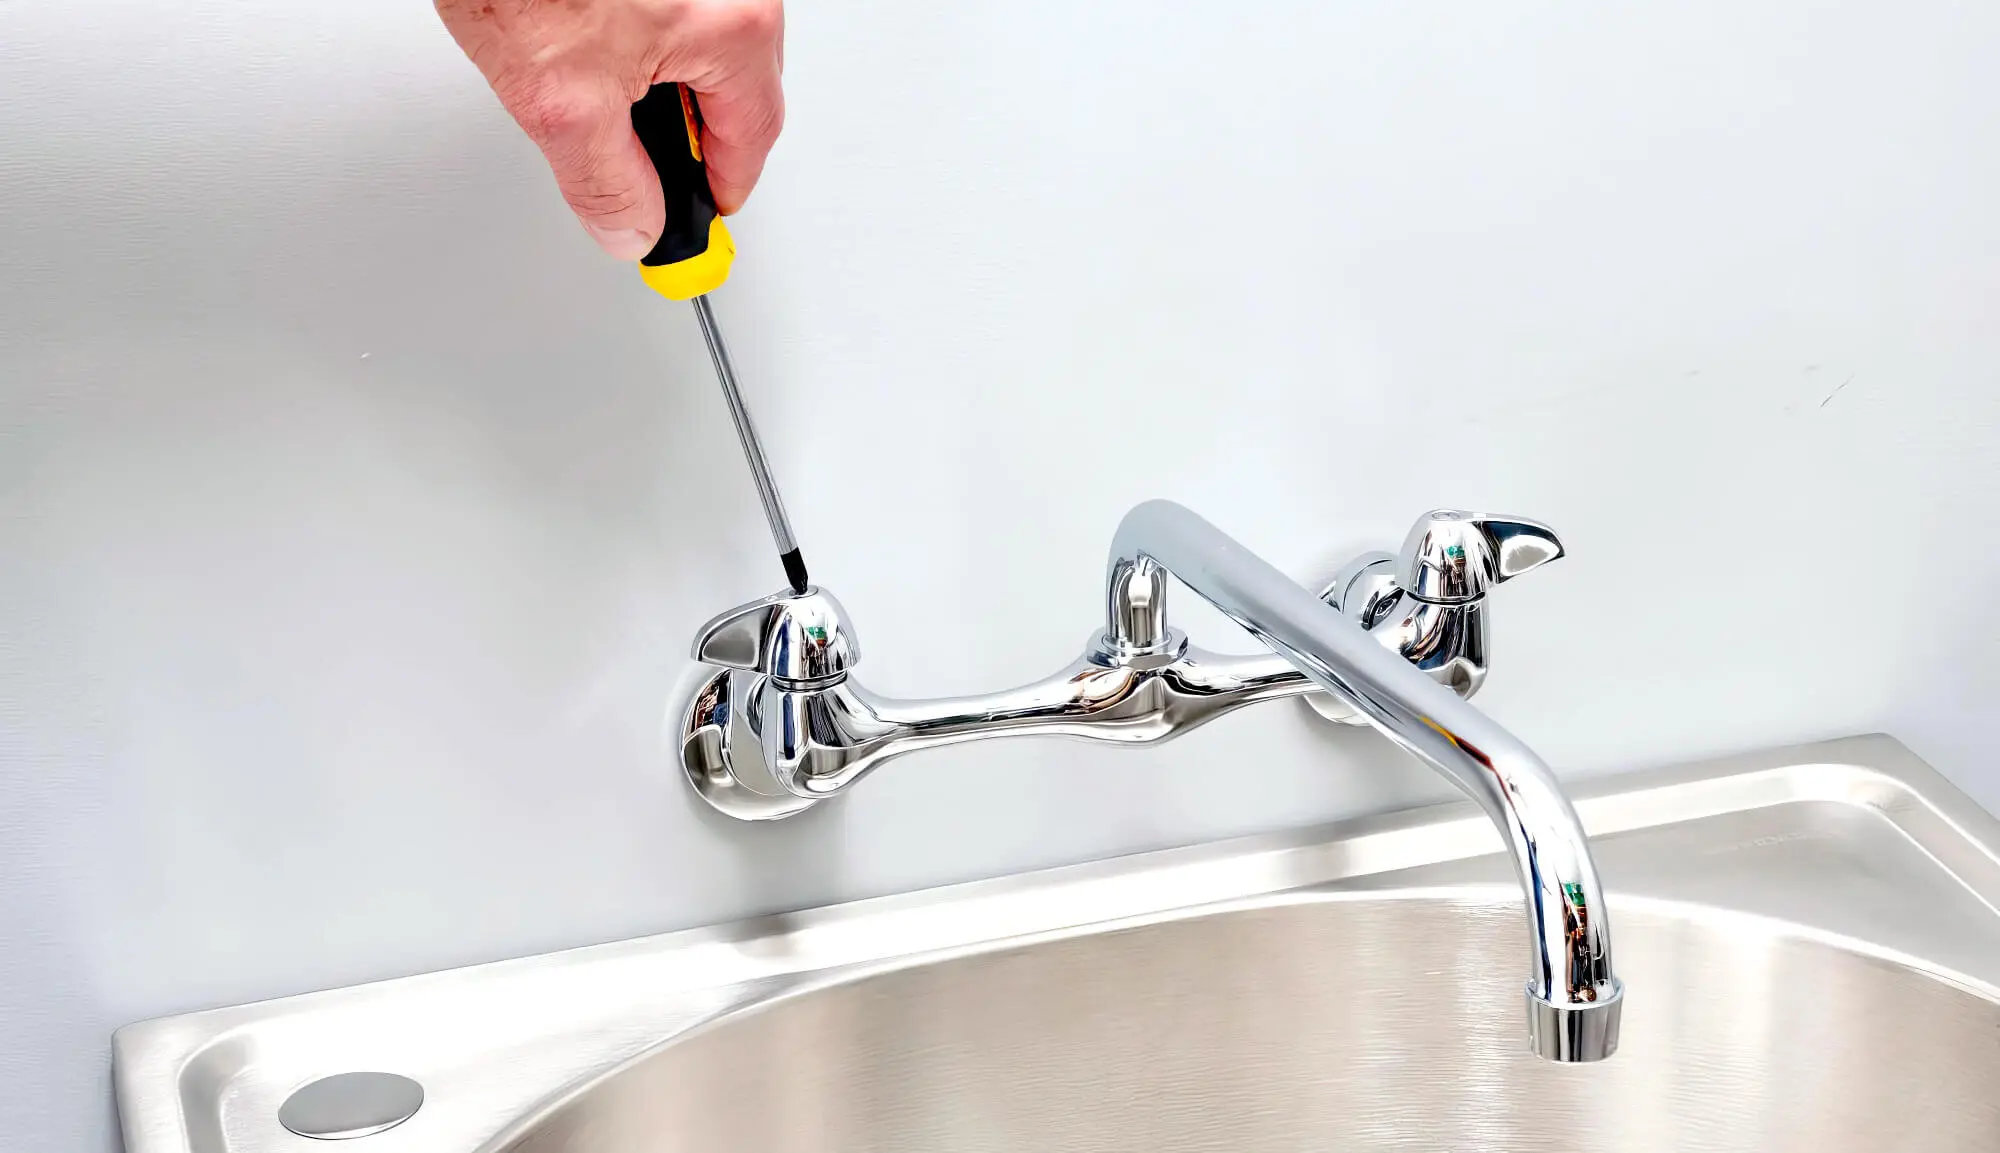
You’ll need to unscrew the button that holds the tap handle in place to remove it completely. They are usually found on top of the tap where it says ‘hot’ and ‘cold’. If you find it difficult to remove it by hand, consider using a screwdriver.

Step 5: Remove The Taps Skirt Or Cover
After removing the button, use a wrench or spanner to need to remove the cover plate or skirt. It usually comes off easily, but it might not be easy if there’s added adhesive. In this case, using a pair of pliers, such as needle nose pliers, can be beneficial, but remember to wrap it up with gaffer or Teflon tape to avoid scratching the tap.
Step 6: Replace The Old Washer
Removing the tap skirt and bonnet will expose the washer and jumper valve underneath the tap stem. If you can’t find the jumper valve, check if you’ve pulled it out with the tap bonnet. After finding it, take a pair of tweezers and carefully remove the combined washed and jumper valve–be gentle to ensure you don’t damage it further.
Take out the washer and jumper valves and carry them to your local hardware store to find fitting replacements that match your tap.
You can replace the jumper valve (the white component with a rounded head) or the washer (specifically, the rubber washer attached to the valve). However, it is recommended to change both simultaneously to prevent an accidental mismatch.
Additionally, if your tap skirt is covered in mould and rust, consider purchasing a skirt sealant that you can use during the tap reinstatement. This way, you can prevent further damage to the tap skirt and mixer taps due to hard water.
Step 7: Replace The O-Ring
Find the taps stem and loosen the O-ring from its body or shaft. Purchase a matching O-ring with the exact proportions and simply roll it onto the stem and towards the base of the tap handle.
Step 7: Reinstate The Tap
Once you’ve completed the above steps, it’s time to correctly put the tap back together. Screw the stem, tap the bonnet over the washer and jumper valve, and tighten it with a wrench. Put all the components back together the same way you dismantled them. However, don’t put the tap lubricant or skirt sealant on it before testing if you’ve done a proper job.
Step 8: Turn On The Water Supply
Now that you’ve fixed (hopefully) the leaking tap, it’s time to turn the water supply back on. Before doing this, ensure you ultimately turn off the tap to avoid flooding and getting wet. However, don’t turn off the tap too tightly since extra pressure can break the washer, and you’ll have to start all over again.
Step 9: Testing The Tap
Testing your work, especially with plumbing problems, is very important to check if you need to fix anything else. To test your tap, turn it on, look for leaks from all tap components, and take your time. Sometimes, it may be that the tap is still leaking a few days after your fixing attempt, so don’t put the tools back on the shelf immediately!
Once you’re sure it’s completely fixed, remove the skirt and tap handle, and apply some silicone sealant on the skirt base to prevent corrosion. Ensure you have toilet paper at hand since silicone tends to get messy if not correctly applied.
Tap Leaks Due To Worn-Out Valve Seats
If the leak persists, there may be a high chance that you have a worn valve seat. In this case, follow this process:
Valve seats often require replacement due to debris accumulation, like mineral deposits or calcium build-up. These can stick to the surface and cause contamination. You’ll need to replace them completely. Pick up a new valve seat from the hardware shop, remove the old one with a seat wrench, and install the new one using the same tool.
While addressing the valve seat issue, try removing accumulated dirt and debris from the tap components using rags and special solutions you can find in local stores.
Drying Up The Drip: Fixing A Leaky Tap
That’s all on our guide on how to fix a leaking tap! Remember that more complicated problems require local plumbing services, especially for issues like damaged valve seats or broken drain pipes. You can also call a plumber if you haven’t been able to fix the washer or O-ring and don’t know how to proceed.
Big Blue Plumbing provides diverse services like hot water installations, clearing blocked drains, and tap repairs across the Sunshine Coast, Noosa, and Moreton Bay regions. Our skilled and qualified team is ready to handle any tap leaks, making us a trusted name in South East Queensland. Reach out to us today to book your appointment.


