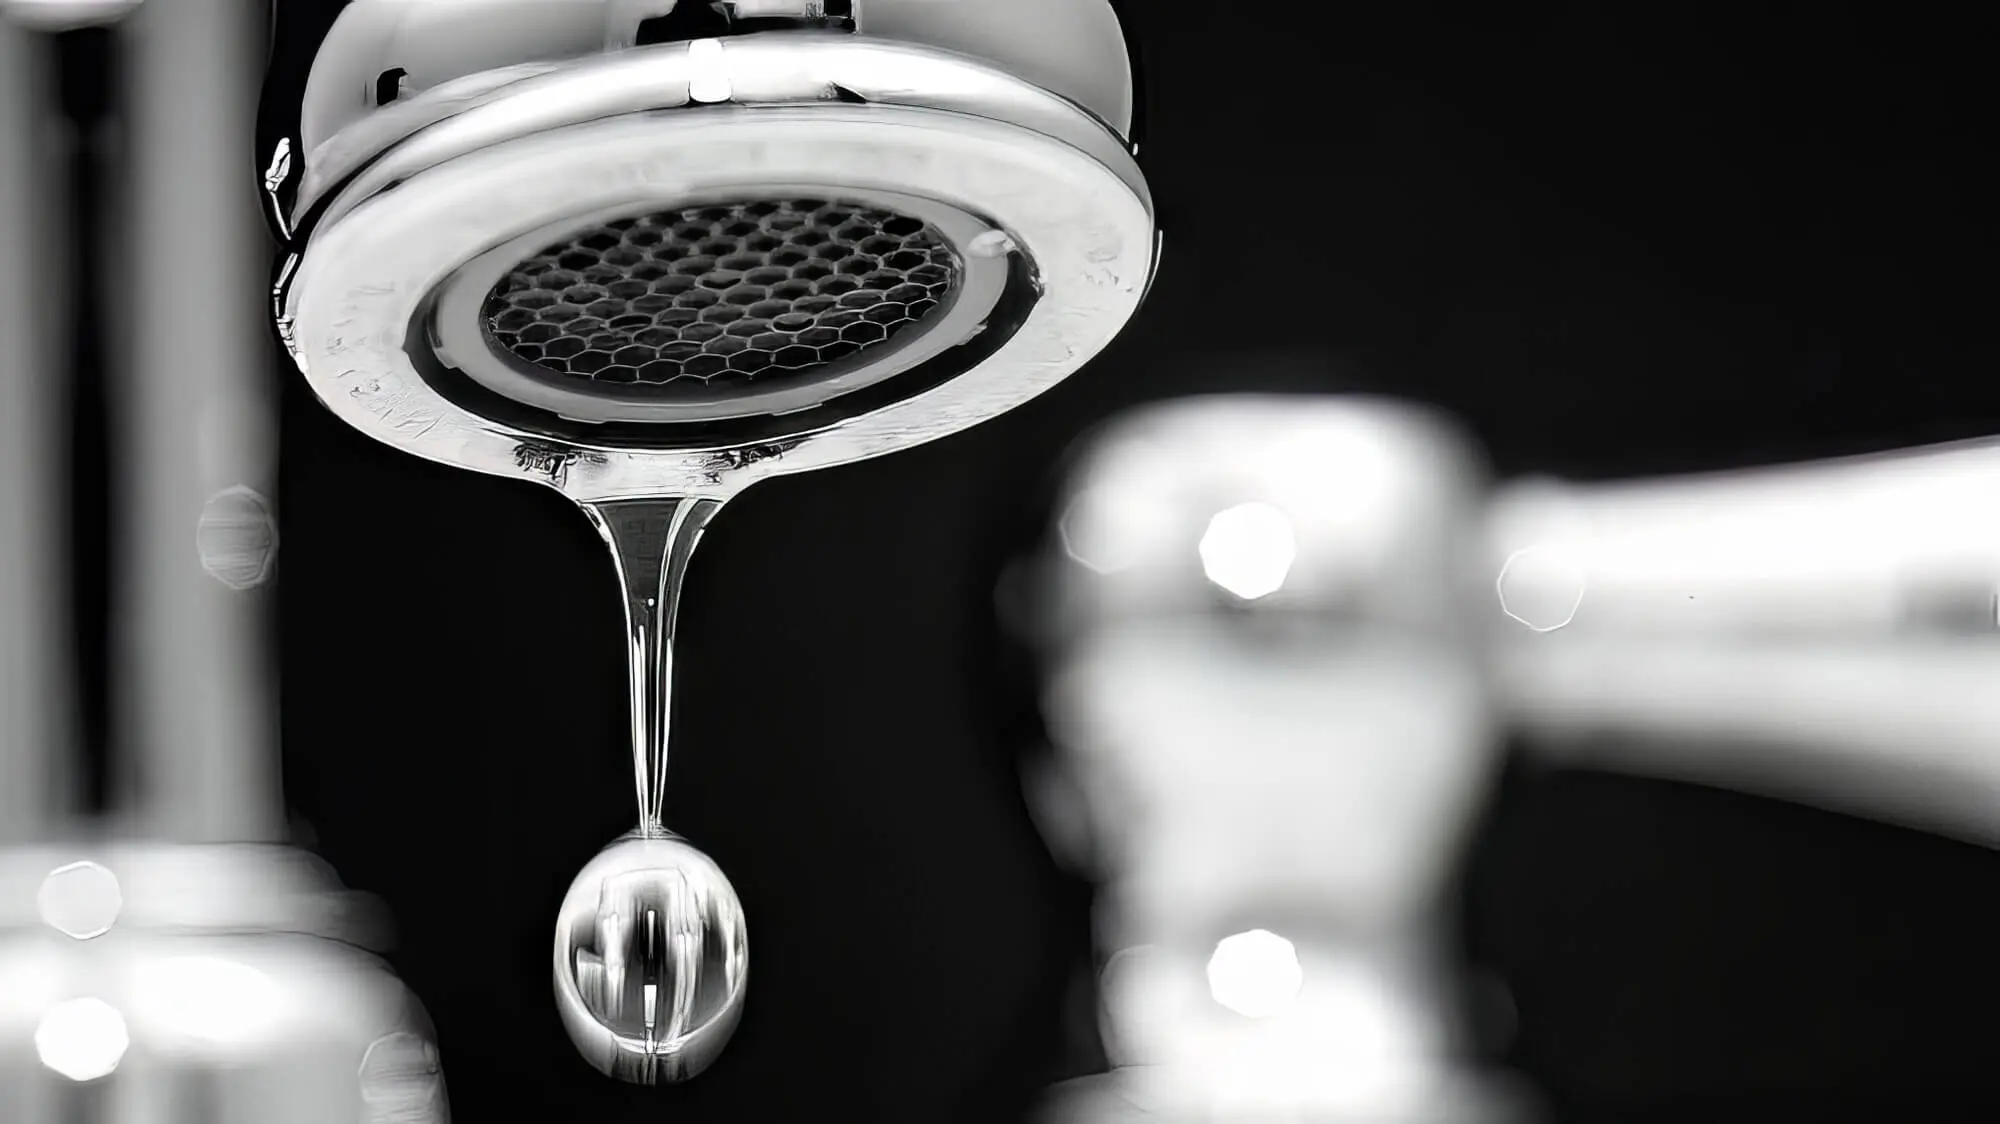
That annoying “plink” sound of water leaking from your tap can keep anyone up at night.
However, the sound isn’t the only reason to fix a leaking tap. There’s more to consider!
Leaking taps can unnecessarily stress your home’s plumbing and cause hefty structural damage. Besides, your water bills will increase, leading to the growth of mould and mildew, which are detrimental to human health.
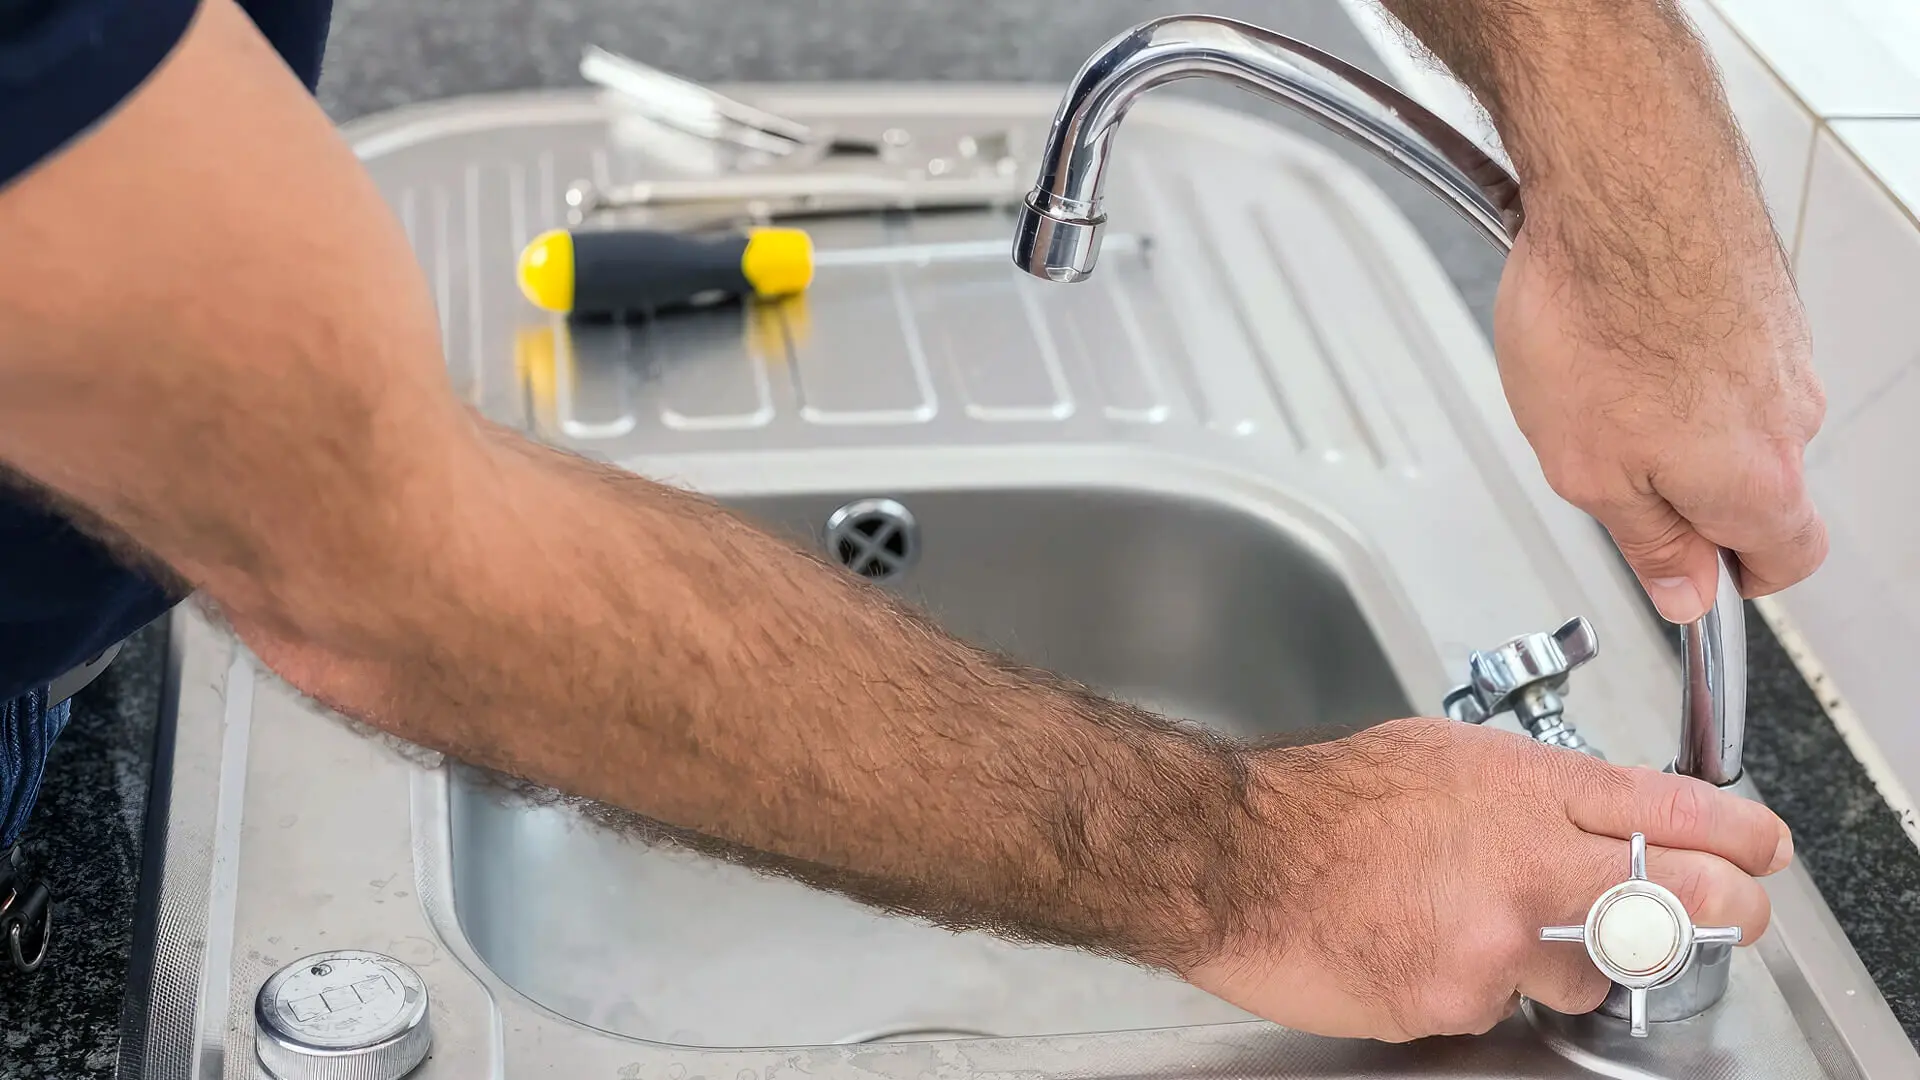
Don’t put off fixing a leaky tap, as it can lead to costly repairs later. Luckily, fixing a dripping tap is straightforward—even a beginner DIYer can do it in under 10 minutes.
Wondering how? Give this guide a quick read to learn how to fix a leaking kitchen tap without calling for professionals.
How To Fix Leaking Tap In Kitchen: An Easy-To-Follow Guide
Among the most annoying plumbing problems, fixing a leaking bathtub faucet, outdoor faucet, kitchen sink faucet, single-handle faucet, or shower faucet is relatively straightforward. And even though there are many reasons why a tap leaks, resolving it may be easier than you might think. But to get started, you need to make sure you have the right tools at your disposal.
Step 1: Turn Off The Water Supply
One of DIYers’ most obvious mistakes is forgetting to turn off the water supply when fixing a leaky faucet.
Most taps feature both cold and hot water supply pipes– in that case, you’ll have to turn off the water flow of both pipes. Not just the kitchen tap; you need to follow the same when fixing a leaking outdoor faucet or other taps in your home.
Look under the sink for a valve to turn off the water supply.
Step 2: Prep The Sink
Preparing the sink is another crucial step you mustn’t forget when fixing a leaking sink faucet yourself. Or be ready to deal with the mess water leaks will create in your kitchen.
Get your sink ready by inserting a drain stopper and putting a bucket underneath. Plug the drain to keep any O-rings or bolts from getting lost and let the bucket catch any water leaks.
For your safety, turn off all the electronic equipment around the sink to prevent electric shocks.
Step 3: Unscrew The Tap Button
To access the other parts, you must unscrew the tap button using needle-nose pliers or a flathead screwdriver after the button comes the tap handle, which you can remove by lifting gently.
Sometimes, the tap handle may not come off quickly—in that case, lubricant will be handy.
Step 4: Loosen The Tap Bonnet
The tap bonnet, a valve known as the packing nut, regulates the water flow. To r emoveit, you’ll need an adjustable C-wrench.
Step 5: Replace The Body Washer And The O-Ring
After removing the packing nut, you’ll see an O-ring around the tap spindle or stem. A copper body washer is also present to ensure the packing nut sits securely.
Usually, one of them is replaced, but since you’ve removed your tap, we suggest replacing both. You can also buy both O-rings; body washers are inexpensive.
When replacing the two components, double-check to ensure they are the correct size. The wrong-size components will be useless in stopping the tap leak. As soon as you replace the tap washer and O-ring, inspect the other components of the leaking tap to check for internal damage.
If you spot anything unusual, capture a picture and share it with a local plumber.
Step 6: Reassemble The Tap And Test It
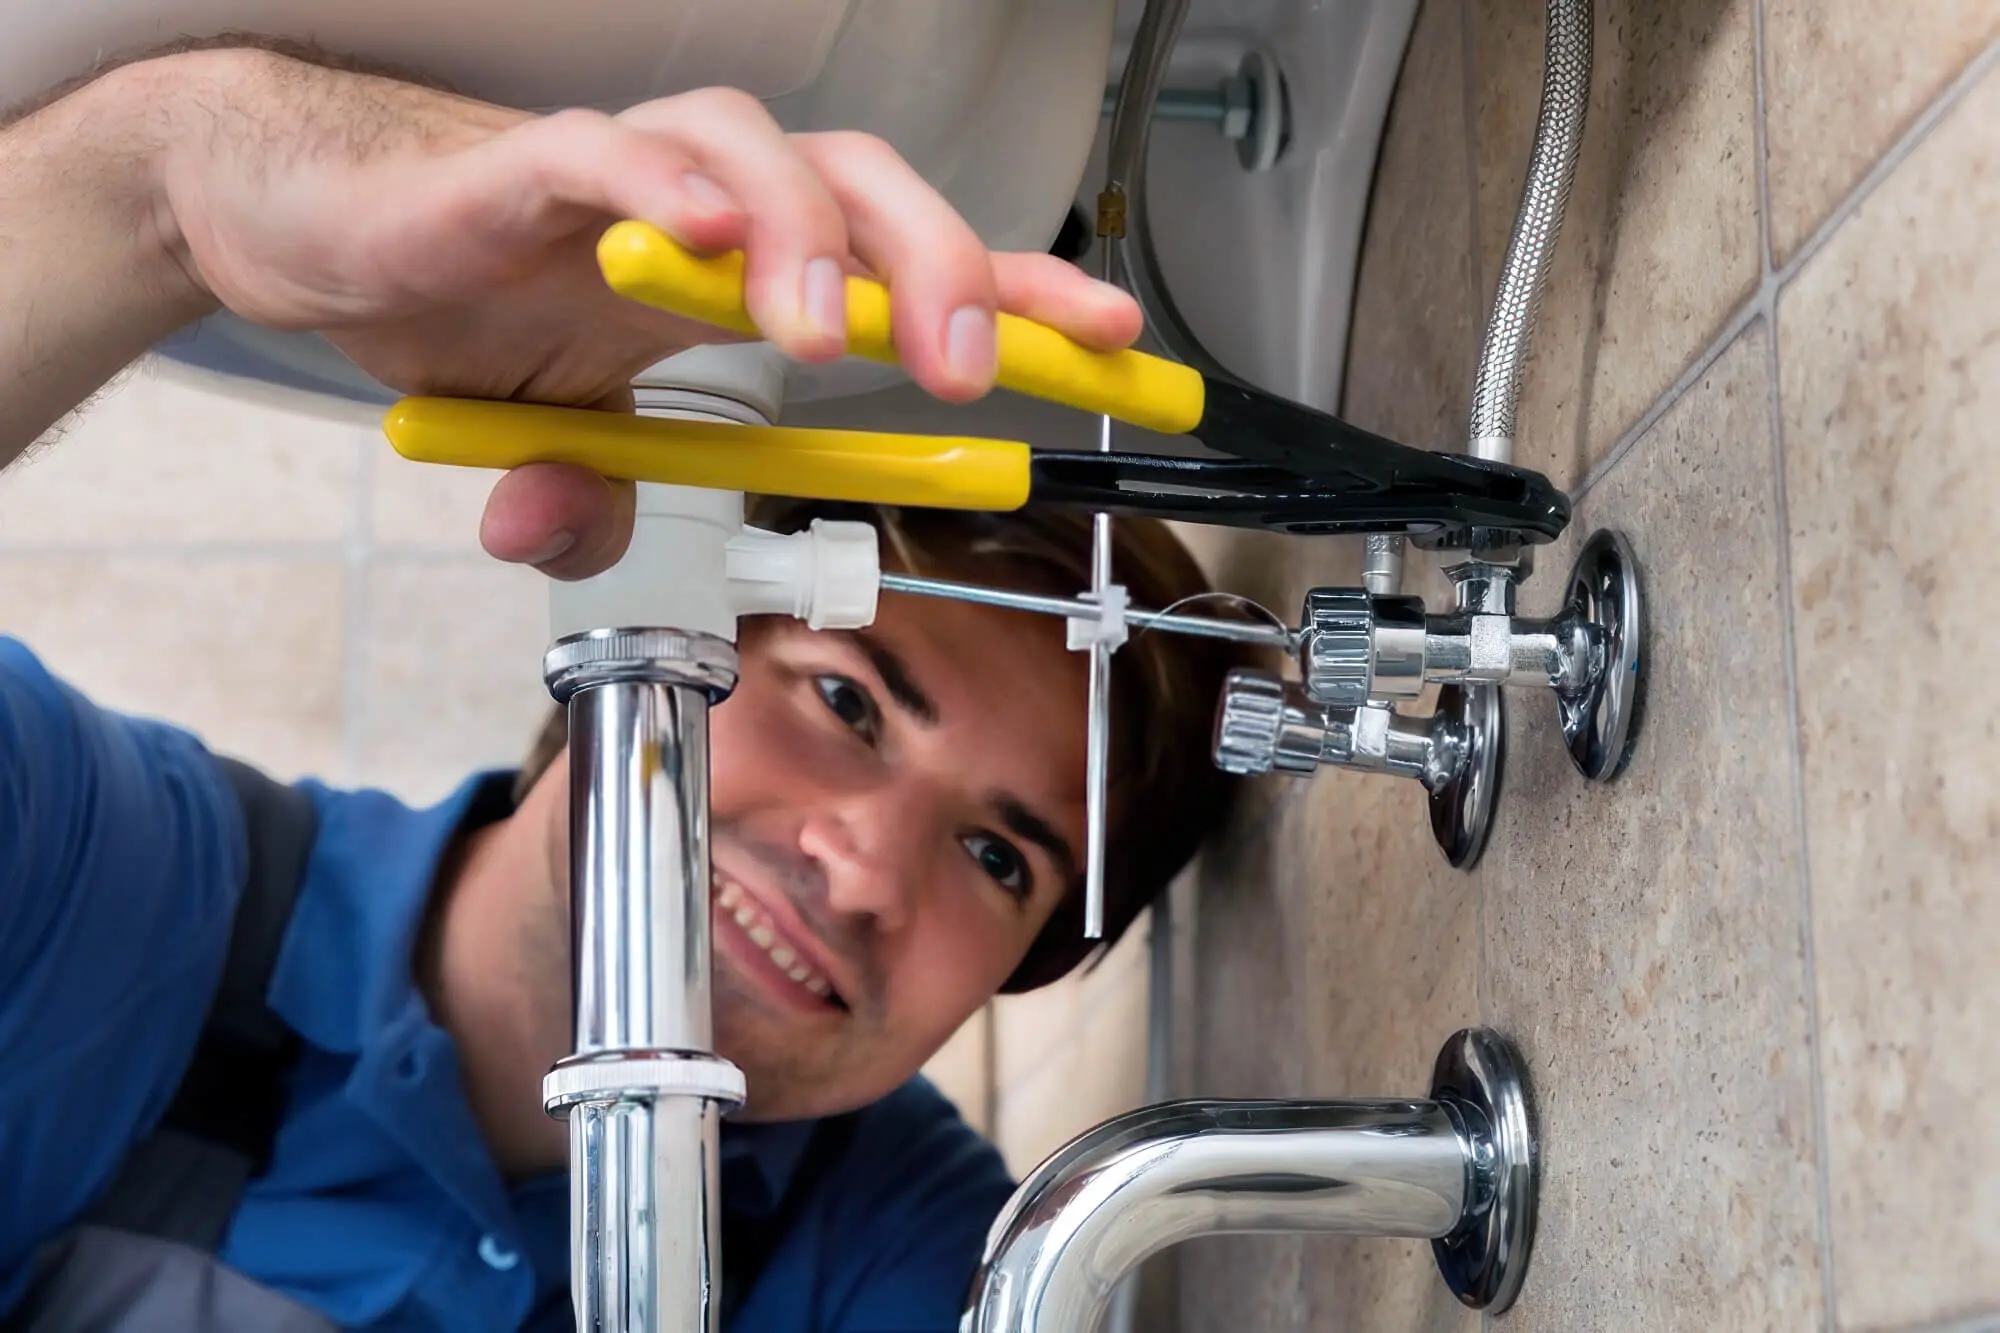
Put the tap back together by reassembling the parts in reverse order.
Fasten the screws but make sure you do not overtighten them. Also, do not exert too much pressure on the tap, or you’ll damage the faucet or the basin.
Switch on the water main and slowly turn on the tap for a few minutes to check for a water leak. Then, turn it off and inspect for any leaks. If there’s no water underneath your basin, your tap is repaired.
Conversely, you’ll have to call a plumber if the tap doesn’t stop leaking despite all efforts.
How To Fix A Leaky Dripping Tap: A Mixer Tap
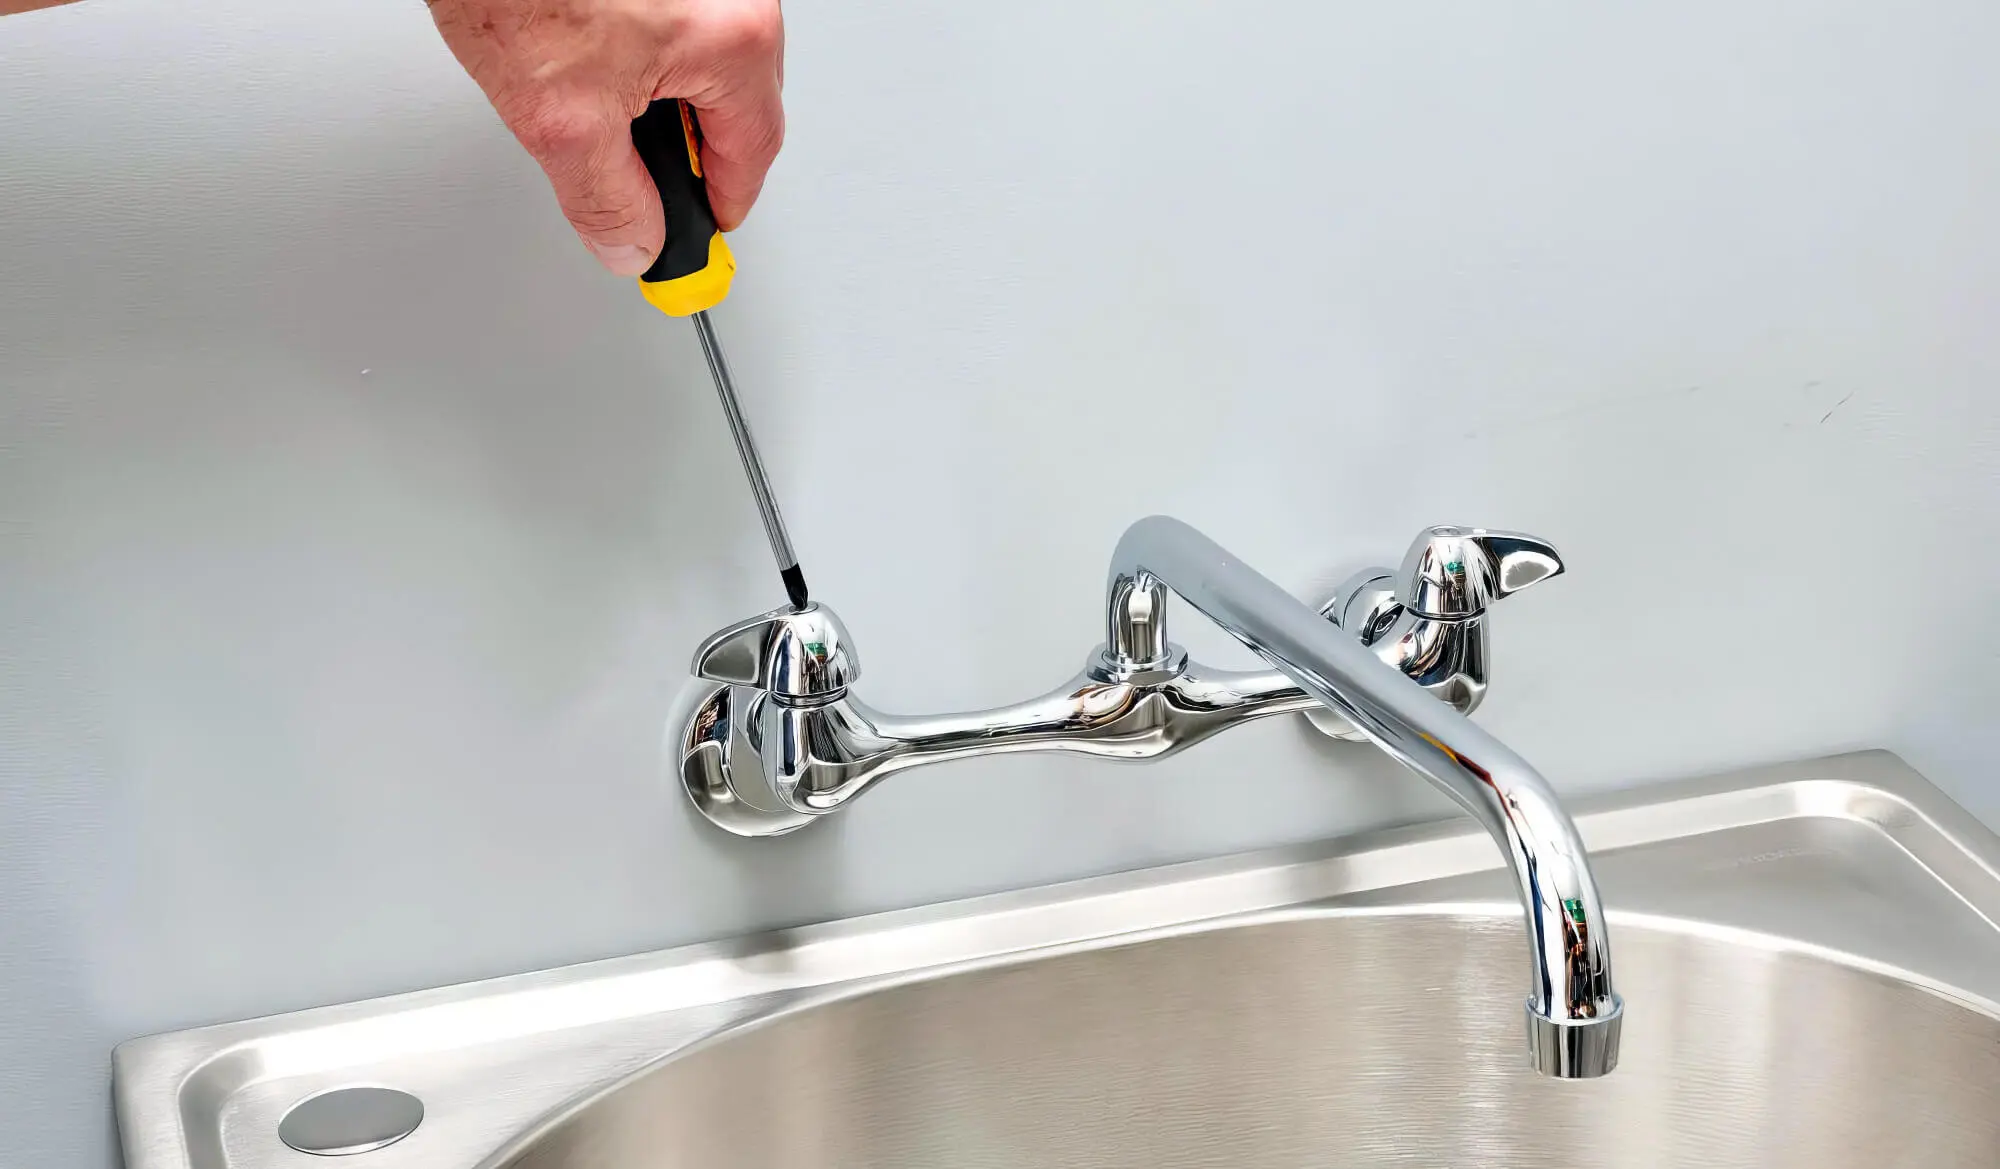
In most cases, leaking bathtub faucets or shower faucets, specifically mixer taps, can be easily fixed.
You’ll have to follow the same steps mentioned above — however, you will also have to replace the cartridge. If the cartridge in your tap needs to be replaced, buy a replacement cartridge and follow the instruction manual.
FAQs
Q1. What causes a leaking tap?
A leaking tap occurs due to a variety of reasons, such as:
- Excess water pressure
- Damaged cartridge
- Deteriorated jumper valve set
- Worn out O-rings
- Damaged washers
Q2. How do I know if my tap is leaking?
If there’s a leak in your kitchen, you’ll notice a few warning signs that indicate the same. They are as follows:
- Dripping or hissing sound even when the tap is turned off
- There is an unpleasant smell in the kitchen
- Puddles of water beneath the sink
- Growth of mould and mildew near the source of the leak
Q3. Can I fix a leaking tap myself?
The short answer is yes, you can fix a leaking tap yourself because it’s no rocket science. With the right tools and knowledge, fixing a leaking single-handle faucet or a double-handle model will be easy.
Q4. What tools do I need to fix a leaking tap?
Wondering what tools you’ll need? Here’s your checklist for fixing a leaky tap.
- Adjustable C-wrench
- Flathead screwdriver
- Replacement body washer and O-ring
- Bucket
- Tap lubricant
- Jumper valve
- Multi-grips
You can also buy a tap repair kit from a local hardware store and start fixing the leaking faucet yourself.
Q5. How long does it take to fix a leaking tap?
In case of minor replacements, your water tap leak repair project will be completed in less than 30 minutes. However, it can take up to 8 to 9 hours if the damage is severe.
Say Goodbye To The Drip With These DIY Steps!
To stop a dripping tap from damaging the foundations of your property isn’t a challenging task.
You can fix the dripping kitchen tap with minimal effort. Replacing the jumper valve, body washer, or O-ring would be best. However, if the damage is severe, you may have to install a new faucet.
Buy a tap repair kit before you start your leaky tap repair projects. If you have all the tools ready, buy body washers, O-rings, and a new cartridge online.
A word of caution: carrying out unlicensed plumbing work is illegal in some states. So, we suggest checking with the state’s plumbing regulations before starting the project.
When DIY fixes don’t work, Big Blue Plumbing Glass House Mountains can quickly and effectively fix your leaking faucet and other plumbing problems. Contact our friendly plumbing team, and we will take care of the rest!


