As a homeowner, you will know how annoying and troublesome plumbing problems can be.
Plumbing systems can be a bit tricky, and problems like leakages in shower taps often take some time to sort out. Plus, the continuous dripping sound can really get on your nerves.
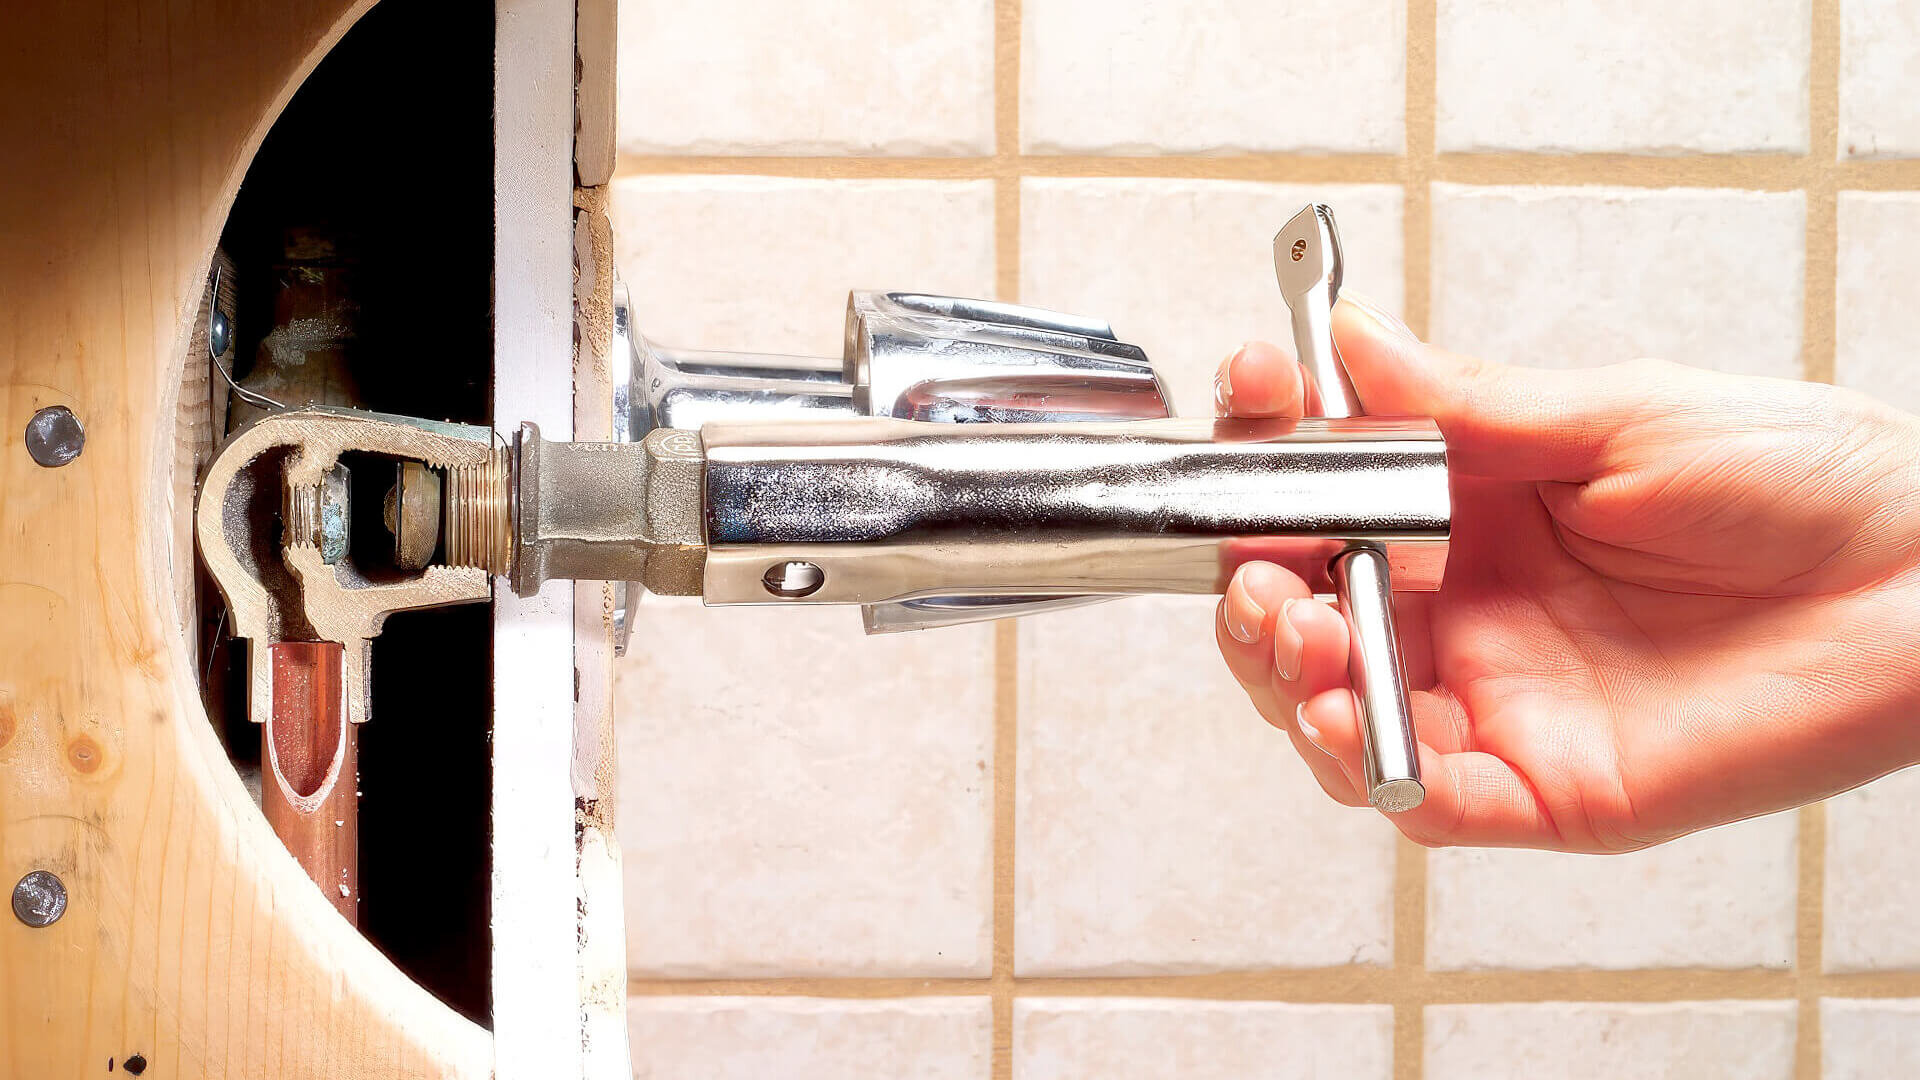
These leaks can be incredibly wasteful as they drain your water supply. If you don’t act quickly, it could become a significant issue.
But the question is — how can you fix a leaky shower faucet without much trouble? Well, that is what we have discussed in this guide. It contains a systematic process that you can follow to repair or replace your dripping tap.
What Causes A Shower Tap To Leak?
Before you tackle a leaky shower faucet, it’s important to find out what’s causing it. Once you know the root cause, you can choose the best way to fix it.
1. Corrosion Or Damage
Usually, leaking shower taps indicate a problem with shower faucets. The faucet valve controls the water flow to your shower, and if it gets corroded or damaged, the water will start to leak out of the tap.
2. Clogs
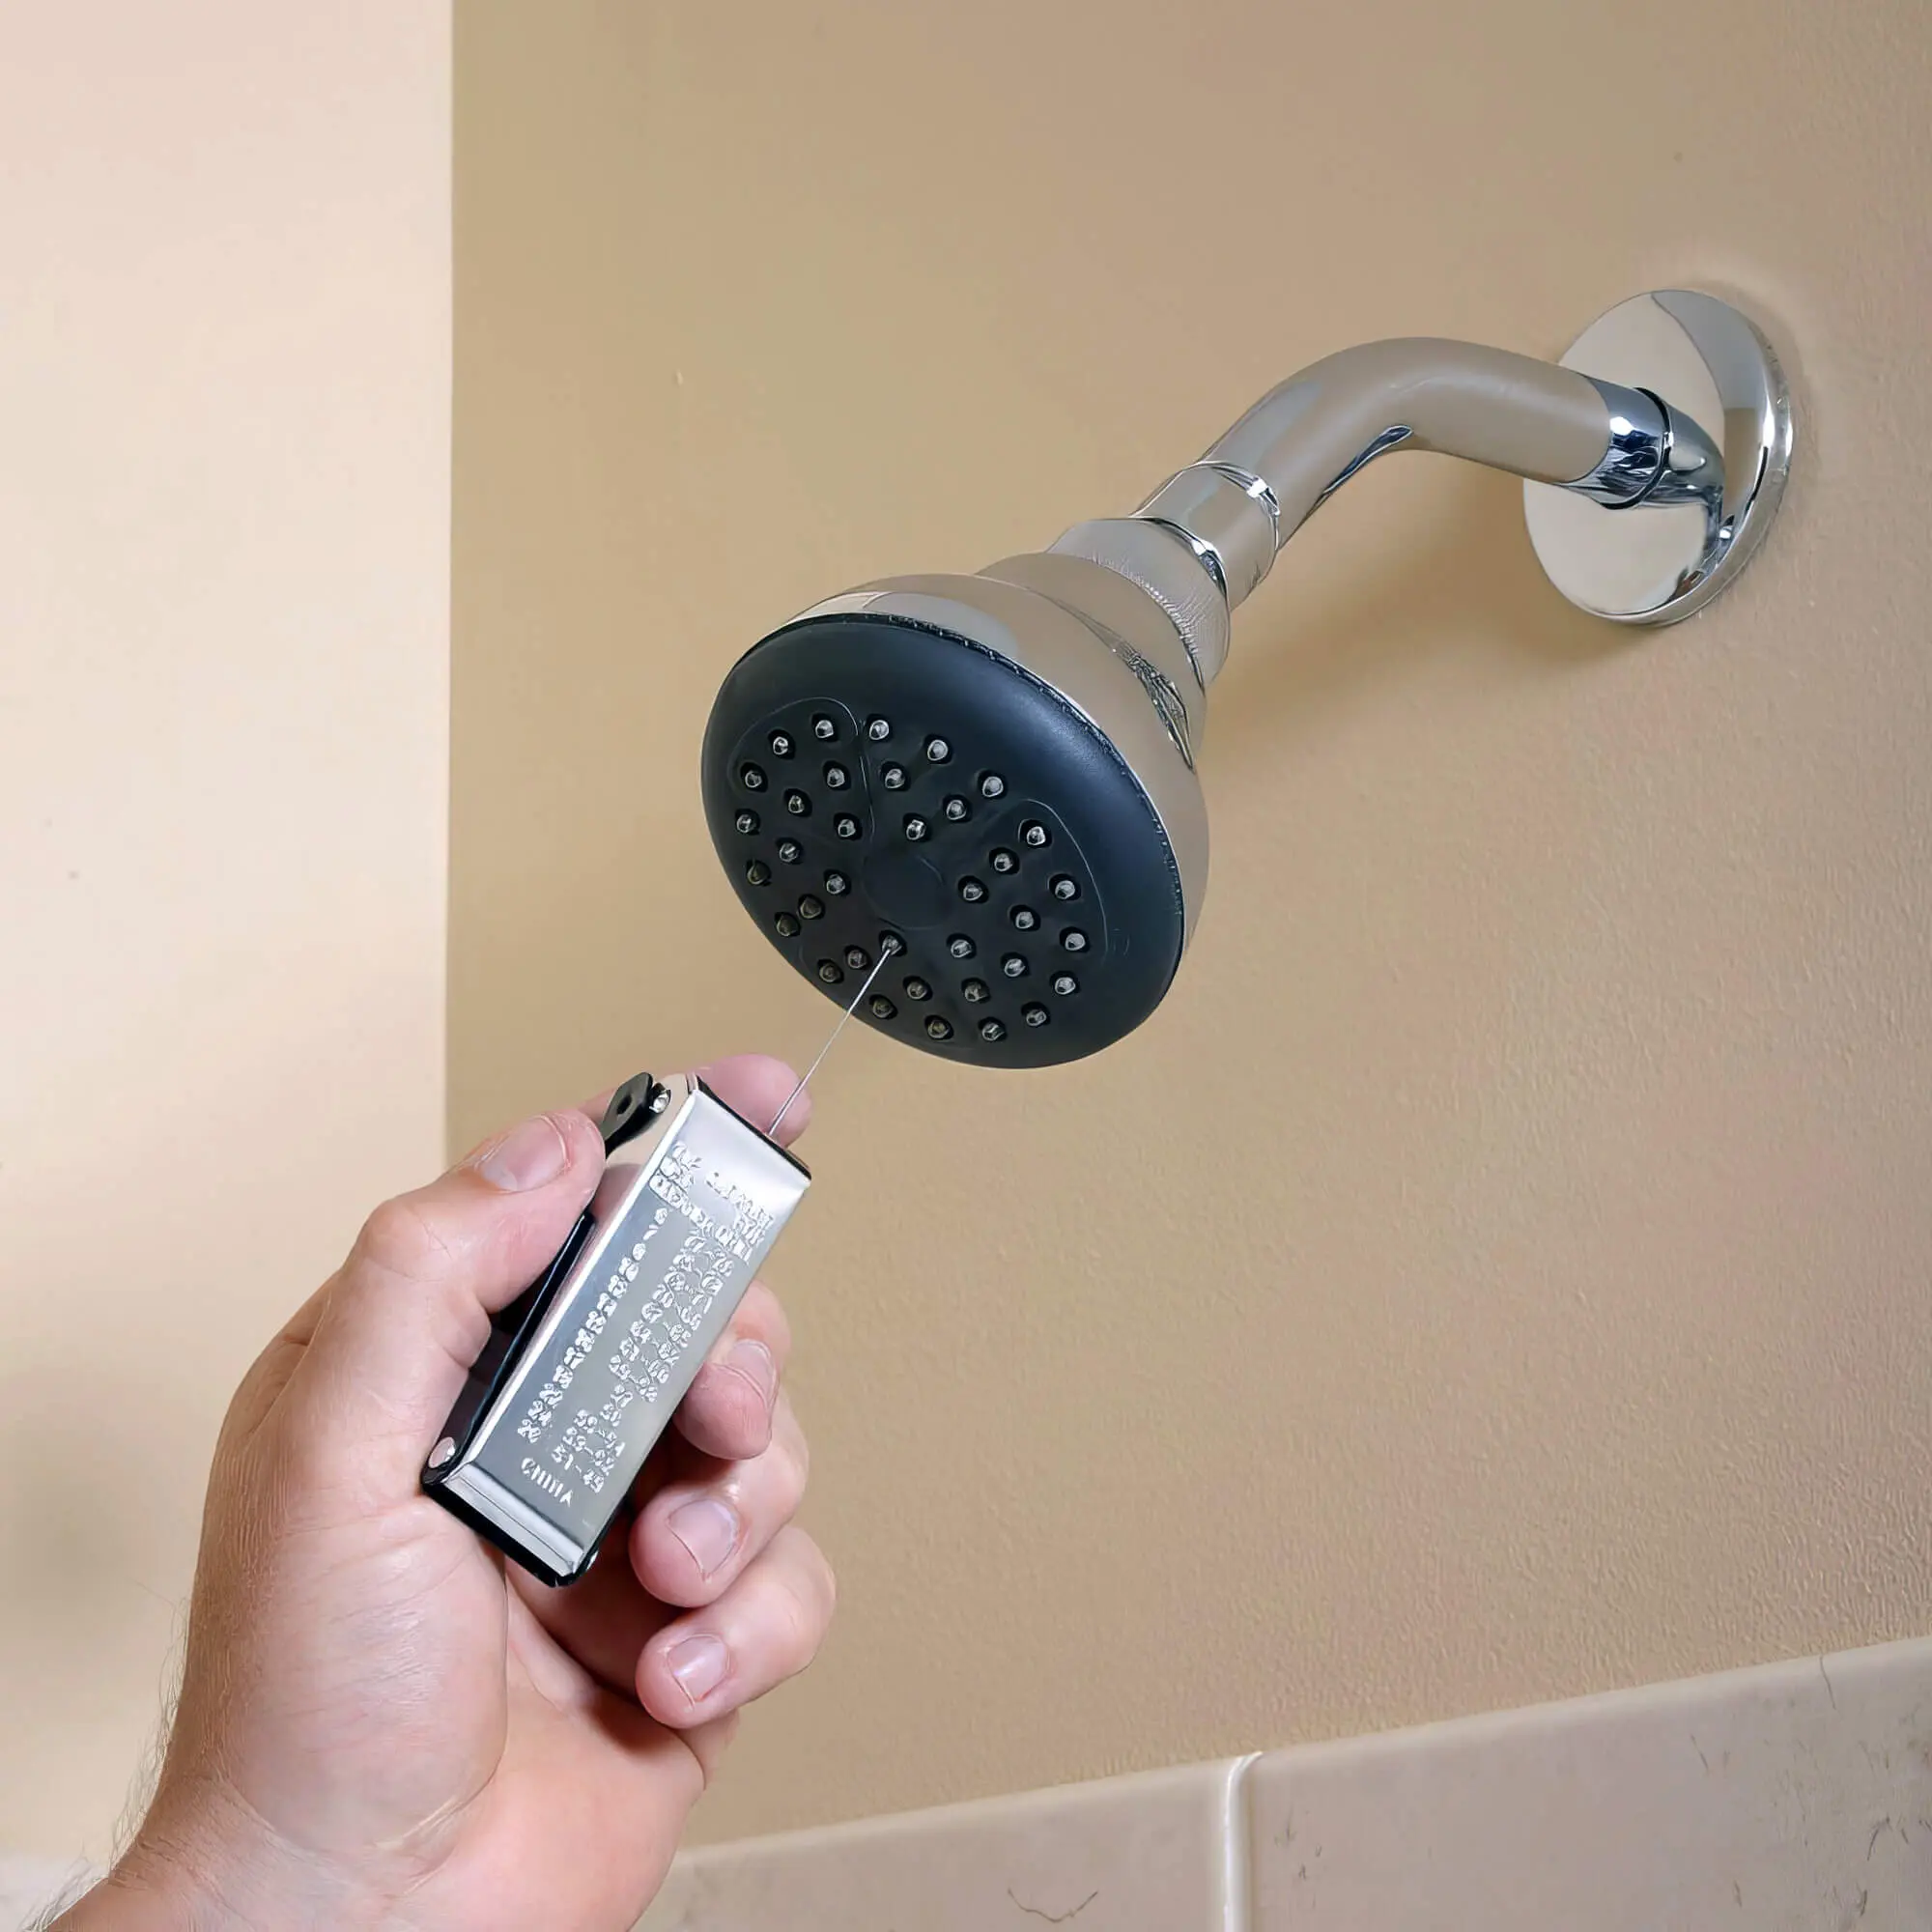
A shower head drip may also be caused due to clogs or blockages in the valve. The minerals in the water get deposited along the inner walls of the valve, which disrupts the flow of water. When that happens, the water pressure keeps increasing inside the shower valve, which eventually causes the water to leak through the faucet body.
3. General Wear
The shower system consists of different components and moving parts, such as the tap washer, rubber O-rings, gaskets, etc. Over time these components become worn out due to usage. And when that happens, the water starts leaking through the tap.
How To Fix A Leaking Shower Tap?
Once you have determined the cause behind a leaking shower head, you should fix it. You must make all the necessary preparations first to complete the task quickly. This includes planning the task, gathering all the relevant tools and equipment and preparing the workplace.
Plan your approach around the problem at hand. For example, if the faucet valves are corroded or damaged, you’ll need to replace them completely.
If only some parts, such as the O-ring or the washer, have become worn out, you can simply replace that specific part with a new one. And if the issue is caused due to clogs, you will need to clear it out with a pressurised water jet, drain snake or an anti-clogging agent.
In any case, you will first need to disassemble the shower fixture; then, you can proceed with the repairs. Thus, you will need to gather the necessary tools before you begin.
These tools include an adjustable wrench, a flat-head screwdriver, a tap spanner, plumbing tape, a small knife, tap connectors and lubricants. You can visit the local hardware store to get them if you need them in your home.
Once you have all the necessary tools, you can follow the procedure below to set up your workplace and repair the leaking tap.
1. Turn Off The Water Supply
First, turn off your home’s water supply. You can do this by switching off the water mains, which are usually found outside or in a utility room like the basement.
It is a crucial step because it will prevent you from getting drenched while undertaking the repairs. Besides, turning off the mains will reduce water wastage as well.
2. Cover The Drain
This is another preparatory step that you shouldn’t miss. Here, you must cover up the shower drain with a rug. This will prevent any screws, tape and sealants from dropping through the drain. Believe us — you would not want that to happen, as it can give rise to its own set of problems.
3. Loosen The Tap
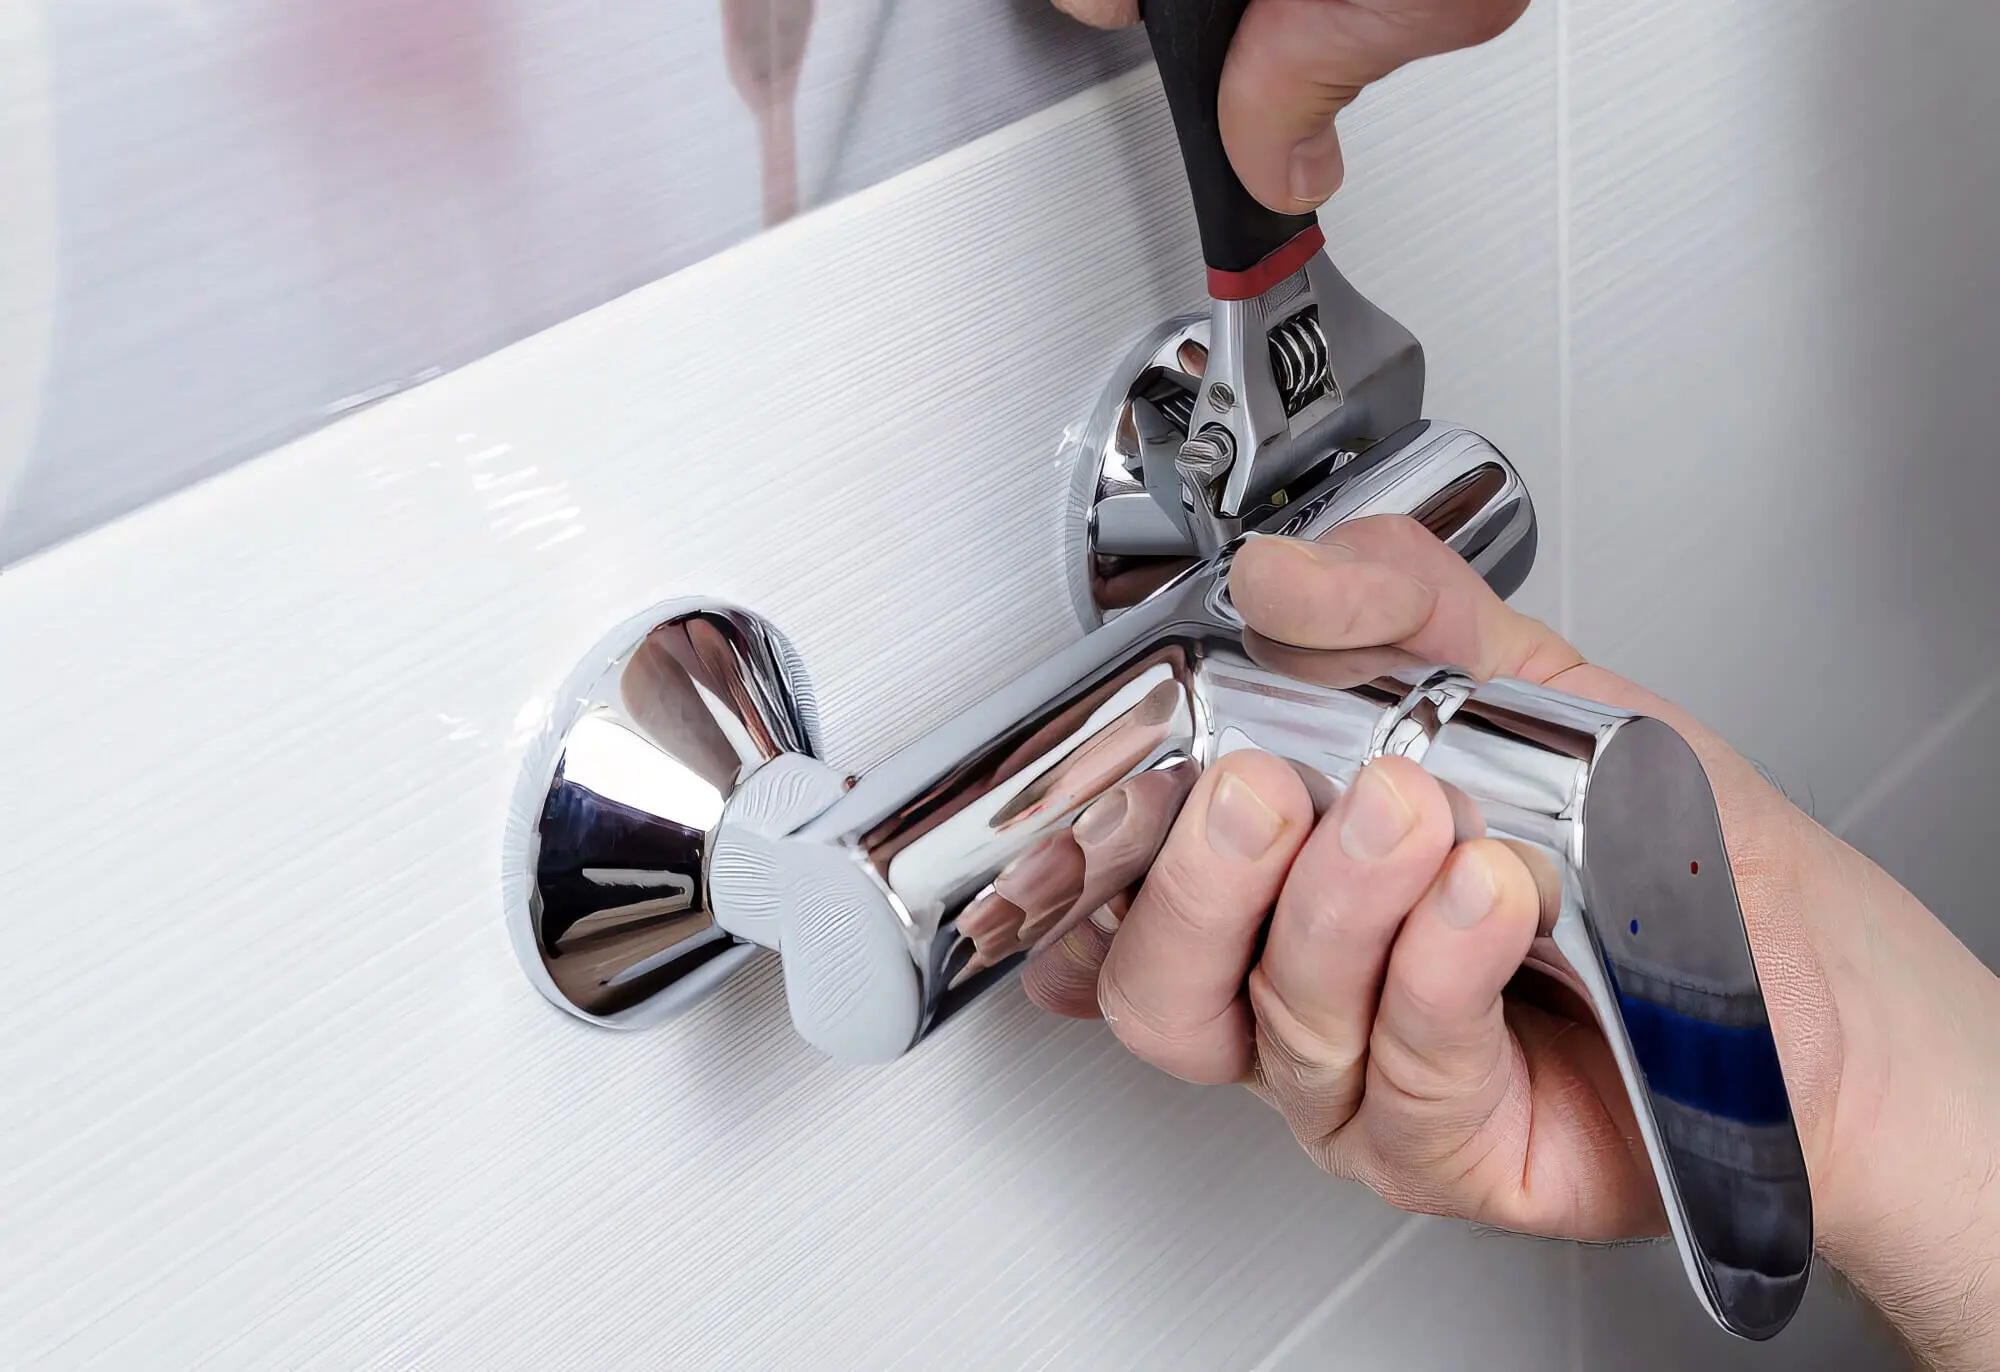
In this step, you must loosen the shower tap by scraping off any sealant and adhesive from its base. You can do this with the help of a sharp tool, such as a screwdriver or a knife. When you remove all the extra sealant, you will find it easier to dislodge the tap from the fixture.
However, you must be careful while scraping, or you might damage or scratch the tap. You might also scratch the wall or the shower arm, leaving unsightly marks on your shower.
4. Remove The Handle Cap
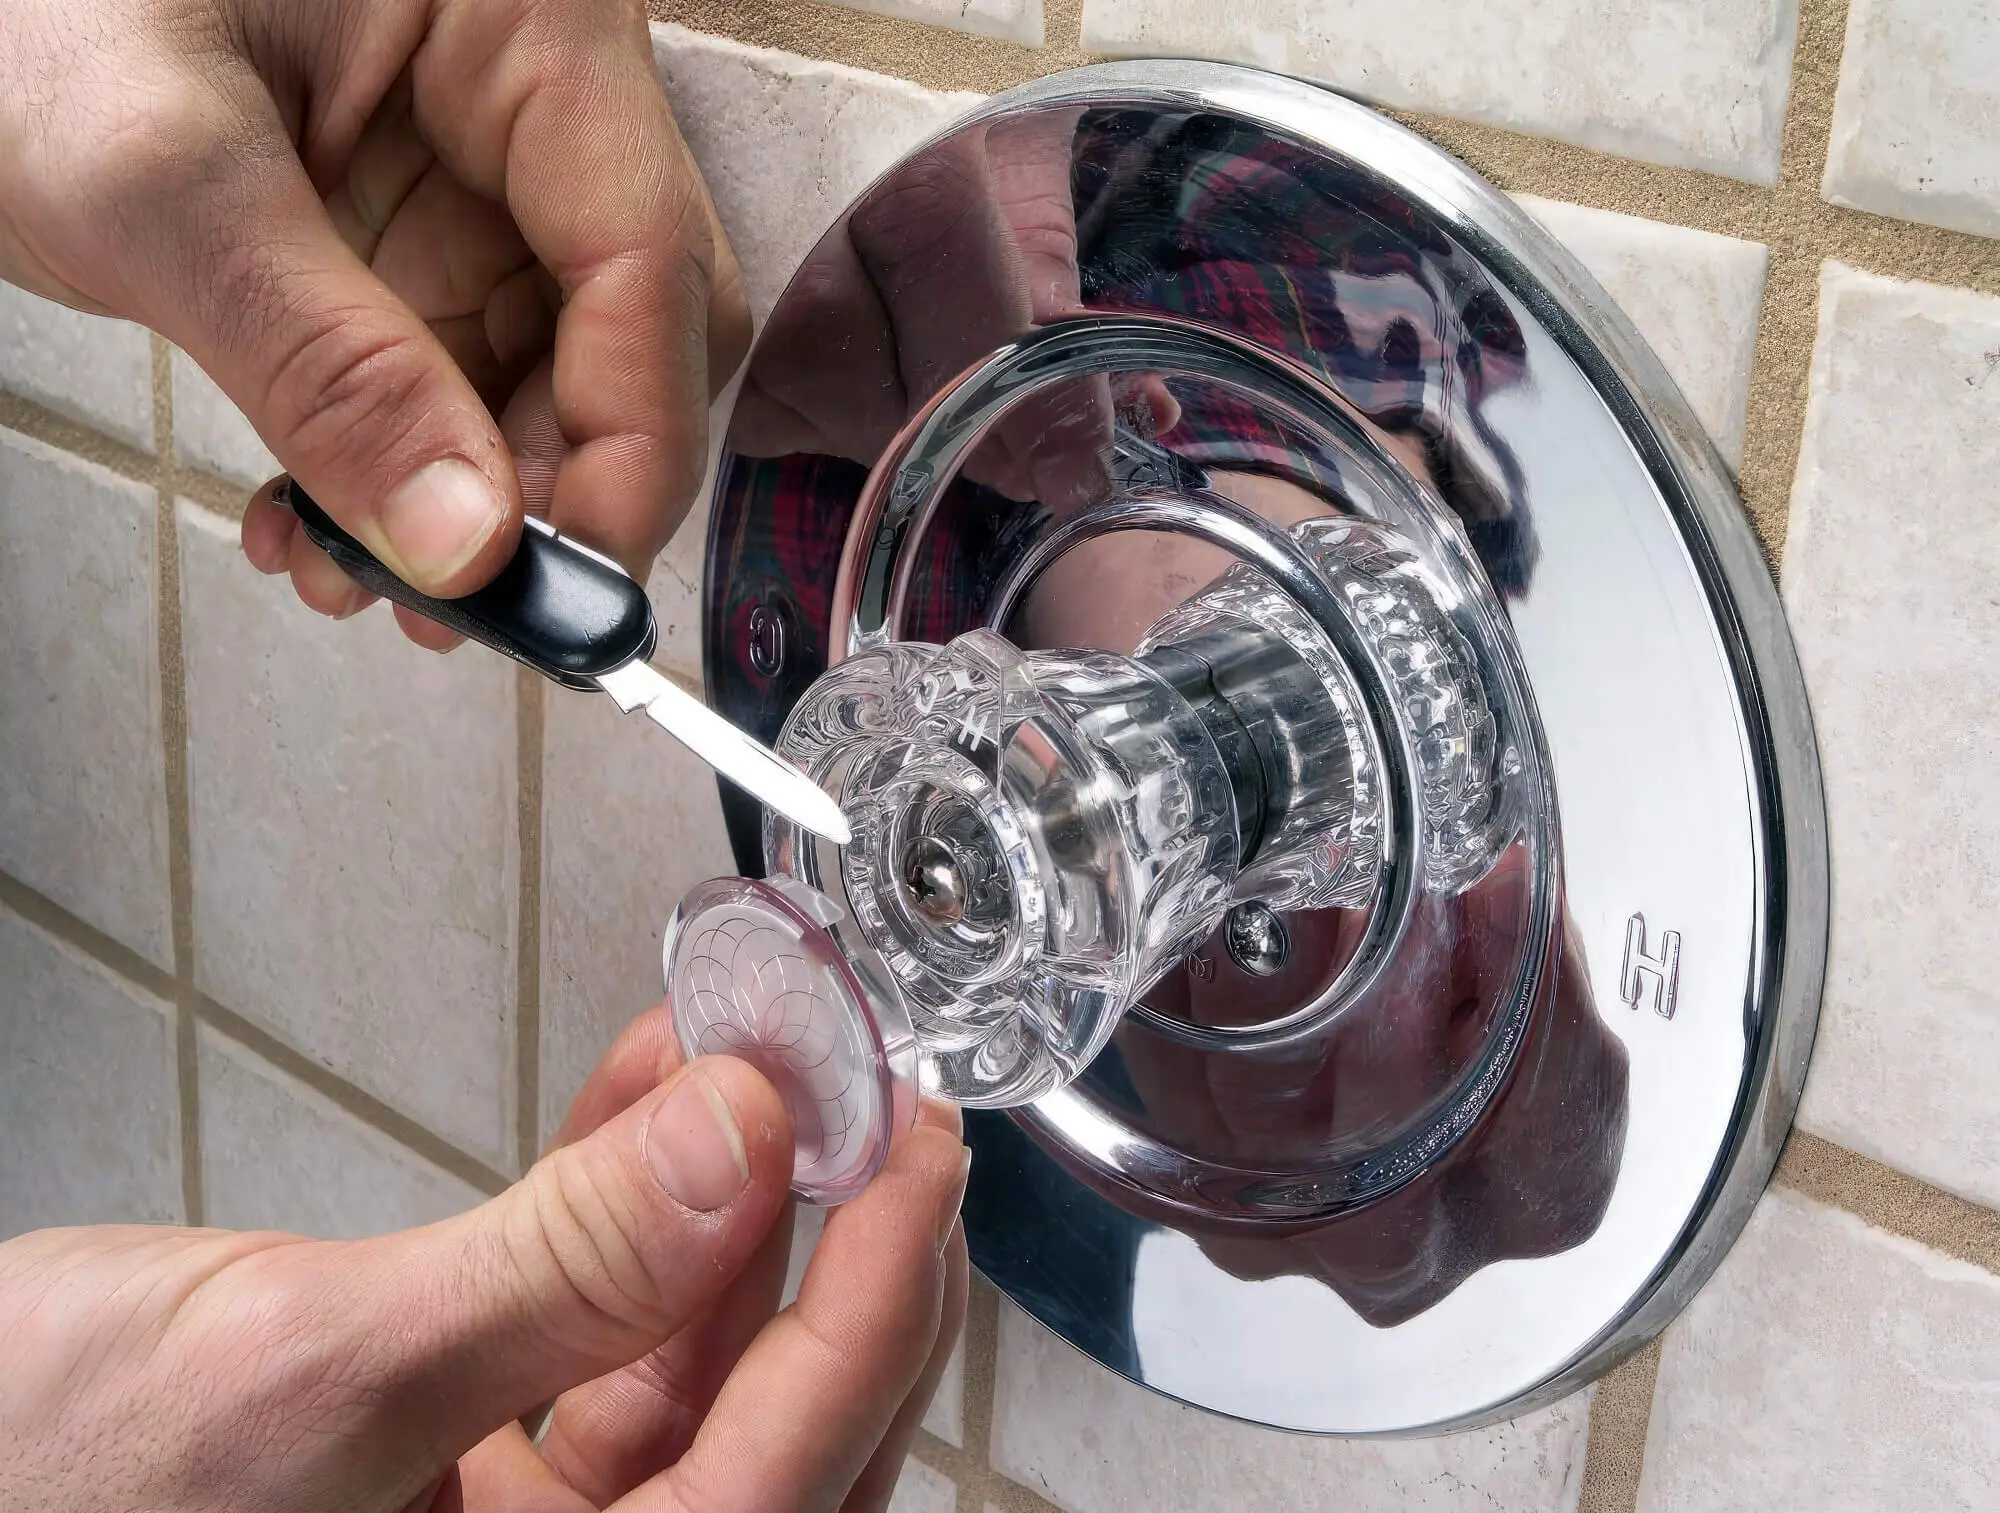
Here, you must remove the plastic cap on top of the handle. Use the knife to pry it open, and once that is done, you can see the internal handle screw. You must be gentle with this step, or you might break the plastic handle cap.
5. Remove The Screw And Dislodge The Handle
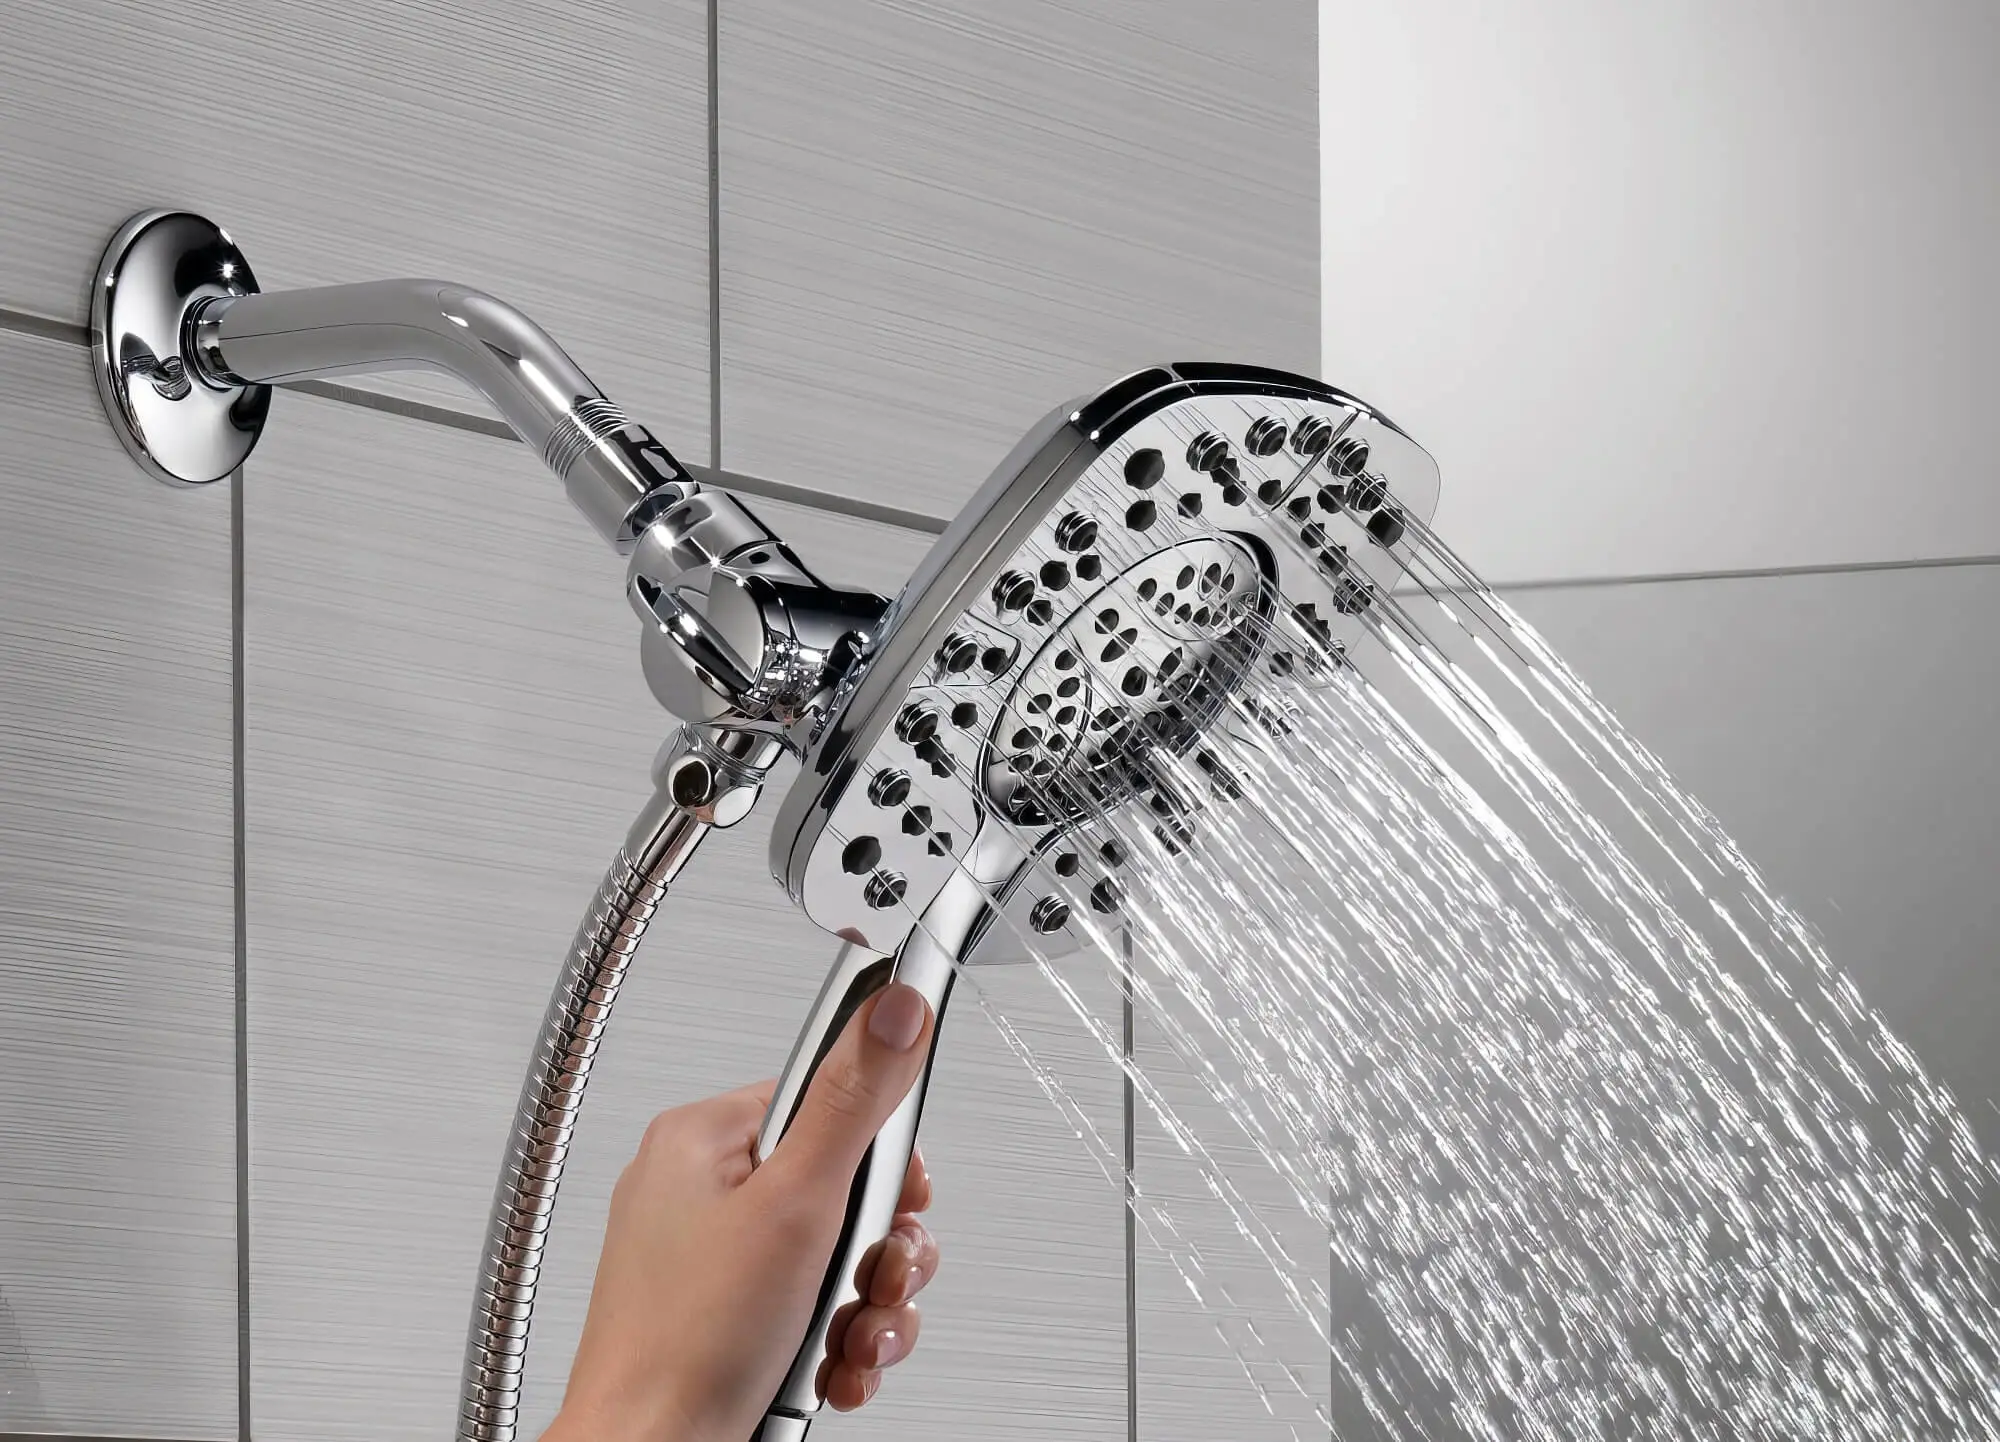
Now that the cap handle is removed and the internal handle screw is exposed, removing the shower tap from the fixture is time. Using the flat-head screwdriver, you must loosen the handle screw holding the tap to the shower.
Gently turn the screwdriver counterclockwise to loosen the screw. After a while, you can remove the screw from the tap, which will cause the handle to become dislodged. Then, you can pull out the handle to expose the underlying tap assembly.
Sometimes, the tap will fall off the shower arm, so you must be ready to catch it if it fails. Do not drop it on the floor; it can crack or damage the handle.
The handle must be gently pulled from the shower arm for other taps. If so, you should avoid pulling too hard, which can dislodge the underlying assembly.
6. Inspect The Tap Assembly And Undertake The Necessary Repairs
In this step, you must scrutinise the exposed tap assembly. Check out the washer, the O-ring, and the tap spindle. If they are worn out, replace them with a new part. Subsequently, apply a fresh coat of lubricant wherever you think it is necessary.
If the parts have become corroded, they will be stuck to the tap assembly. In that situation, you can use the spanner to pull out the corroded component and attach a new one. Likewise, if you notice any clogs in the faucet valve below, you can clear them out with an auger or an anti-clogging agent.
7. Reassemble The Tap
Once you’ve solved the problem, it’s time to reassemble the shower tap. Attach the handle and tighten the screw with a screwdriver, then reattach the cap and apply some sealant at the base. Turn the mains back on, and you’re all set.
In this regard, we’d suggest you test the tap before use. Simply turn the valves to the hot and cold water supply to see if the water leaks. If you don’t notice that, your problem has been resolved so that you can resume normal usage.
Fixing A Leaking Shower Tap
As you can see, fixing a leaky shower tap isn’t too complicated. By following our guide, you should be able to wrap up the task in a few hours.
But if you have yet to gain DIY experience, you might feel unsure about attempting it yourself. That’s when you can simply call us, and we will take care of the problem. The plumbers at Big Blue Plumbing Maroochydore are highly qualified for such tasks and can immediately fix your leaky shower!


