Is your shower head leaking and driving you up the wall? Leaky shower heads can be both frustrating and wasteful.
You may also find water spraying from the shower faucet each time you step in for a shower. So, you want to fix a dripping shower head sooner rather than later. Moreover, a dripping shower can make you waste hot water from your hot water system, unnecessarily adding to your water bills and energy consumption.
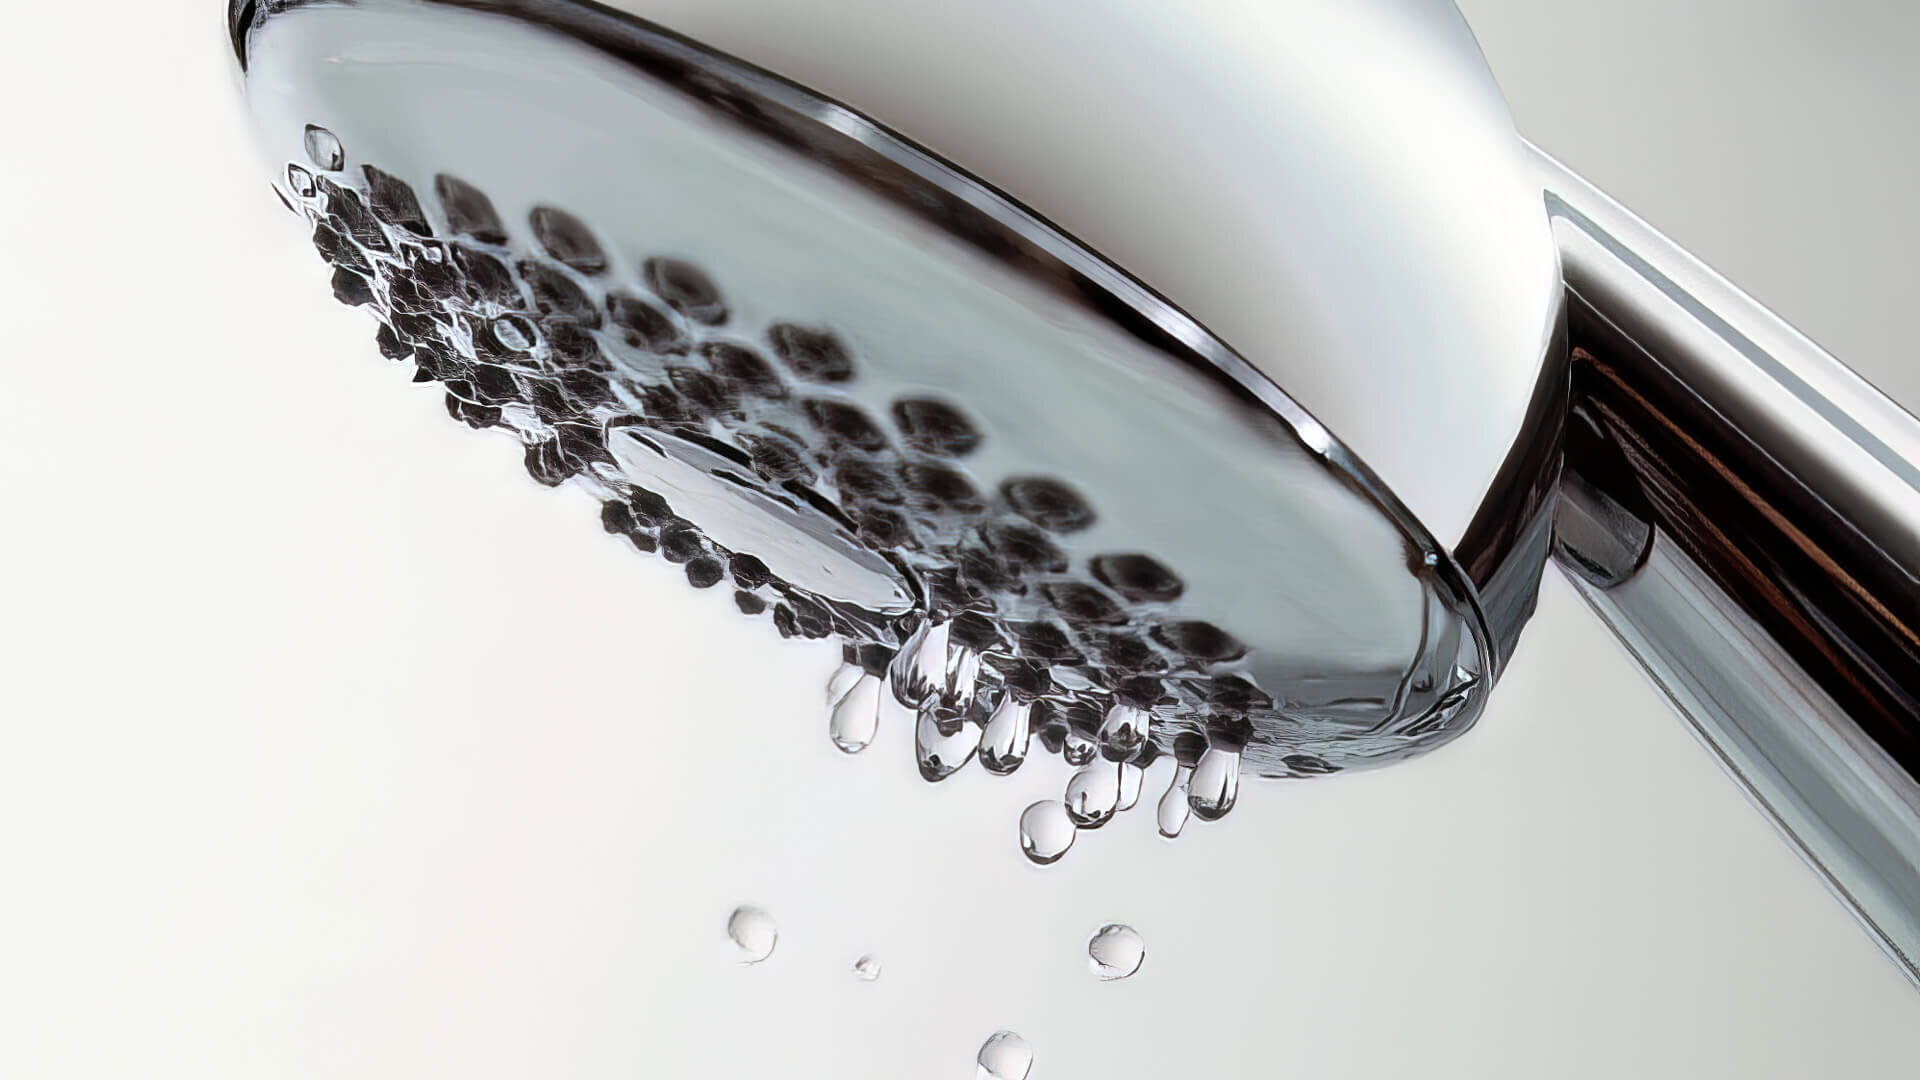
This issue often comes from things like sediment build-up or mineral deposits in the shower head. Over-tightening the shower faucet won’t help and might even cause further damage.
It’s crucial to fix a leaky shower head quickly. Fortunately, you can try some DIY fixes before calling in the pros, and we’ll guide you through them. If these don’t stop the leak, getting professional help might be the way to go.
With all said and done, let’s get down to business.
How To Fix Or Replace The Shower Head?
Clean The Shower Head
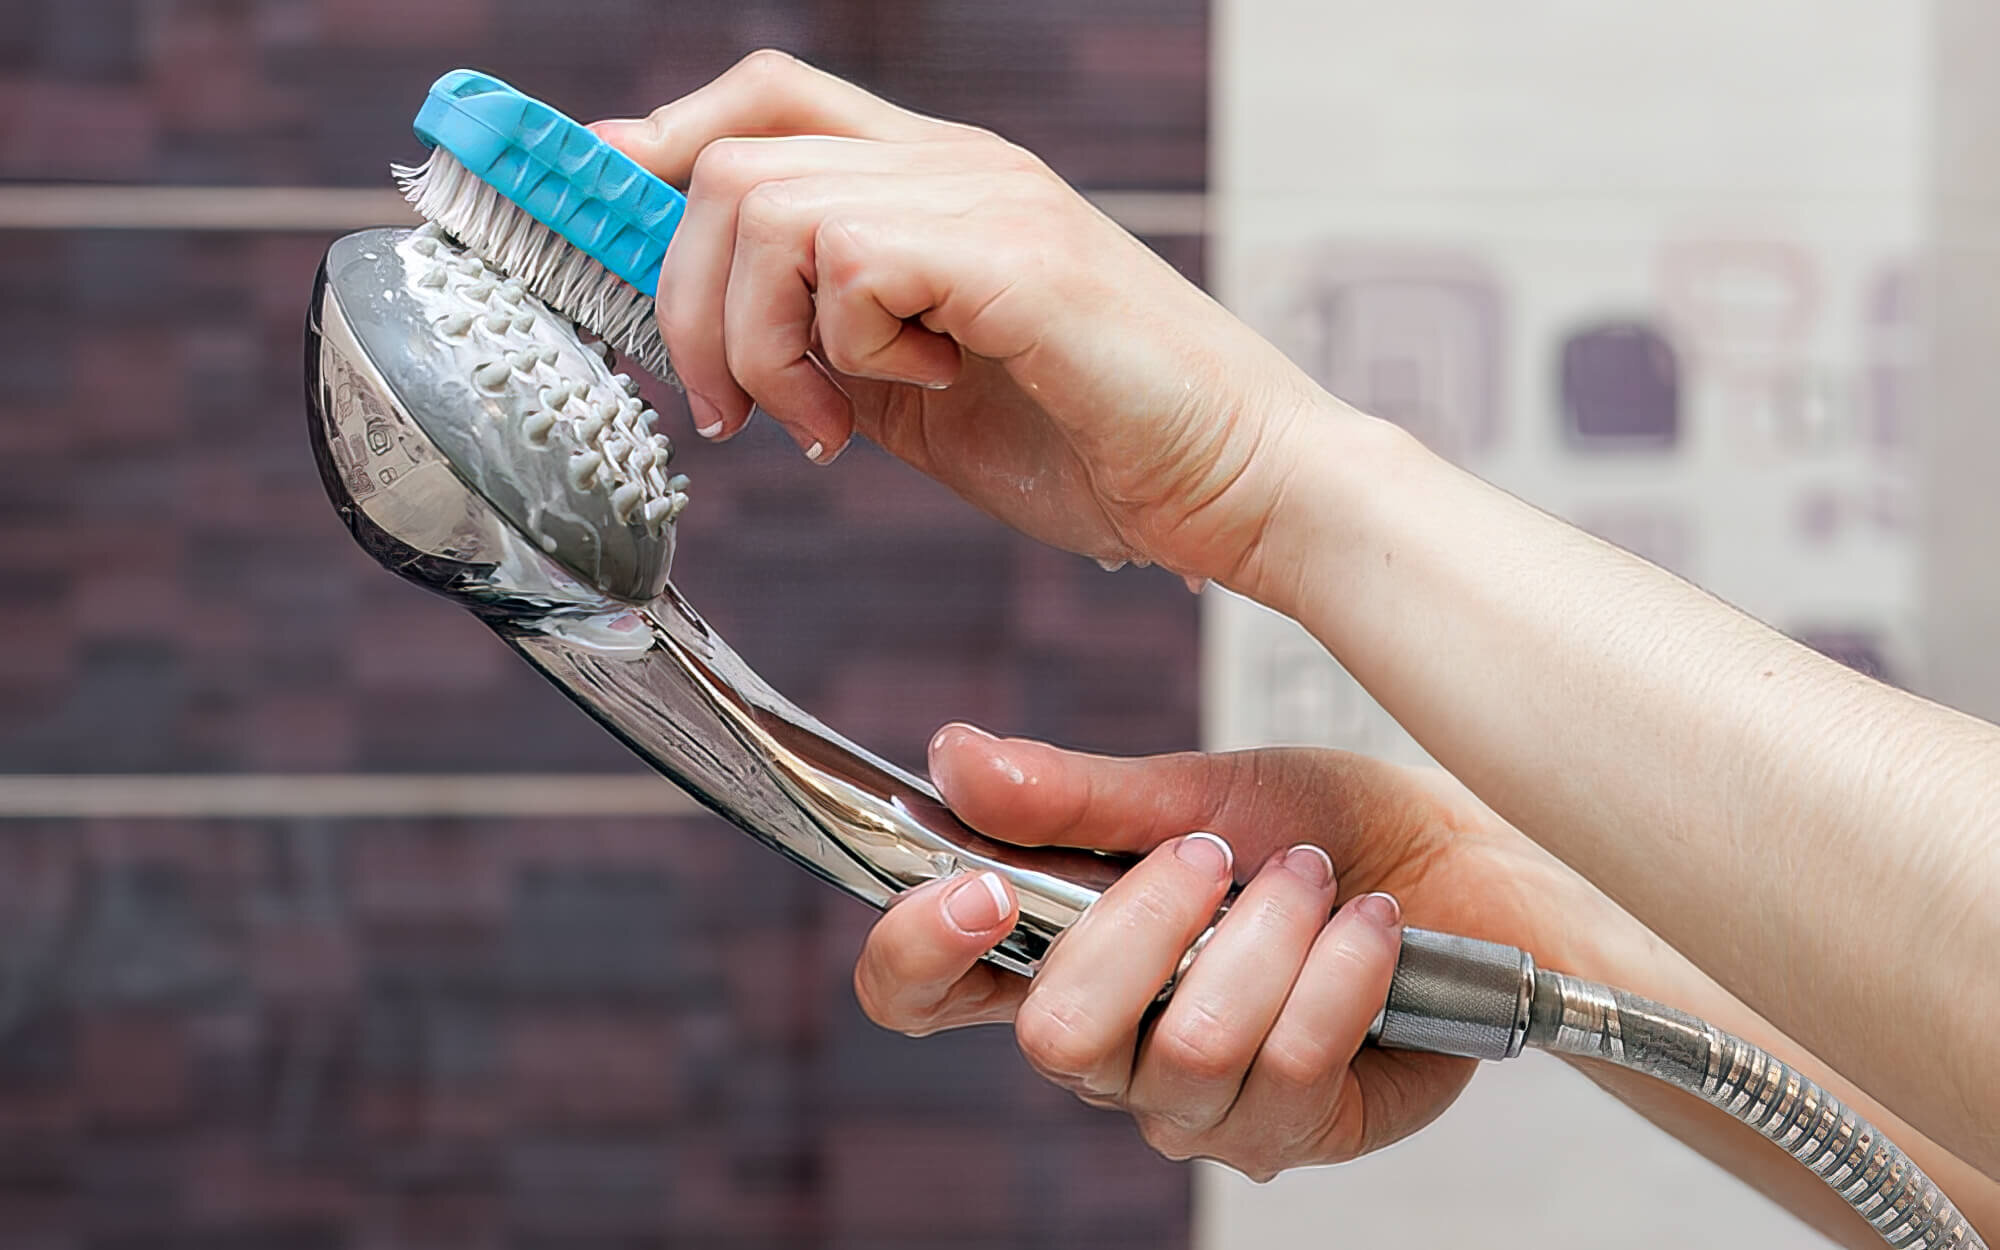
Before fixing a dripping shower head, we suggest cleaning it with a brush or soft cloth. Dip the head in a gentle bathroom cleaner and scrub it to remove any mineral build-up or residue on the outer surface.
And don’t worry—you don’t need to remove the entire shower head to complete this. Before taking on the shower head, remove all unwanted residues from the shower faucet body and handle. We suggest using a pointed, stiff brush for the nooks and crannies to get better access.
However, avoid using any cleaner that uses strong chemicals as they might discolour the shower head and damage the nozzle on the shower faucets.
The issue with the dripping showerhead should be resolved. However, if it doesn’t, then there may be a bigger problem, meaning you need to move on to more intensive maintenance, the steps for which are listed below:
Step 1: Turn Off The Water Supply
First things first, turn off the water supply to the shower head. While you could turn off the main house supply, it’s easier to just use the shower’s shutoff valves.
You will have to turn off the main water supply if you do not have access to the shower valve. The main supply shutoff valve is usually located in the basement; in most cases, the lever on the valve will have a knob. Once you find that knob, rotate it clockwise until you cannot turn it anymore.
After that, turn off the faucets (hot and cold water) located at the lowest level of the house so that the leftover water in the pipes can drain out.
Step 2: Remove The Shower Head
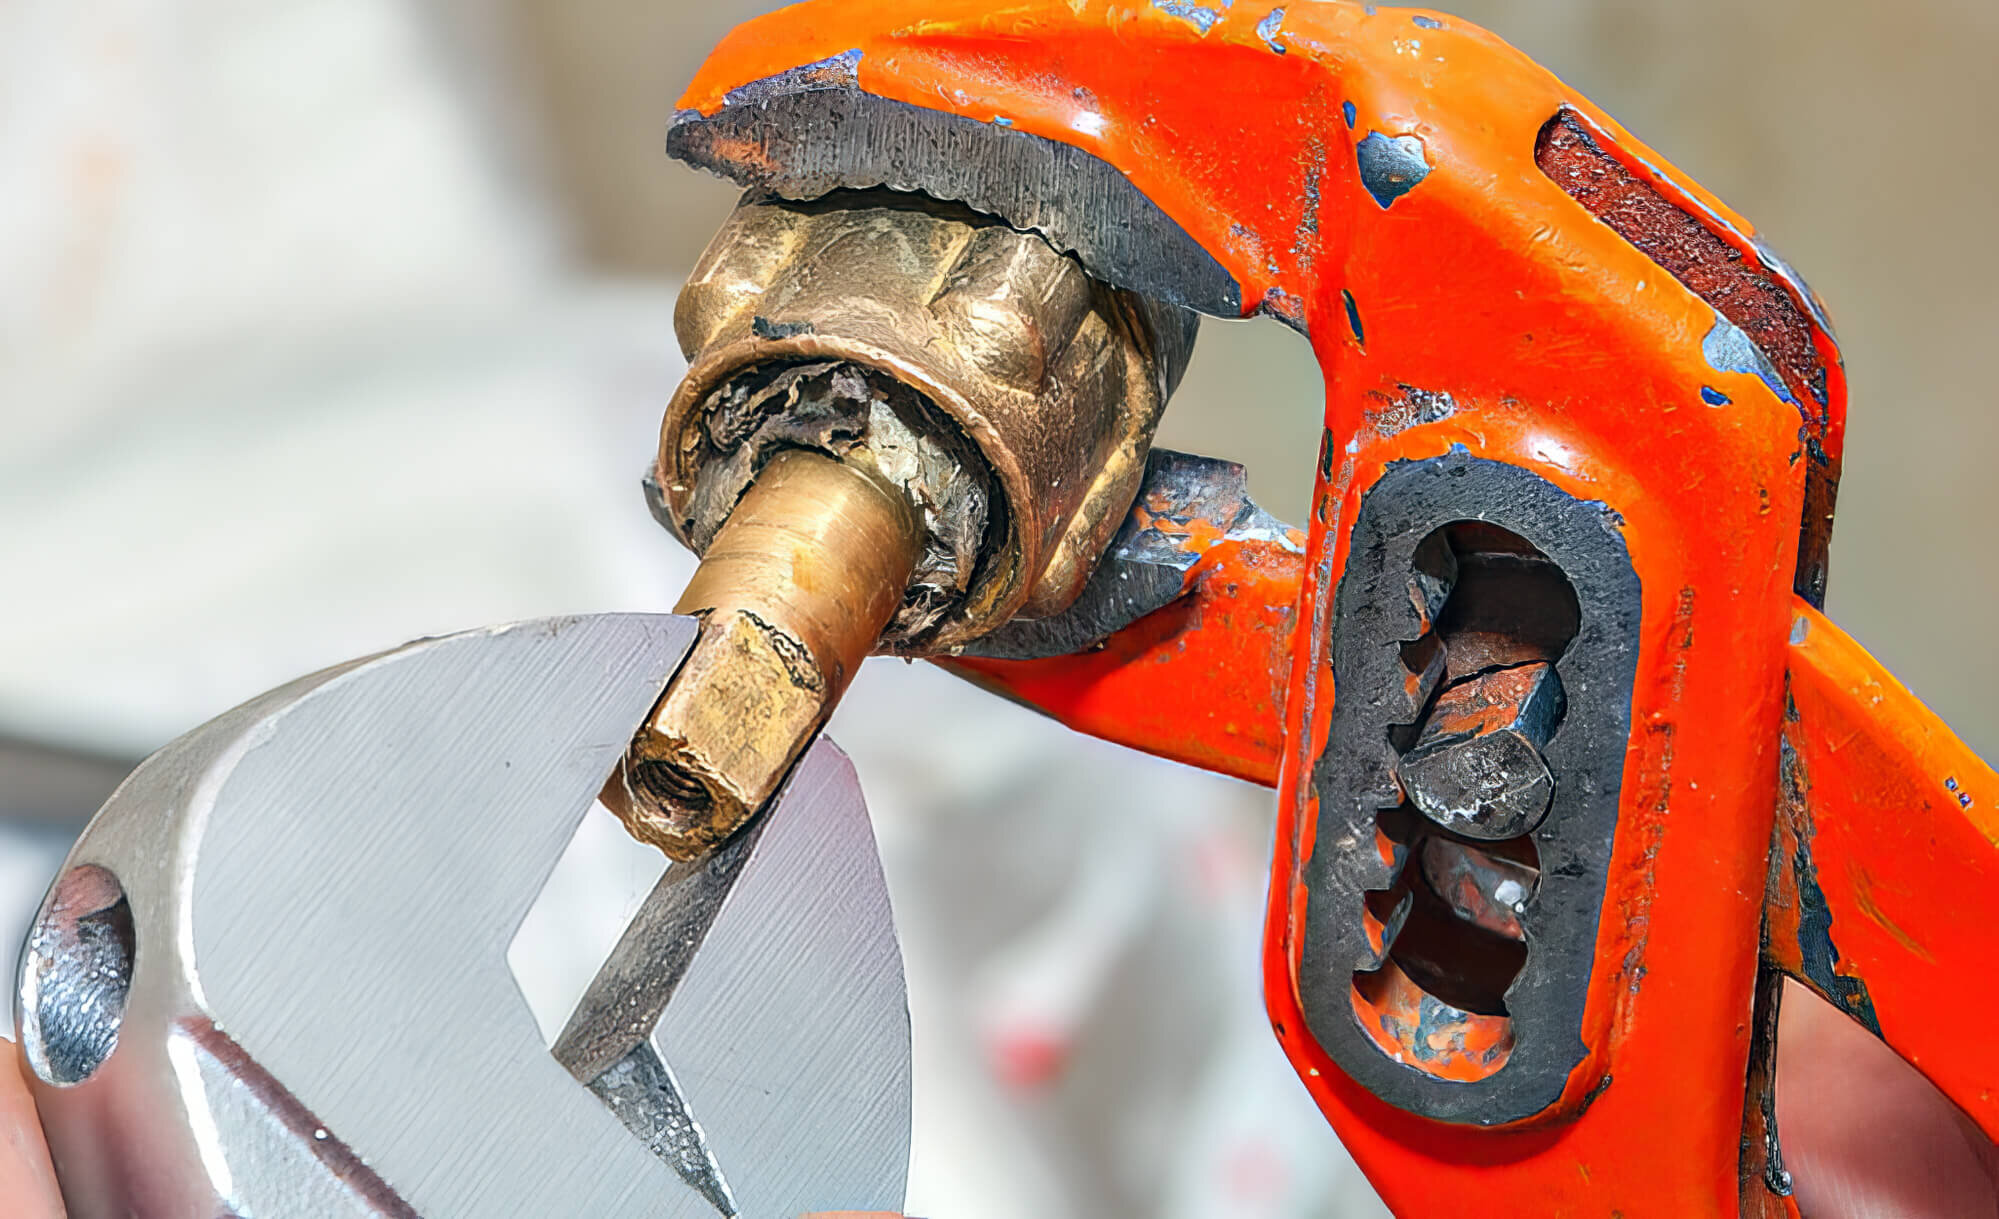
Once the water supply to the shower is turned off, it is time to dismantle the entire assembly of the shower head. However, cover the shower drain before you proceed to prevent the smaller parts (like bolts) from falling into the drain hole.
Carefully remove the leaky shower faucet with a screwdriver to loosen the bolts. If you’re dealing with an older shower head, the screws might be a bit stubborn.
In the worst-case situation, you might need a faucet puller or a pair of pliers to remove the shower head. If you have no other option but to use the latter, use a soft cloth and the pliers. That will prevent any form of damage to the different parts.
Step 3: Cleaning The Shower Head
As stated above, mineral deposits or sediment can build up inside or near the shower stem (where it attaches to the showerhead). Not only can this reduce the water pressure and flow, but it can also result in a leaking showerhead.
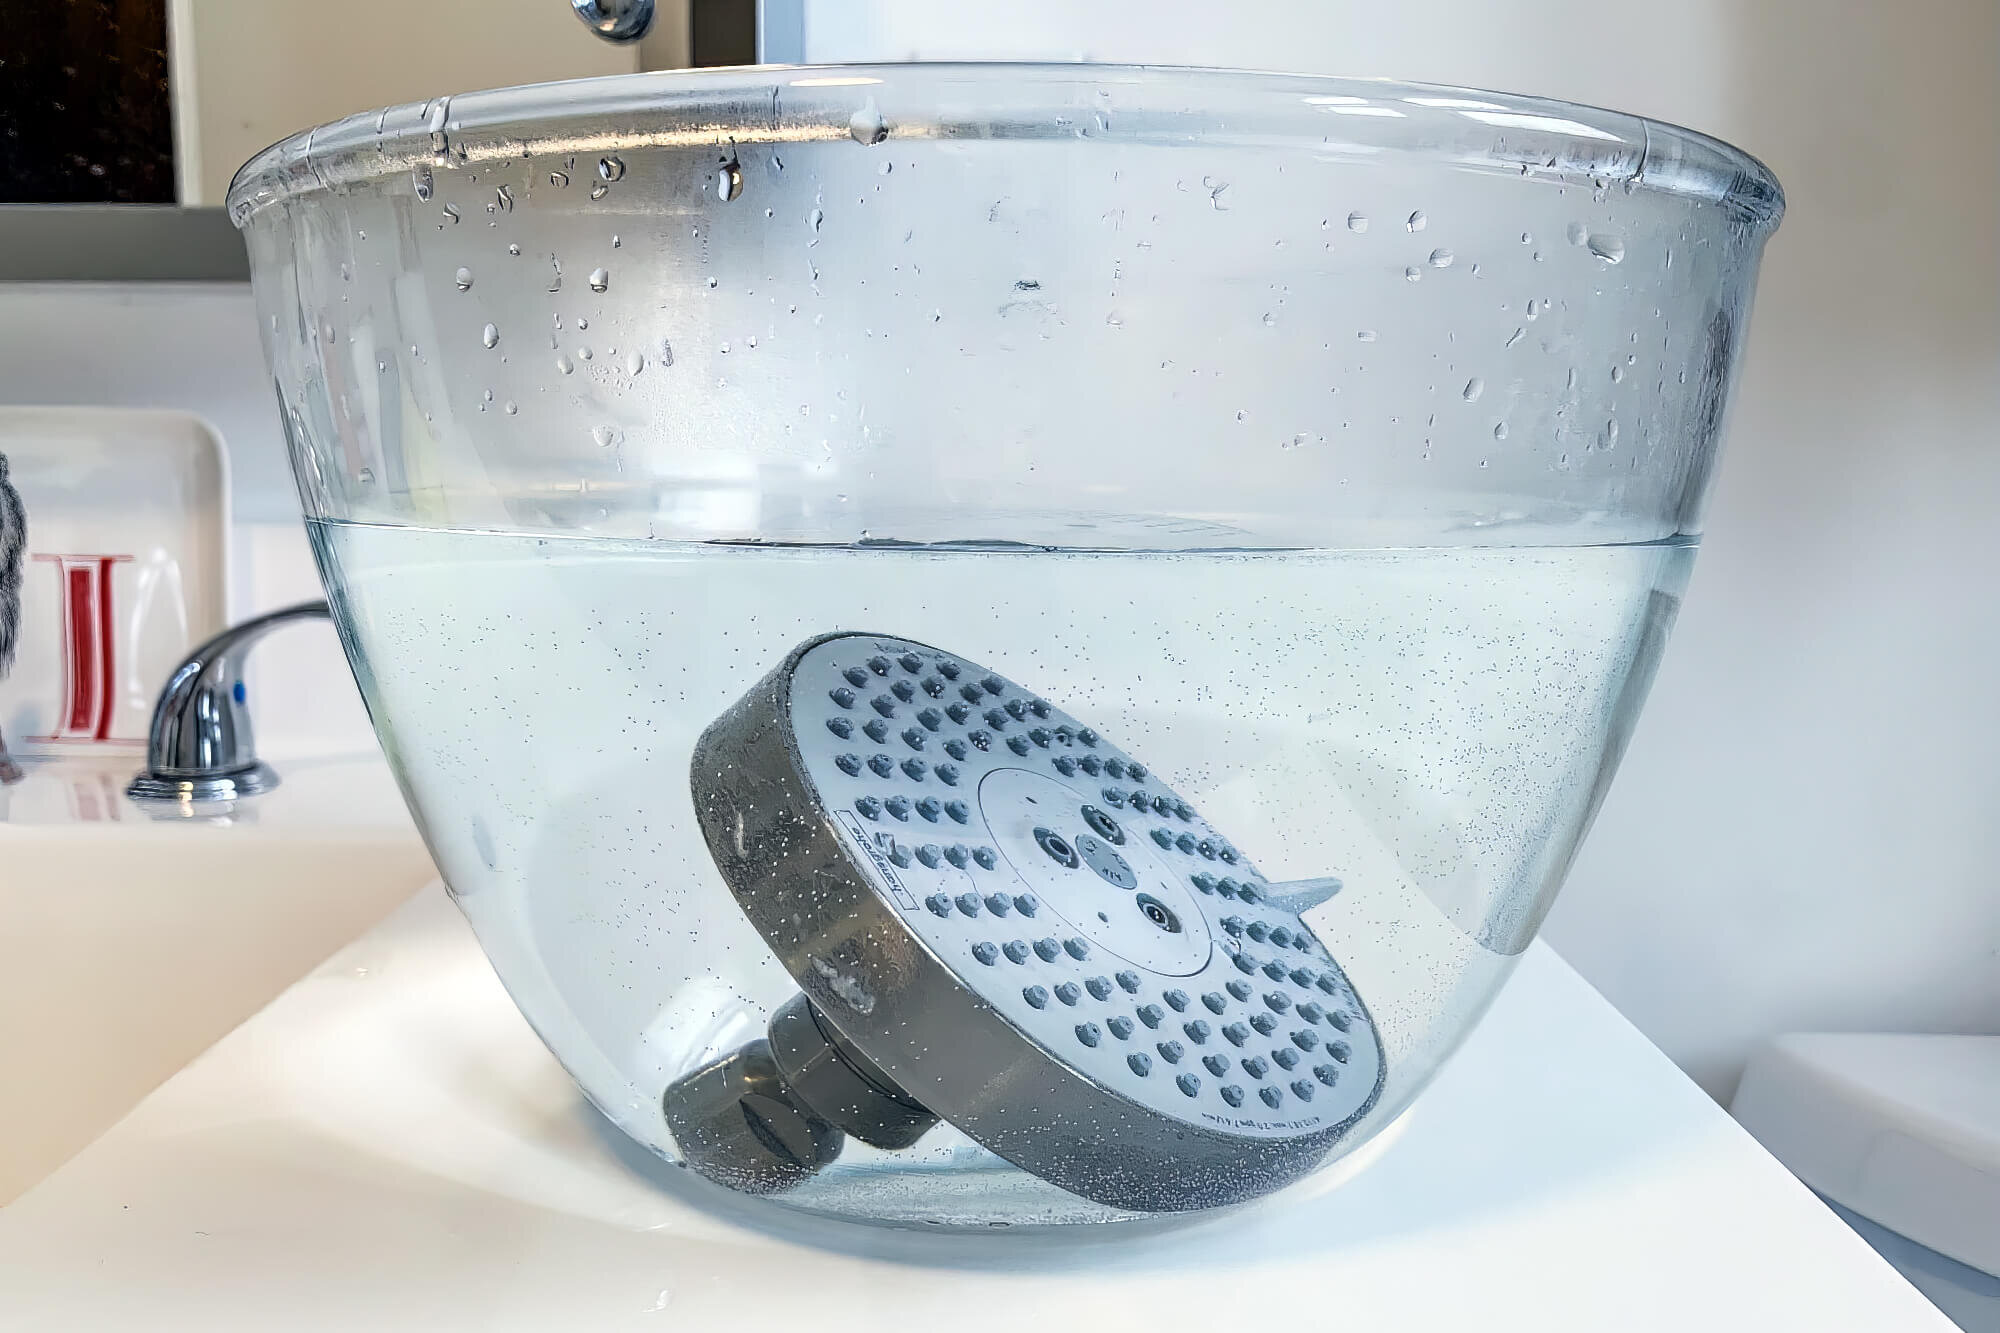
To clean the shower head, add water to 3 cups of white vinegar and bring the mixture to a boil. Remove it immediately from the heat when you see bubbles. Then, place the shower head (except any removable rubber parts like rubber washers) in this hot solution to completely submerge it.
Let the shower faucets and rubber washer soak for at least 30 minutes, after which you can gently scrub them with an old toothbrush. Then, take the toothbrush out and rinse it with clean water. Dry the shower head with a clean cloth and put it back. Then, start the water supply to check it.
If a thorough clean doesn’t resolve the leak, the O-ring could be at fault. This small rubber ring seals the connection between the showerhead and pipe. Unscrew the showerhead and remove the old O-ring. It’s fairly cheap, so replace it at the first hint of damage.
Once you have the new O-ring, install it and screw the showerhead back onto the pipe, making sure to tighten it by hand. Then, you can cover the pipe stem threads with Teflon tape or any other thread-sealing tape. However, don’t put too much tape, as it may restrict the water flow.
How To Replace The Faucet Shower Cartridge?
If leaks continue, it’s likely that the faucet cartridge needs replacing. It’s a straightforward task anyone can tackle. Here’s how you do it:
Step 1
Turn off the water to your shower head. You’ll usually find a shutoff valve near the fixture itself.
Step 2
Remove the shower head from the arm. Some showerheads may be removed with hands, but others may need a wrench or pliers. Be careful not to damage the finish on the fixtures.
Step 3
Unscrew the retaining nut from the back of the showerhead and remove the old cartridge. Then, you can install the new cartridge, ensuring it’s seated properly. Screw on the retaining nut and hand-tighten it.
Step 4
Turn on the water supply and then test the shower head. It’s a good idea to have a few spare cartridges to replace them when needed. This is much more affordable than buying a new one whenever the old one leaks.
Things That Can Prevent A Leaking Shower Head
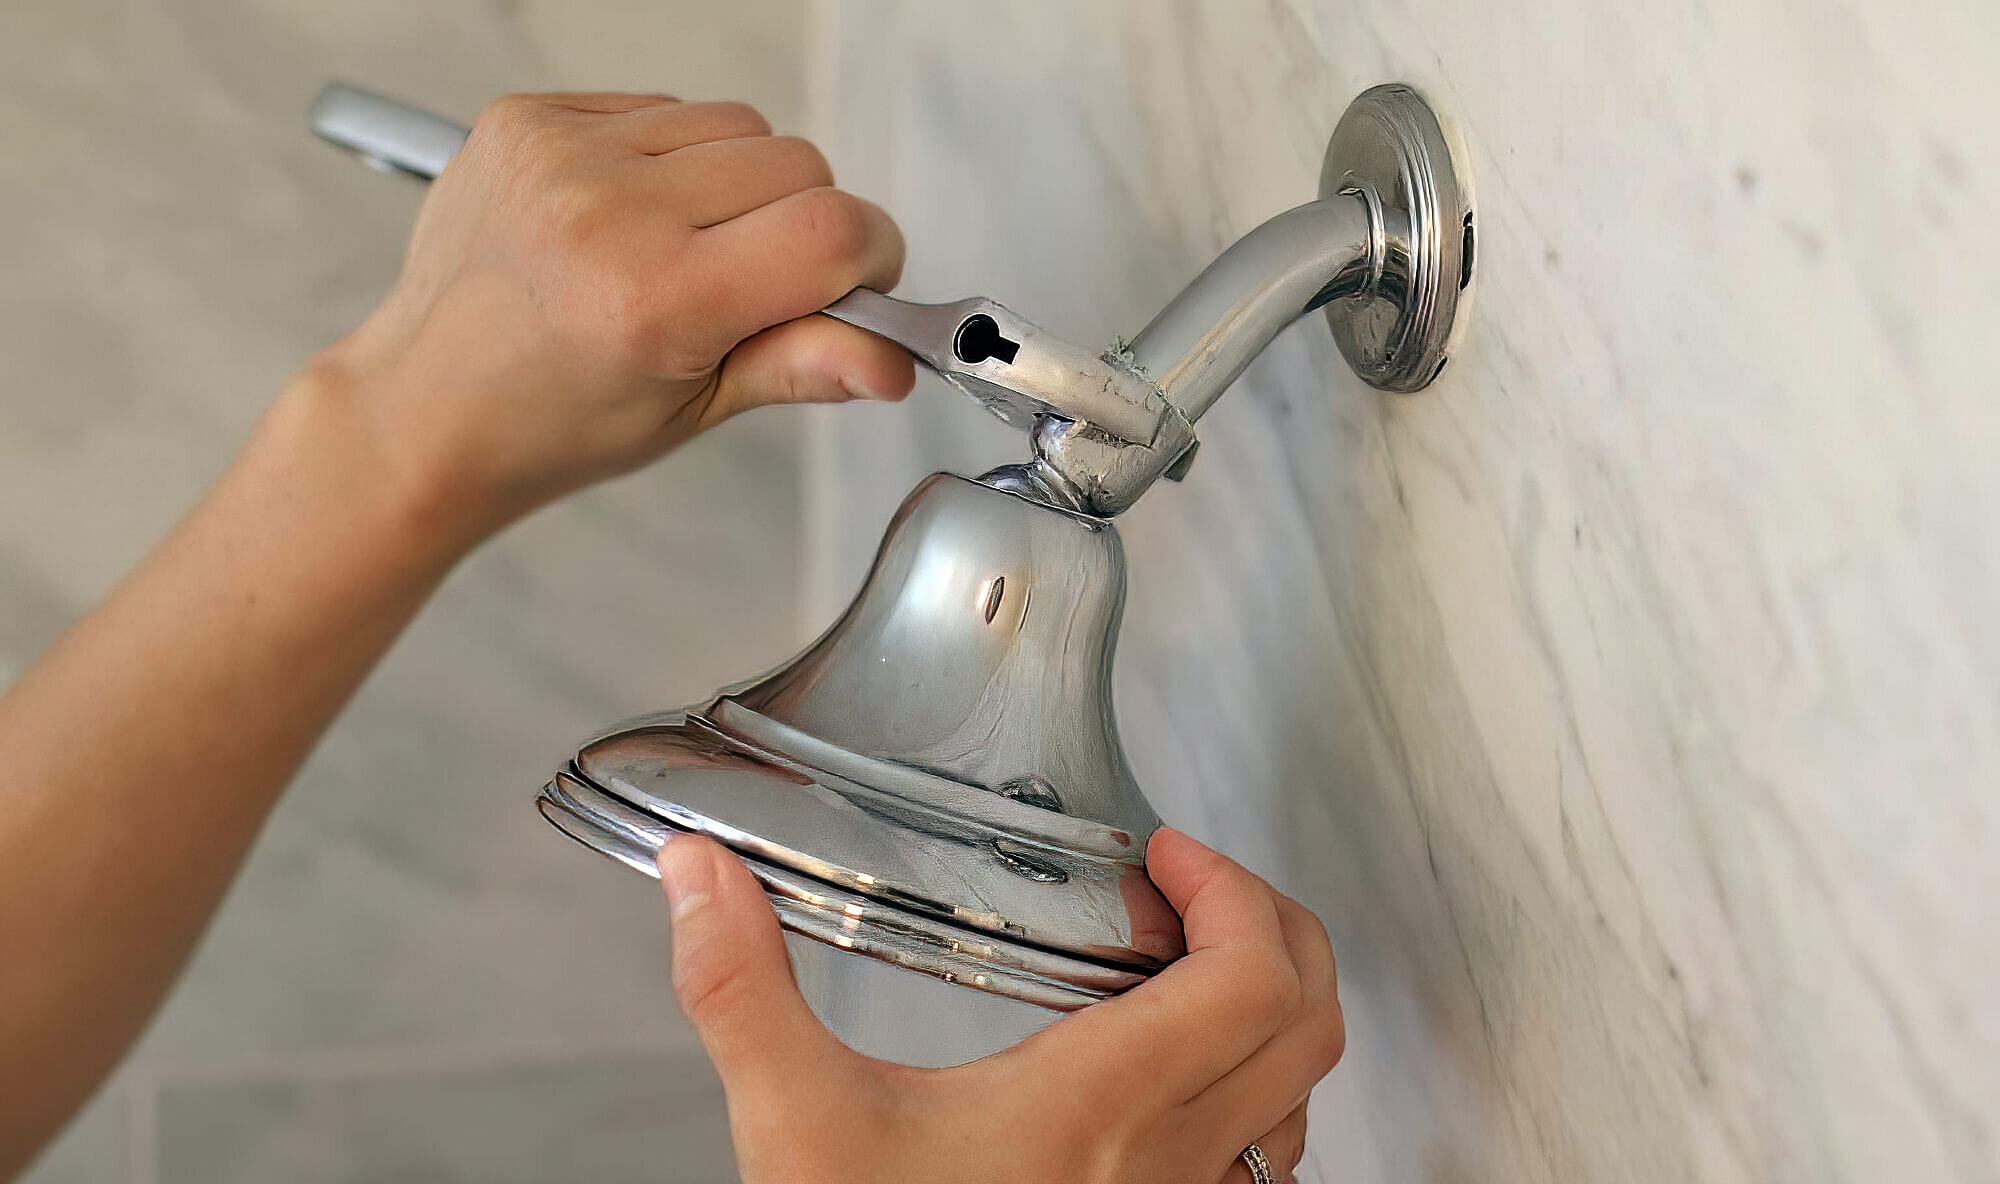
First, it is important to read the manufacturer’s instructions before installing a new showerhead. This will help you better understand the fixture and how it should be used properly to prevent any issues.
Secondly, always use Teflon tape on the shower head threads before you screw it on. This will help deliver a tight seal and prevent unwanted leaks.
Do not over-tighten the shower head when installing it; it can destroy the threads and cause leaks. If the shower head has a rubber washer, check and replace it regularly to maintain a watertight seal and prevent leaks.
Turn on the water when installing the shower head and check for leaks. If there are any, tighten the connections until they stop. Do not forget to keep a faucet washer kit handy to solve the problem if a leak suddenly appears.
However, faults in plumbing systems, especially shower heads, can lead to leaks. So, if none of the above techniques works for you, getting the entire plumbing checked by professional plumbers may be a good idea.
Drip No More — Repairing Your Leaking Shower Head
With that, we can conclude this guide on how to fix a leaky showerhead.
Here are some final words of advice. Before you start working to deal with the issue, get your hands on the essential supplies. The most common resources are towels, pliers, plastic washers, vinegar, O-rings and a screwdriver. This way, you don’t have to scramble to detect or install the shower arm or head.
If you need a hand fixing that leaking shower, give our local plumbers a call at Big Blue Plumbing Today! Whether it’s repairing leaks or installing a new shower head, we’ve got long-term solutions for any plumbing challenge, be it residential, commercial, or industrial.
We will see you another day. Until next time, take care!


