Curious about removing plumber’s putty but unsure where to start? Plumber’s putty is a handy tool for both DIY enthusiasts and professionals. It’s a staple in their toolkit, ready for use whenever needed.
This versatile material is a go-to for professional plumbers, especially when sealing drain assemblies to ensure watertight sinks and fixtures. While it takes a bit to dry, once set, plumber’s putty offers a robust, waterproof seal.

Finding dried plumber’s putty on your taps and pipes isn’t uncommon. If you’re planning some plumbing tasks, it’s essential to know how to clean it up effectively.
Fortunately, with the right tools and technique, you can easily remove plumbers putty, even when it’s dried. So, if you wish to know how to do that, seize the opportunity to learn the techniques elaborated upon in this guide.
Let’s get started!
What Is A Plumber’s Putty?
Plumber’s putty is used to seal primarily drain assemblies and prevent any leakage under the flange by filling the gaps with a pliable, clay-like compound. You can use this product to set faucets, sink basket strainers, shower drains, and pop-up drains.
As we’ve said before, a plumber’s putty is a flexible material most plumbers and DIYers use. You will find it exceptionally soft and mushy when you buy it, much like dough. This texture makes it highly malleable, so you can conveniently seal plumbing joints and fixtures.
As the putty dries, it hardens, strengthening plumbing joints significantly. Its water resistance makes it ideal for fixing taps, faucets, and other fixtures, ensuring it stays firmly in place over time.
Typically, a plumber’s putty is offered in traditional blends and contemporary compositions, with each blend having a different composition. But, the primary constituents are almost the same in all the blends.
Typical formulations include clay linseed oil mixtures and a trace amount of fish oil. Other blends may use additional components such as vegetable oils, limestone or talc.
The plumber’s putty helps create a waterproof nature, which can be attributed to the oil. Furthermore, the clay interacts with the oil, making it a whitish, mushy appearance. However, you should note that it is not an adhesive and should not be used. In that case, we suggest you use caulk adhesive, epoxy resin or silicone sealant since they have adhesive properties.
Where Do You Use Plumber’s Putty?
With its durability and water resistance, plumber’s putty is suitable for nearly any plumbing job. It’s perfect for securing sink rims, creating a tight, watertight seal around the edges.

Additionally, You can use it around the bathtub, sink drain, faucet base and other water fixtures. On that note, You can also use it for filing leaky or damaged pipes. Needing application over the leak or crack is essential to address the issue.
However, you are advised against using plumber putty for all fixtures. To be precise, it is unsuitable for use on marble and granite sinks.
The residues from certain materials like linseed oil in plumber’s putty can discolour and stain porous surfaces like marble and granite. So, you can use epoxy or silicone sealants, decent alternatives to plumber’s putty, to avoid staining such sinks.
Regardless of sink materials, be it stainless steel or plastic, you can securely apply the putty without risk to the surface. The linseed oil does not left behind any marks or blemishes on those surfaces. You can also use it on porcelain or cast iron surfaces. That is why you can safely use it on bathtubs, taps and pipes as long as they are made of these materials.
How Do You Apply A Plumber’s Putty?
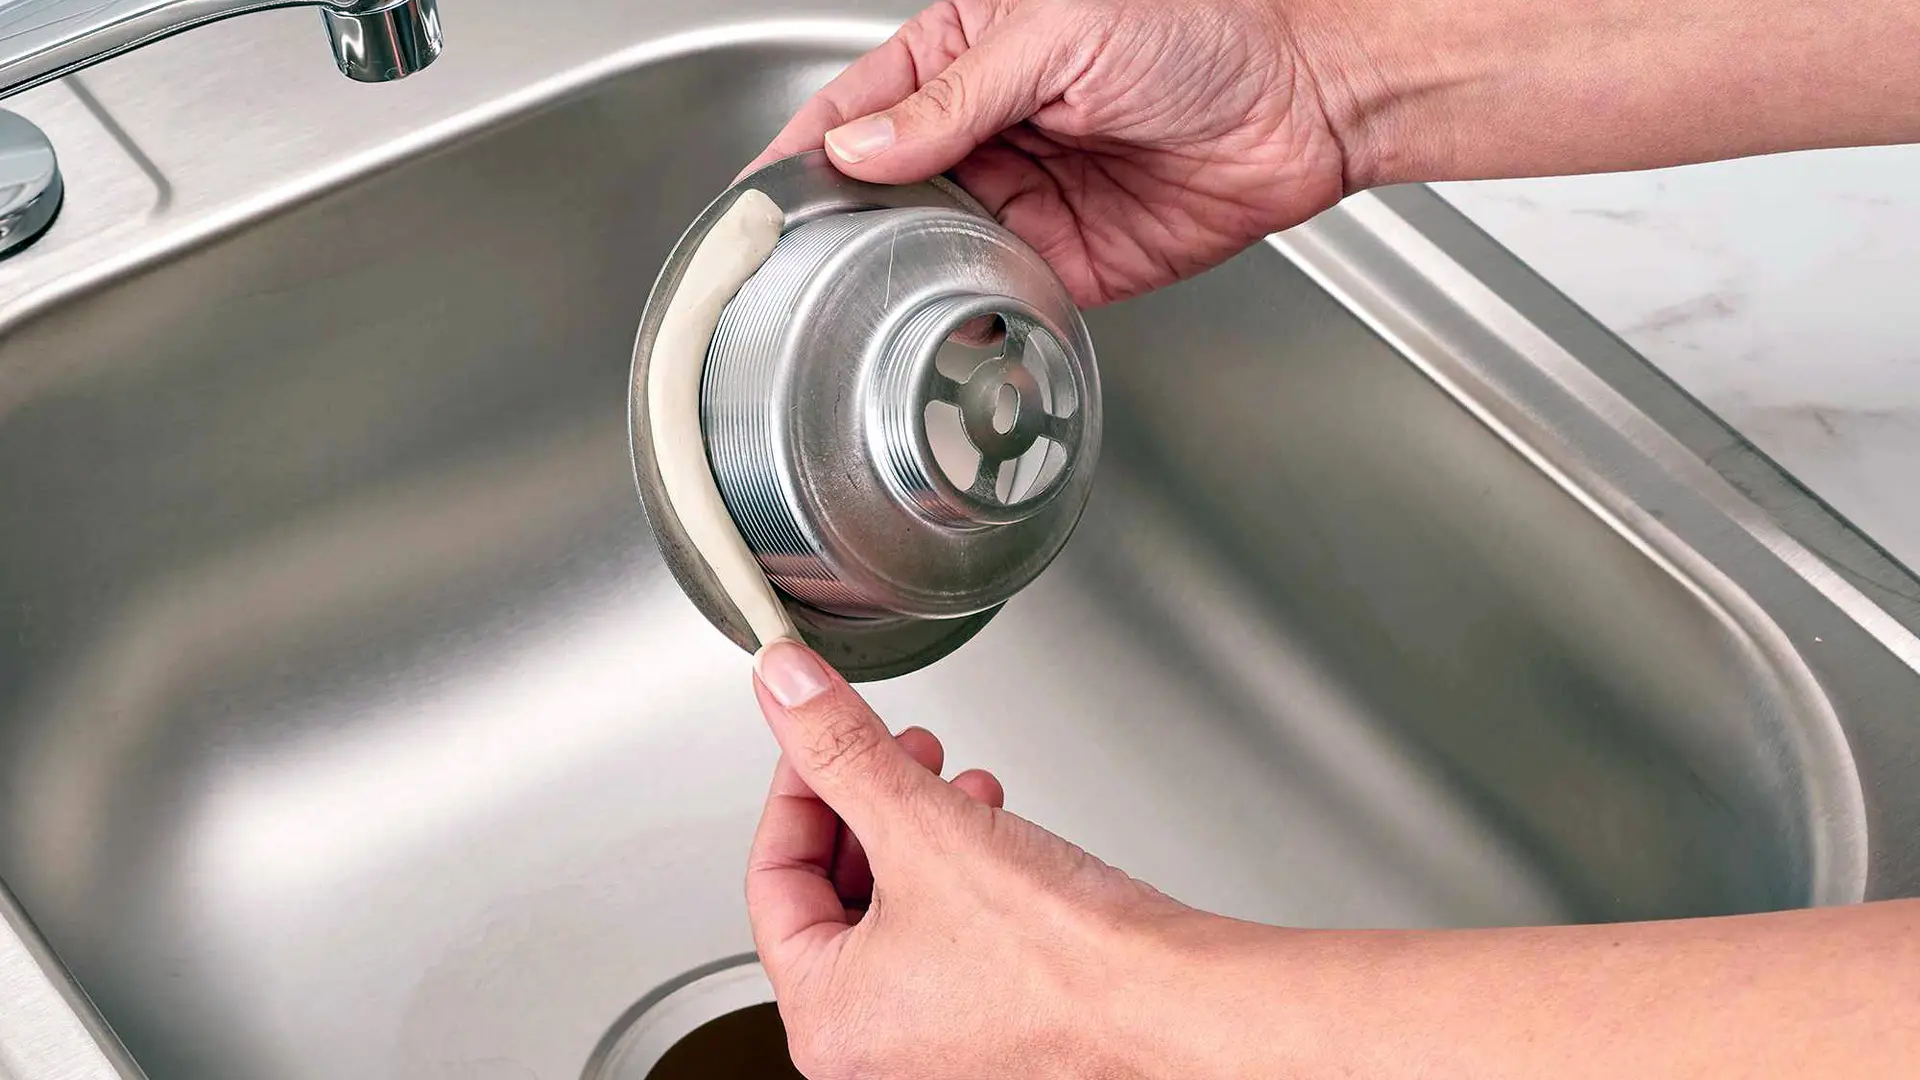
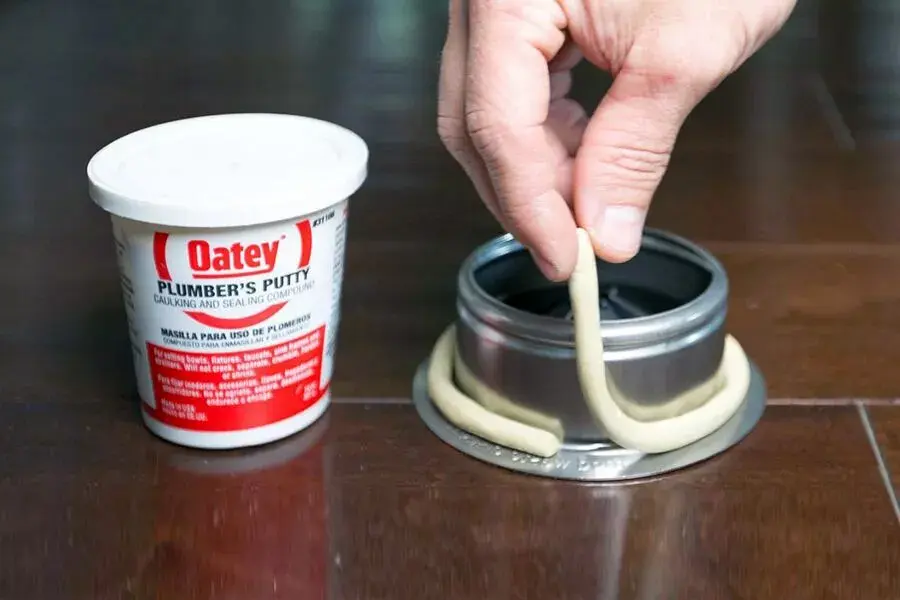
The soft and pliable texture of a plumber’s putty makes applying it handy and straightforward. Take a chunk of the putty around in your hands and roll it until it becomes elongated in shape, similar to a thread. Then, carefully apply it around the edges of the fixture.

It is, therefore, essential to avoid applying small fragments of putty in this regard, as it may cause gaps to appear after the putty is applied. Using enough putty to do the job in a single application is ideal to achieve the best results.
But we understand that might not always be possible, so you must ensure that adjacent applications overlap sufficiently to prevent gaps. However, the overlapping sections should not be too thick, which might chip or damage the fitting. If you think they are too thick, you can try flattening them using a putty knife.
Following that, press the two surfaces that you wish to seal together. For fixtures with threaded fittings, such as a pipe joint and faucet, you must gently twist them in place.
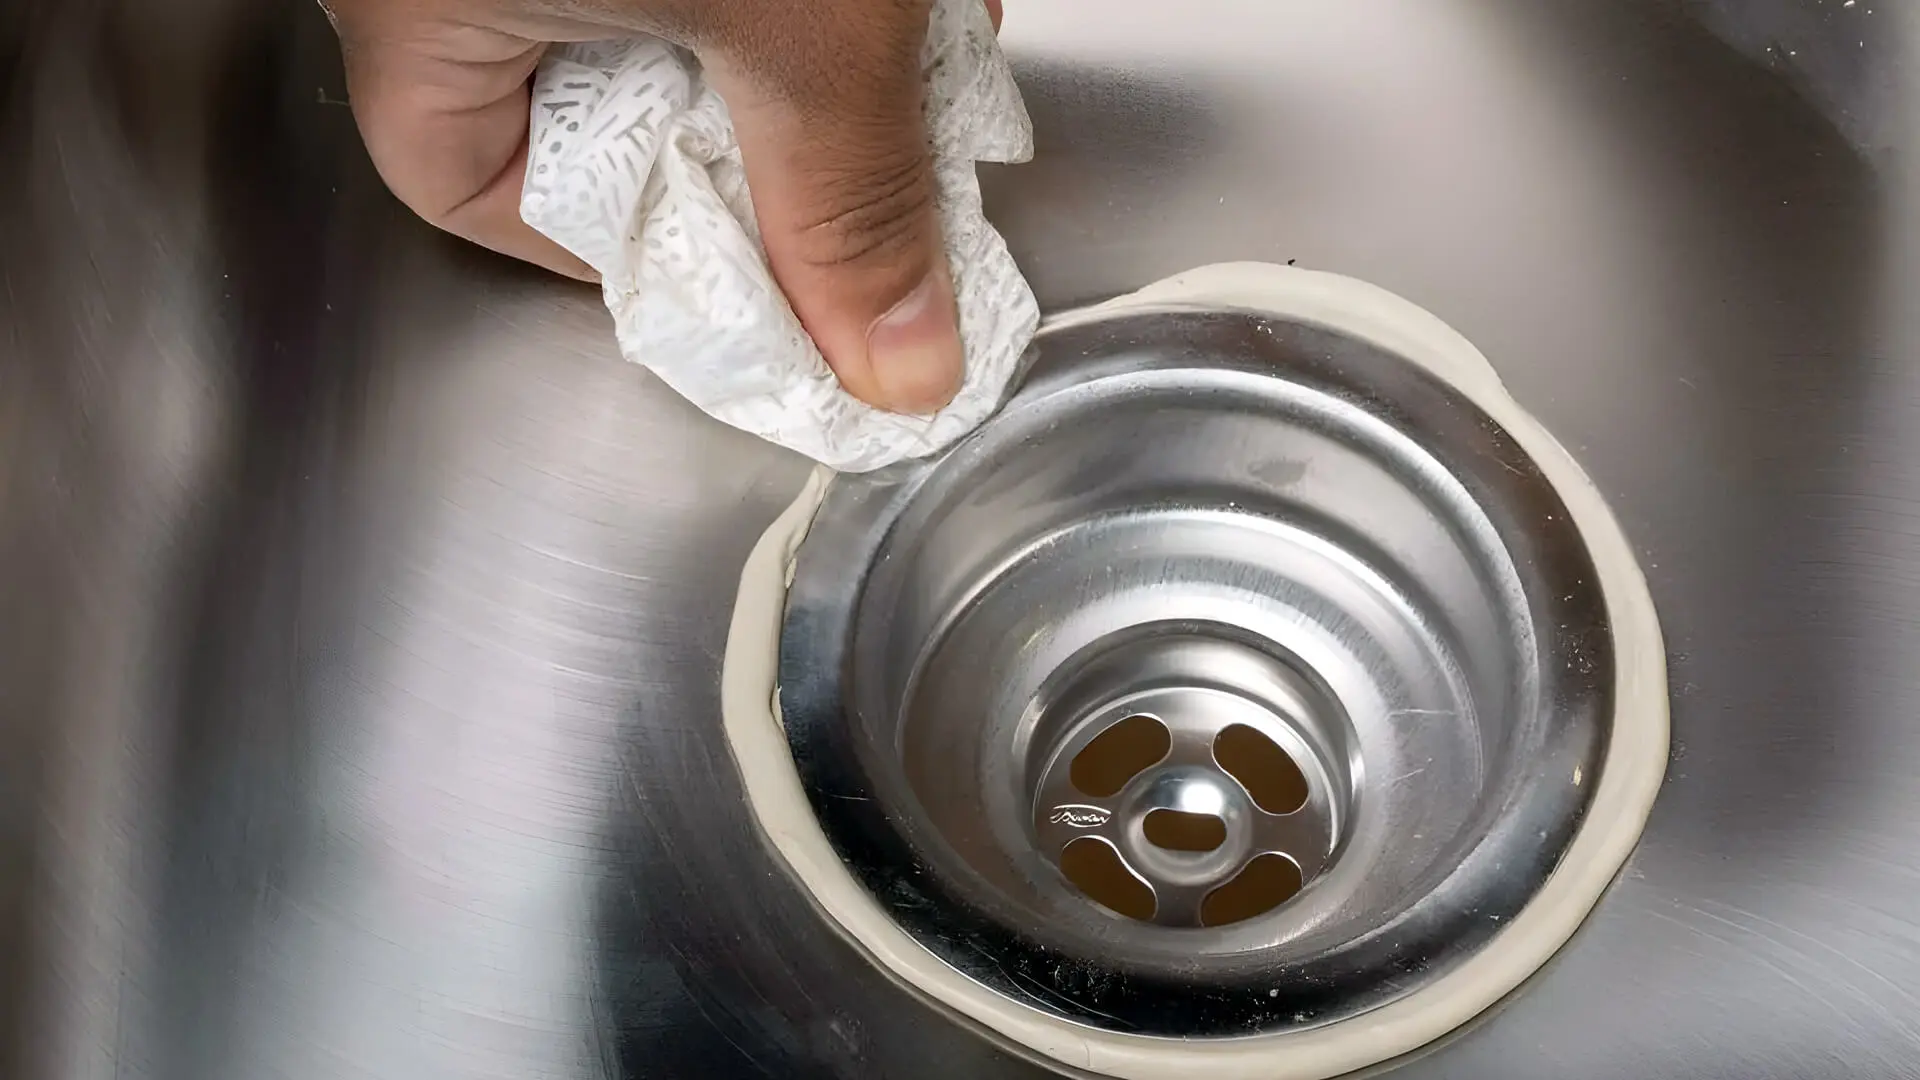
You may notice that some putty will overflow around the edges. That is an expected thing, so there is no cause for concern. Excess putty that spills around the edges can be effortlessly cleaned away with a blade or a cloth, while residual stains can be cleaned using a suitable solvent or mineral spirit.
How To Remove Plumber’s Putty?
Having understood what a plumber’s putty is, its application and utility, let’s delve into the essential process of removing a plumber’s putty. In that context, a plumber’s putty takes quite some time to dry, and once it does, it hardens into a material that is relatively resistant to damage.
Initially, you may perceive that removing a plumber’s putty requires substantial effort. If you use the right tools and techniques, removing it becomes significantly easier. Below, we detail the procedures for removing a plumber’s putty effectively.
1. With Bare Hands
This is the simplest way to remove dried plumber’s putty as it requires no extra tools. Dried putty tends to be brittle, making it easier to break off with some pressure, even if it’s been there a while.
Thus, applying pressure on the joint with your hands or fingers will eventually break off. Subsequently, fingers can smoothly scrape off any remaining putty from the affected area.
Although, such a technique is not foolproof and may fail to crack the putty if thick enough. However, it is primarily effective for old putty so the success rate will be comparatively lower for freshly hardened putty.
2. Using A Knife Or Utility Blade
As an alternative to a putty knife or utility blade, you can also remove dried putty with a sturdy putty knife. The hardened putty can be scraped directly off the surface by applying some pressure with the knife.
It would be helpful to be careful when using a knife or a utility blade. Otherwise, you may end up cutting yourself or injuring yourself and damaging your body.
3. Using Soapy Water
You can also remove the plumber’s putty with a soapy water solution. Dip a rough cloth in this soap water and rub it against the area vigorously. On that note, it is more effective at removing the putty residue than the actual putty itself. So, you might need to scrape the putty with a knife first.
4. Using Mineral Spirits And Paint Thinners
Mineral spirits and paint thinners are made of chemicals that can dissolve the bonds of a plumber’s putty, making them suitable for this purpose. Saturate a rag with mineral spirit and wipe vigorously against the dried putty.
Alternatively, apply paint remover to the putty and let it soak for a few minutes. Once it becomes soft enough, you can wipe away the softened material with a cloth. That being said, these chemicals are toxic and should, therefore, be used carefully to avoid any accidents.
5. Using A Heat Gun
A heat gun is a special device that can produce tremendous amounts of heat, usually above 537 degrees. As a result, it can effectively melt the putty. Subsequently, it can be removed by gently wiping it with a cloth or washing it with water.
As for the cost of getting a heat gun, it isn’t straightforward to find one, so it may not save you time or resources to invest in one. Aside from that, you must wear proper equipment to stay safe, such as heat protective gloves.
Removing Plumbers Putty
That concludes our comprehensive guide on how to handle and remove plumber’s putty. As you can see, the process is relatively easy, and people can achieve this in multiple ways.
We’ve also covered where and how to use plumber’s putty and the best ways to remove it. So, whether you’re applying new putty or replacing the old, you can refer back to this guide for quick tips for your next plumbing project.
Should you need any help, don’t hesitate to explore our comprehensive plumbing services or contact us. Our team of professional plumbers is always ready to assist. Our experts can precisely remove plumber putty from your sink drains, garbage disposal or drain flange. We can also fix water leaks or gaps, ensuring a solid, permanent bond.
Now, it is time for us to wrap it up over here. We will share more such guides in the future.
Until then, goodbye!


