Commercial kitchens are vital for many businesses, but keeping them in top shape takes more than great cooking. Grease traps quietly support your plumbing, ensuring fatty oils, fats, and grease (FOGs) don’t block your drains or sewer lines.

Keeping your grease traps well-maintained is crucial for efficiency. Ignoring this can lead to overflows, bad smells, and environmental issues. Agencies like the US EPA and Australia’s EPA stress the importance of properly disposing of FOGs to keep our waterways safe. Learn more about correct disposal here.
This guide is designed to equip your kitchen staff with everything needed to clean grease traps effectively. We’ll cover the necessary tools, like rubber gloves and heavy-duty scoopers, along with the steps for cleaning different types of traps.
We’ll delve into how much waste to remove, how to properly dispose of it, and the importance of using cool water (not hot!) during the cleaning process.
The Importance of Regular Grease Trap Cleaning
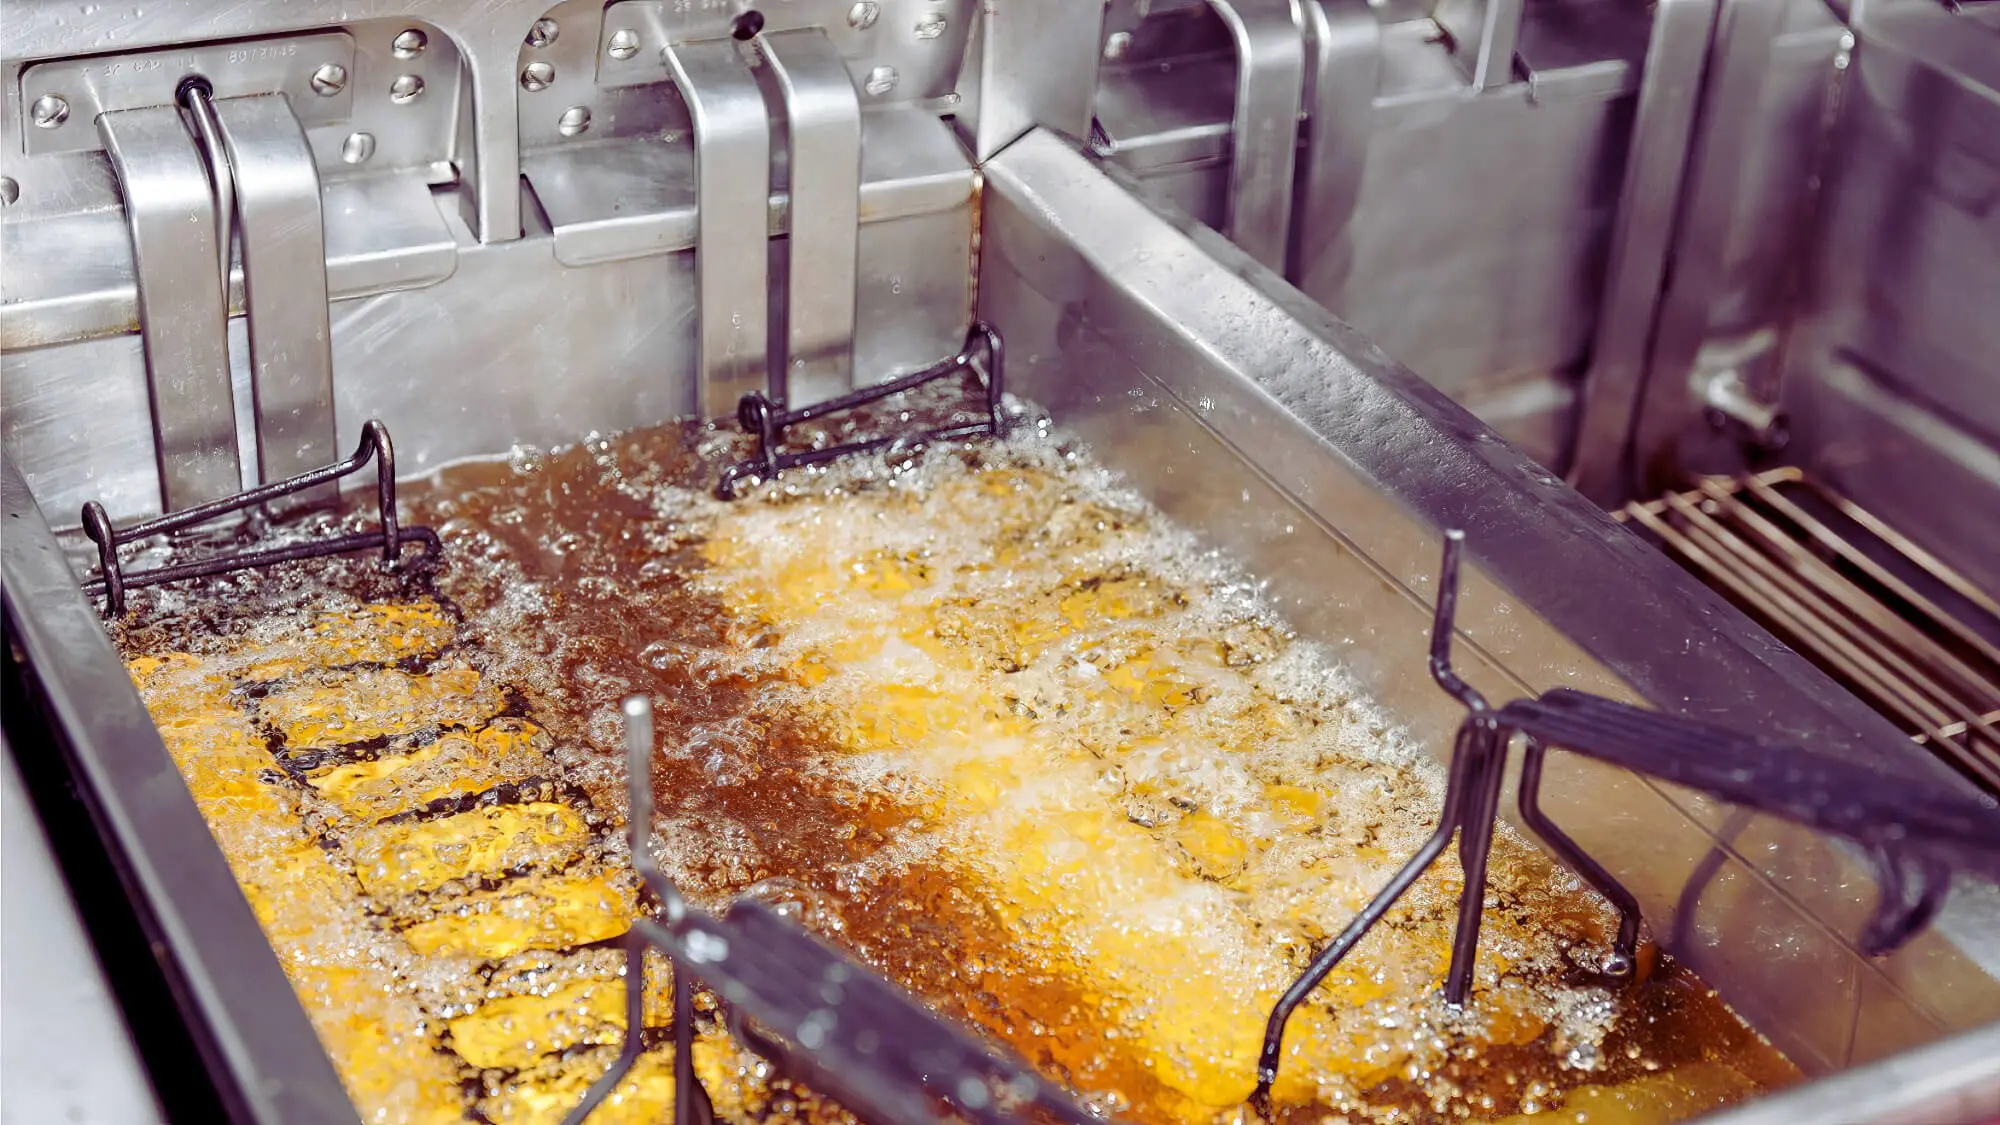
A grease trap is vital to any commercial kitchen’s plumbing system. It traps fats, oils, and grease (FOG) before they enter the wastewater system. These greasy materials can solidify and cause blockages in pipes and drains.
How A Grease Trap Work
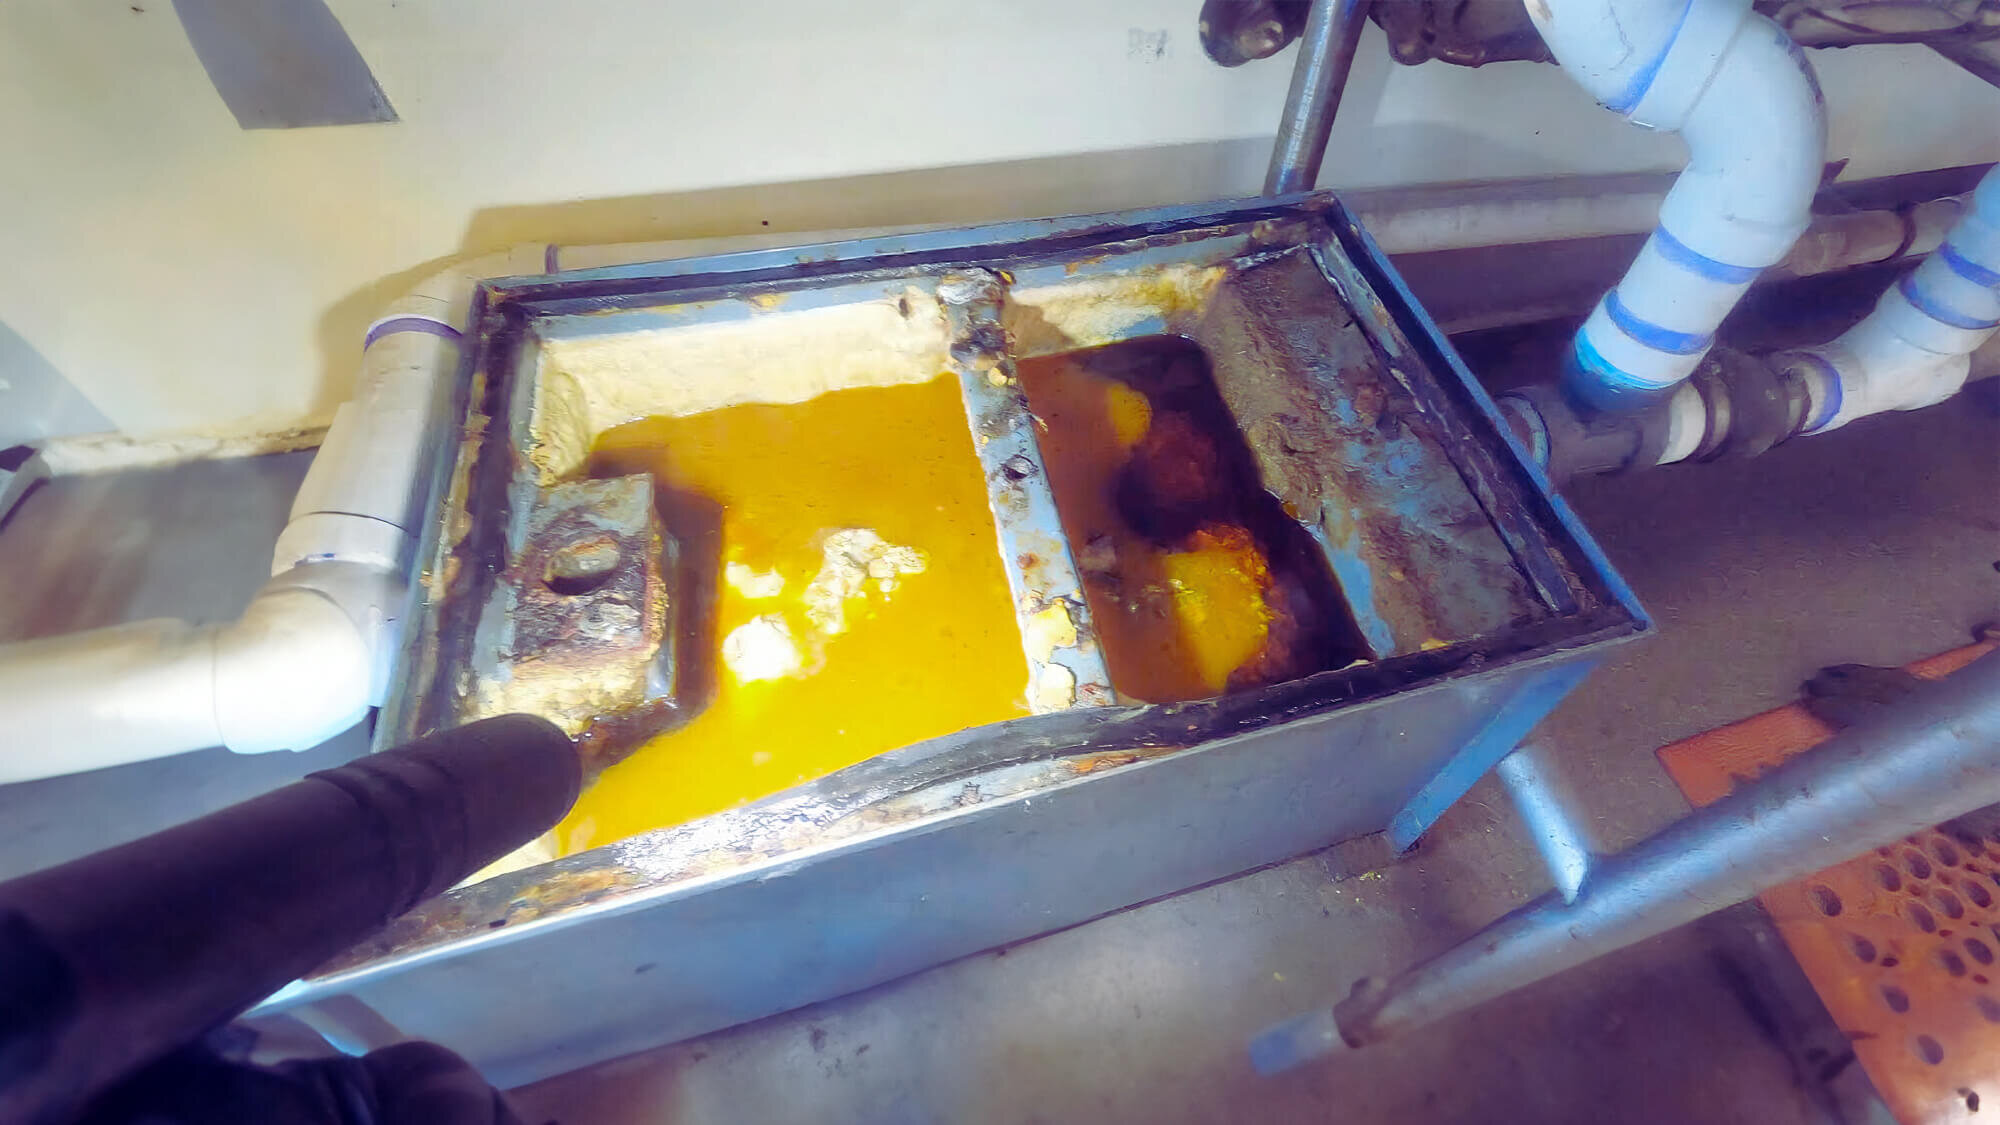
Grease traps work by slowing down the flow of wastewater. Grease, being lighter than water, floats to the surface and collects in the trap’s tank. The remaining FOG and food scraps settle at the bottom. This separation lets you properly clean water flow freely through the drain.

The Consequences of Neglecting Grease Trap Cleaning
If you neglect regular grease trap cleaning, you might face several issues:
- Overflow and Blockages: Overflowing traps can block kitchen sinks and sewer lines, leading to costly repairs and business interruptions.
- Unpleasant Odours: Built-up FOG can cause bad smells around your kitchen sinks and trap lids, affecting staff and customers alike.
- Environmental Damage: FOG entering waterways can harm marine life and disrupt ecosystems.
- Fines: Non-compliance with cleaning regulations could lead to fines from regulatory bodies.
Safety First: Preparing for Cleaning Duty
Cleaning might seem straightforward, but safety is vital, especially in grease trap maintenance where you’ll handle waste materials and potential odours.
To minimise risks, gear up with appropriate personal protective equipment (PPE) before diving in. This includes wearing gloves, goggles, and a mask to shield yourself from splashes, fumes, and anything else that might come your way. Don’t forget sturdy footwear to prevent slips on wet surfaces.
Before getting started, take a moment to locate your grease trap and get familiar with its design. Knowing the lid’s location and understanding the parts can make cleaning much easier. If you’re uncertain about anything, it’s wise to consult a licensed plumber.
Step-by-Step Guide to Cleaning a Grease Trap
1. Minimising Disruption
Plan your grease trap cleaning during quieter times in the kitchen. This minimises workflow disruption, letting you concentrate on the task. Also, turning off dishwashers and sinks connected to the trap prevents it from refilling during cleaning.
2. Locating Your Grease Trap
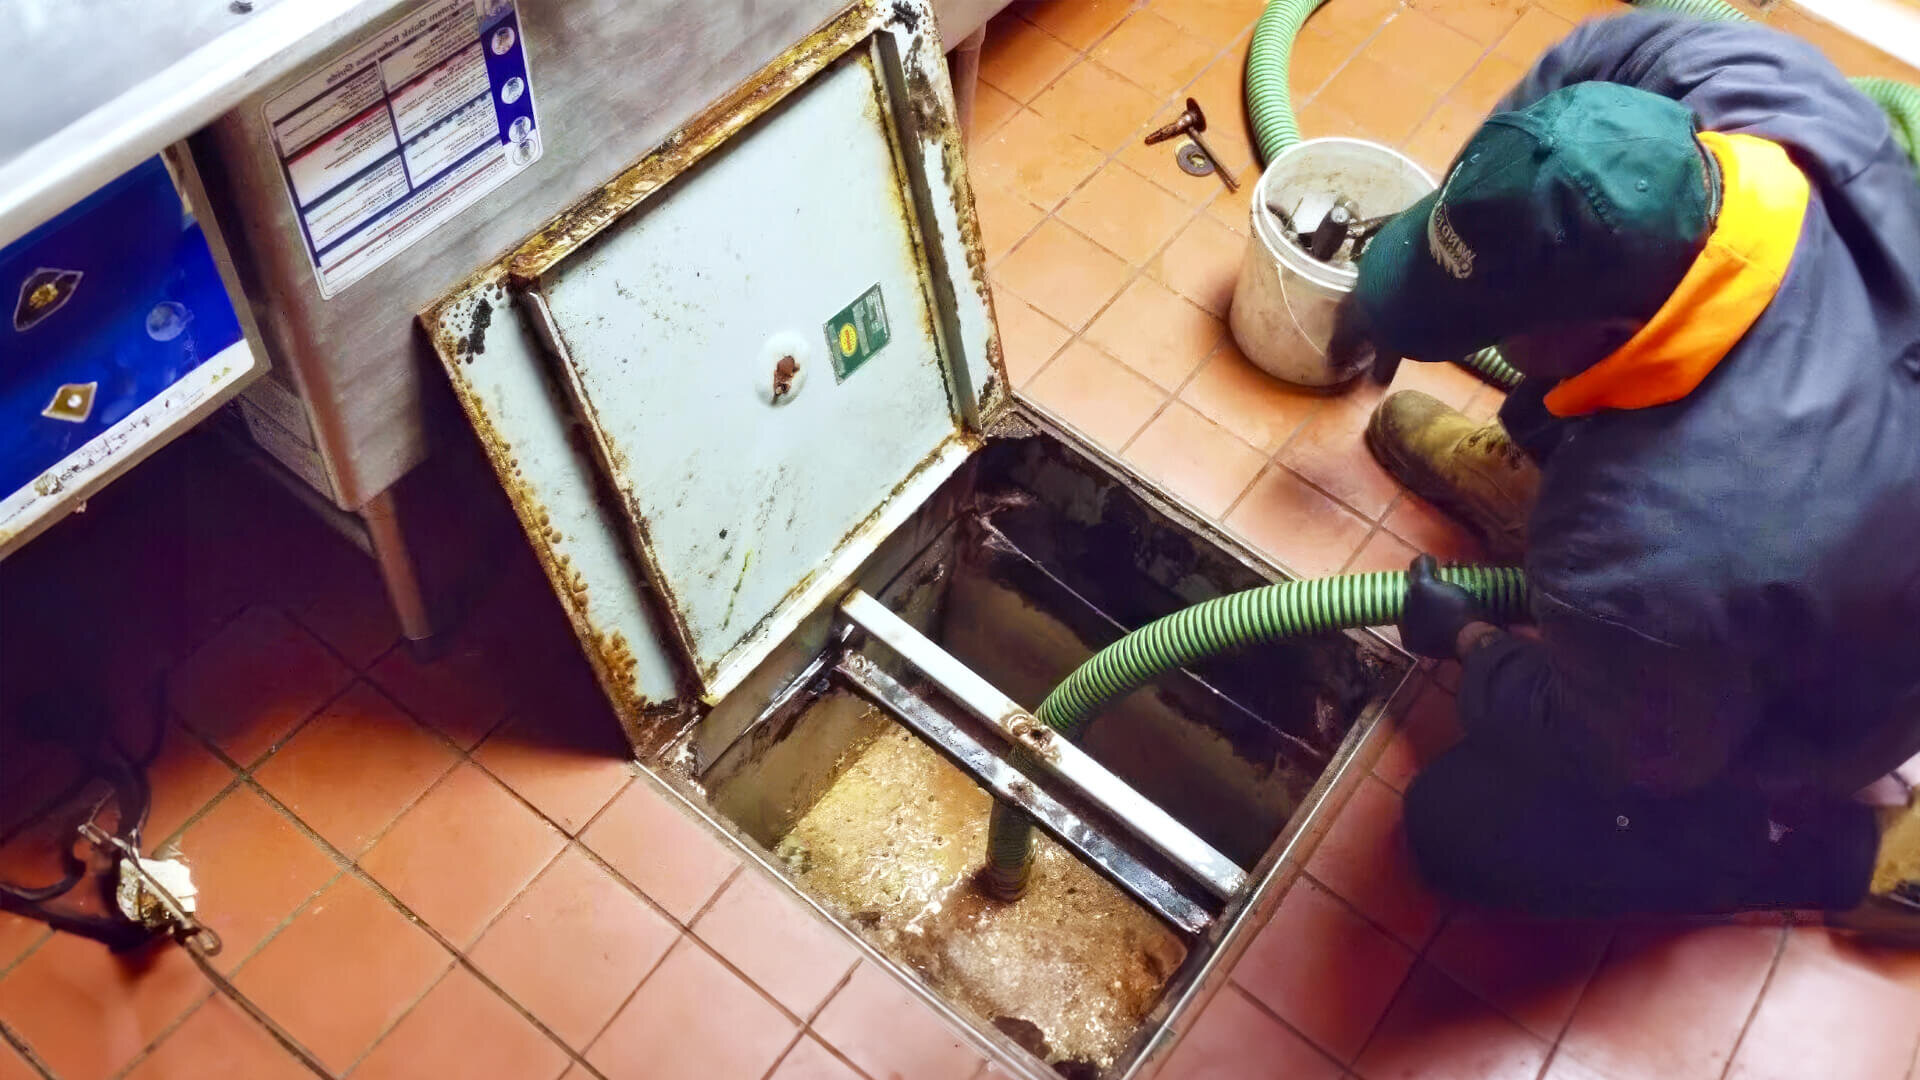
Grease traps are typically located underground or tucked away behind the kitchen. If you’re unsure of the exact location, consult your facility manual or ask a designated staff member who is familiar with its whereabouts.
3. Opening the Trap with Caution
Be aware that built-up gas might escape upon opening the lid. To avoid surprise and unpleasant odours, take your time and remove the lid slowly and carefully. Consider using a nose plug for additional protection if you’re particularly sensitive to smells.

4. Skimming the FOG Layer
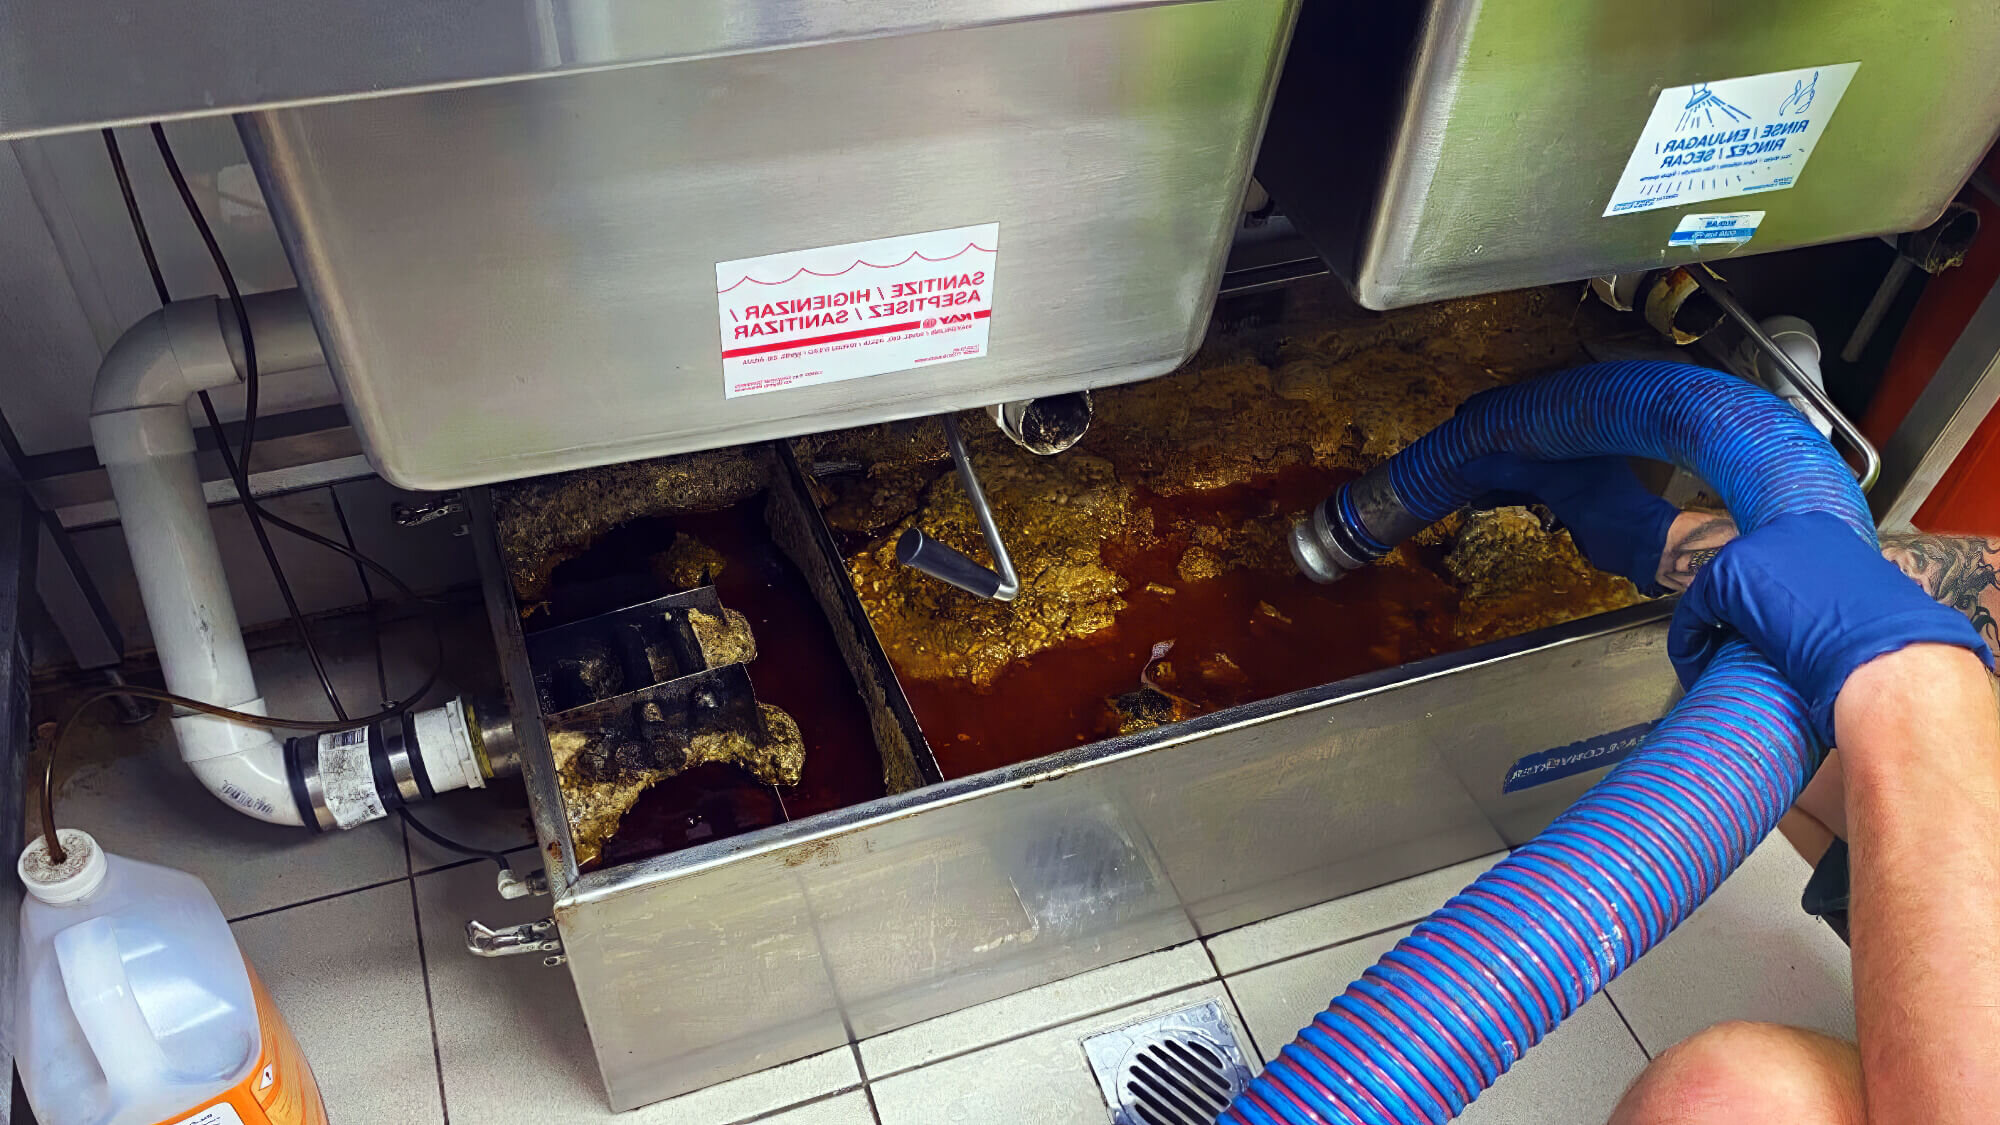
The first step in cleaning the trap is removing the thick layer of FOG (fat, oil, and grease) that floats on the surface. Use a large ladle or skimmer to remove this layer efficiently. Transfer the collected FOG to a sealed container for proper disposal – don’t pour it down the drain!
5. Pumping Out Wastewater
Once you’ve dealt with the surface FOG, it’s time to tackle the wastewater. A shop vacuum is a great tool for this job. Use a wet/dry shop vac to remove the remaining liquid in the trap. The wastewater can get heavy, so be mindful of the weight when emptying the vacuum.
6. Scraping and Cleaning the Interior
A good scrape is essential for properly cleaning the interior of the grease trap. Use a metal scraper or a stiff brush to remove any FOG deposits clinging to the sides, bottom, and baffles (internal separators) of the trap. These areas are prone to build-up so that a little elbow grease might be required for stubborn bits.

7. Washing and Reassembling
After scraping, it’s time for a thorough wash. Fill a bucket with room temperature water and add a good squirt of dish soap. Use this soapy solution to scrub the interior surfaces of the trap, including the baffles and lid. Rinse everything thoroughly with clean water to remove any soap residue.
8. Final Touches
Once everything is clean, inspect the lid’s gasket for wear and tear. If it’s damaged, replace it to ensure a proper seal. Reassemble the trap, ensuring everything is secure before returning it to its original position.
Regular cleaning is vital for maintaining an efficient grease trap. Depending on the size and usage of your trap, a good rule of thumb is to clean it every one to three months.
Following these steps and maintaining a regular cleaning schedule can prevent FOG build-up, blockages, and unpleasant odours, keeping your kitchen running smoothly. Remember, a clean trap is a happy trap!
Don’t Let Fog Clog Your Business
Thanks for reading! By following these steps, you can maintain a healthy grease trap and avoid costly clogs.
For professional grease trap cleaning and maintenance, trust Big Blue Plumbing. We offer comprehensive commercial plumbing services, including 24/7 emergency assistance for any urgent plumbing needs. Contact us today to ensure your business runs smoothly!


